Blog
Halloween Cookie Packaging Ideas
Make Your Halloween Treats Stand Out
Halloween is one of the busiest seasons for bakers, so standing out from the crowd is more important than ever! The right packaging doesn’t just protect your treats, it can do a lot of the work for you by making your cookies feel extra special and helping customers remember your business.
In this blog, we’re sharing some of our favorite Halloween packaging inspiration, and we even have a free template to help you get started with some seriously cute DIY cookies your customers will love!
Let’s Talk DIY
DIY cookie kits are one of the easiest Halloween treats to make in batches. Since there’s no decorating or drying time, you can bake your cookies, package everything, and have your kits ready to sell in just a few hours.
Even though the cookies aren’t decorated, DIY kits still have a high perceived value because they’re both a delicious treat and a fun activity in one. They’re perfect for Halloween parties, classroom treats, family nights, and spooky-season gifts.
We have two ready-to-use Halloween DIY ideas your customers will absolutely love. Below, we’ll show you everything you need and walk you through how to assemble each one!
Halloween Treat Box DIY Kit
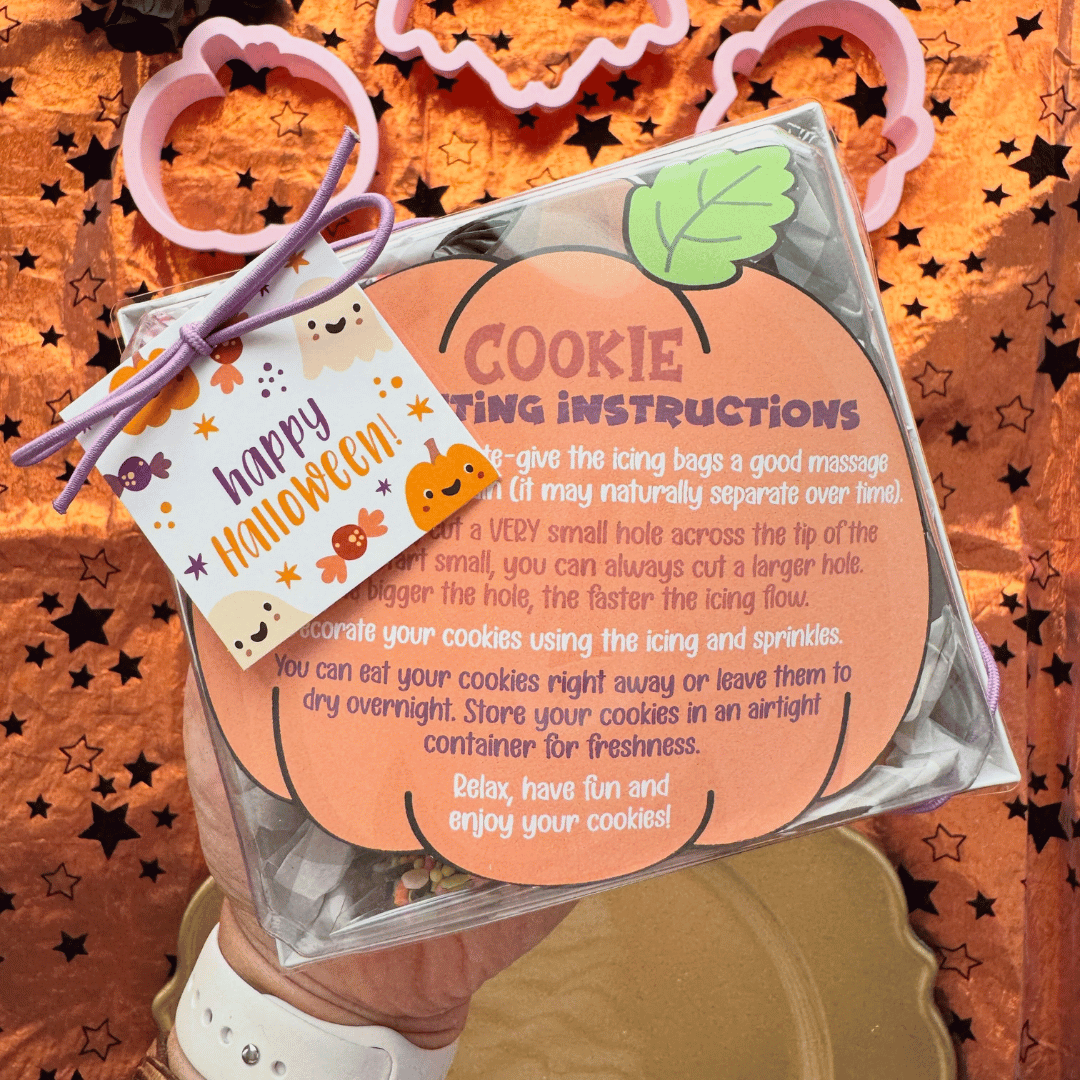
This Halloween DIY Treat Box is a simple way to turn three undecorated cookies into a complete, ready-to-sell activity kit. With colorful icing, sprinkles, and a coordinating instruction card all packaged together, it feels festive and extra fun for kids to open!
What You’ll Need
1. Choose Your Cookie Shapes
Choose your cookie shapes from our full-size DIY Cookie Cutter Set. Each treat box can comfortably fit three cookies, so you can mix and match to create your own Halloween set!
Pro Tip: Choose cookie designs that work with the same three icing colors. For example, the bat and haunted house can use the same base color, so you only need to mix one color for both cookies. This makes batching your kits even faster!
2. Bag Your Cookies
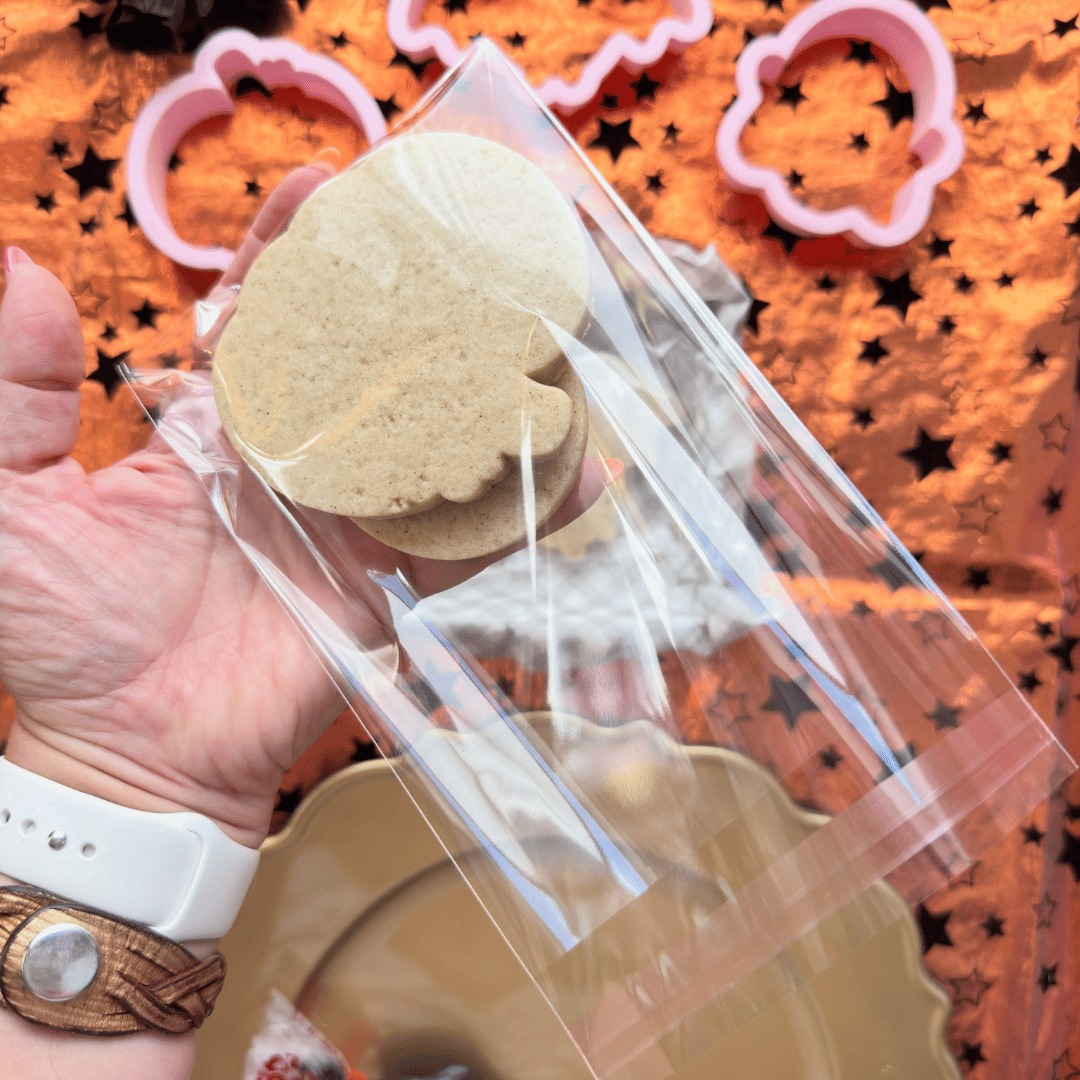
Our 5" x 7" bags are large enough to hold two cookies in one bag, helping you save even more space.
We used 5" x 7" self-seal poly bags for our cookies. You can fold the bags over nice and tight for a perfect fit, which saves space inside the box. Self-seal bags are also much easier for little hands to open without accidentally breaking the cookies before they’ve had a chance to decorate them!
If you prefer to use heat-seal bags, leave a little extra room at the top so the bag can be easily cut open.
3. Prepare Your Treat Box
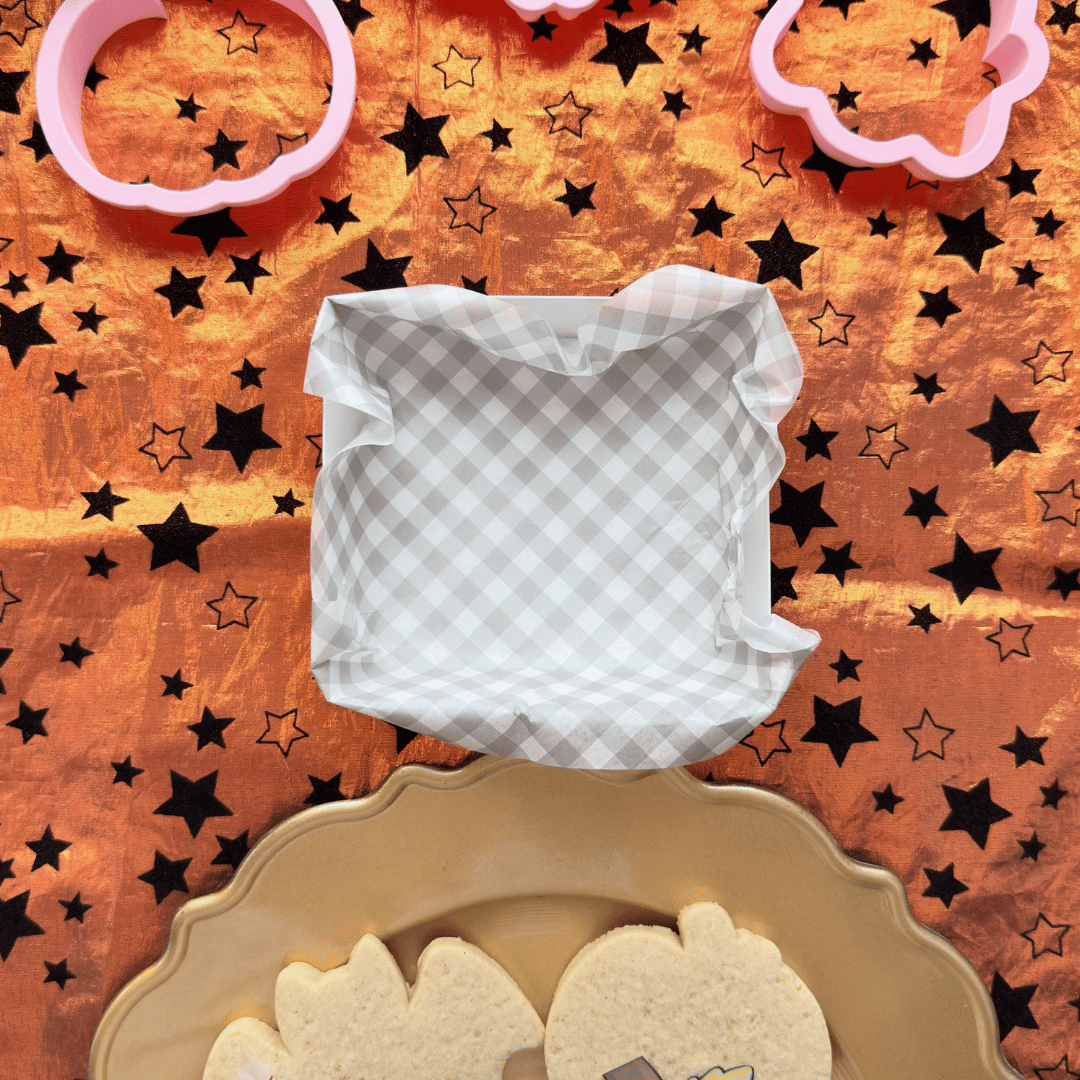
Grab a white treat box and line it with one of our food-safe greaseproof papers to add a little extra spooky pizzazz!
Simply lay the paper over the open box and press it down, creasing it along the edges. Once your box is lined, place the packaged cookies along the bottom.
4. Bag Your Icing
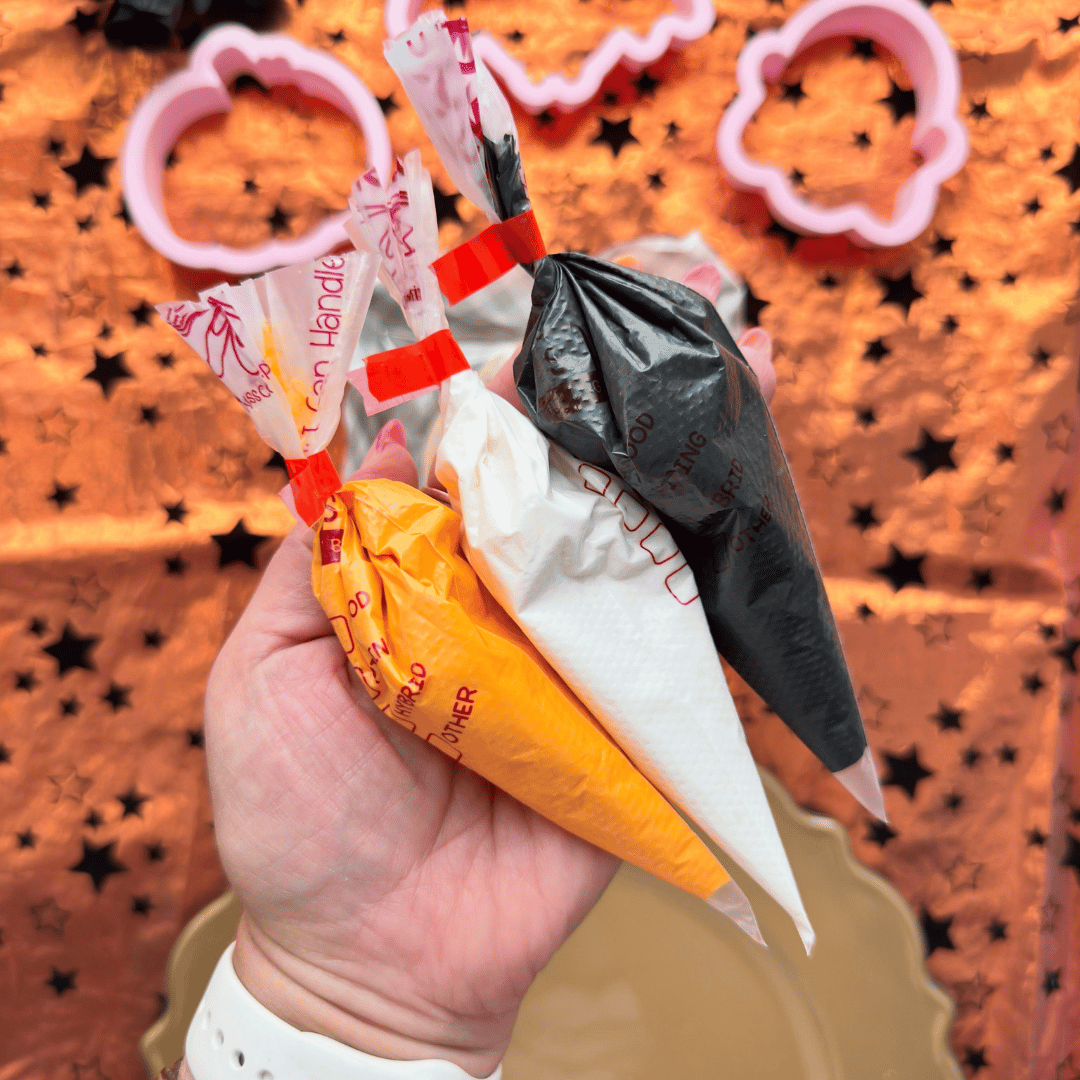
Fill three small tipless piping bags with approximately two ounces of icing each. This amount keeps the bags small enough to fit neatly inside the treat box while still giving your customers plenty of icing to decorate their cookies.
Each box can comfortably hold three two-ounce bags of icing.
5. Add the Sprinkles
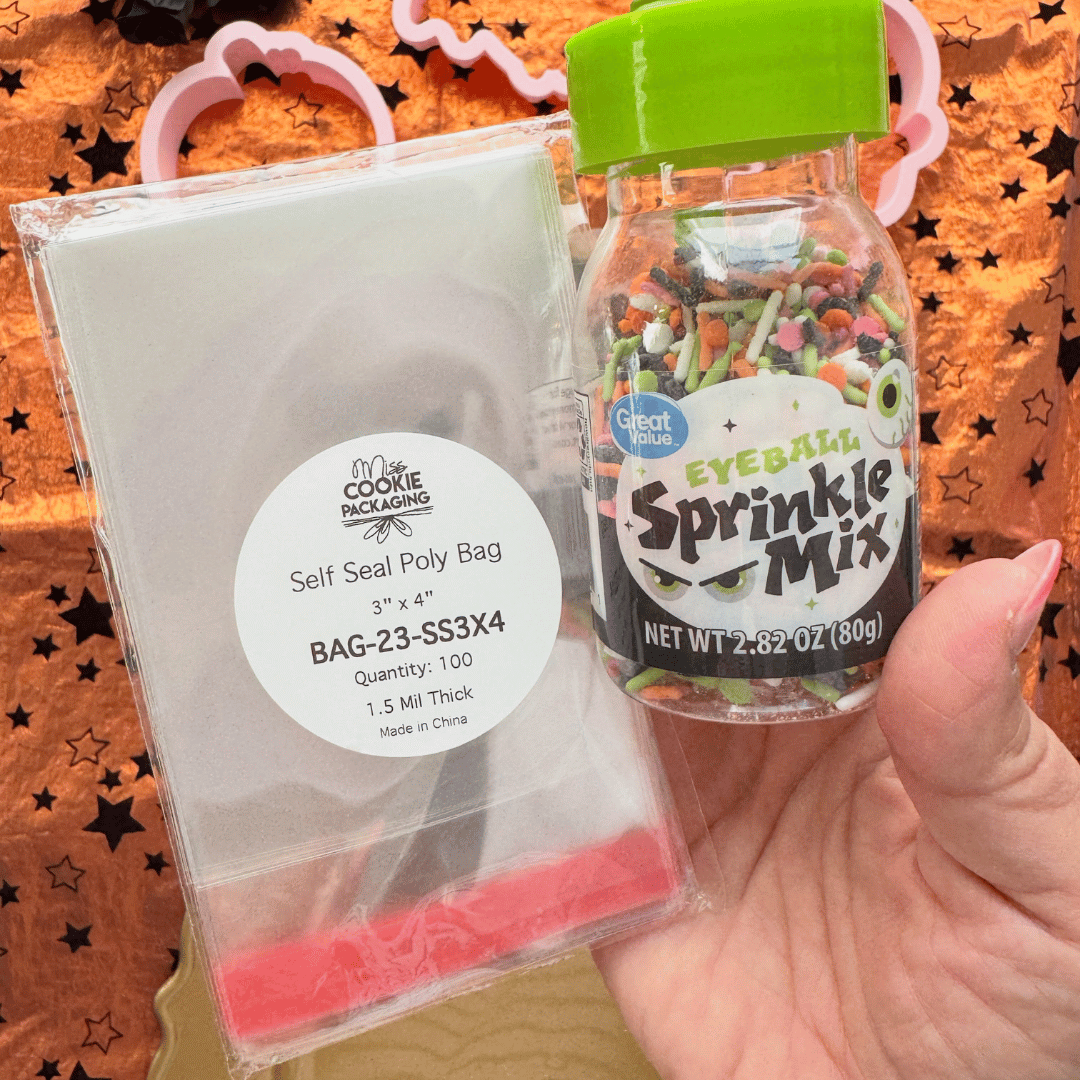
Fill a 3" x 4" self-seal poly bag with your favorite Halloween sprinkles. You can use any mix you like; Walmart usually has a fun and inexpensive selection of seasonal sprinkles that are perfect for these kits!
6. Add Your DIY Instruction Card
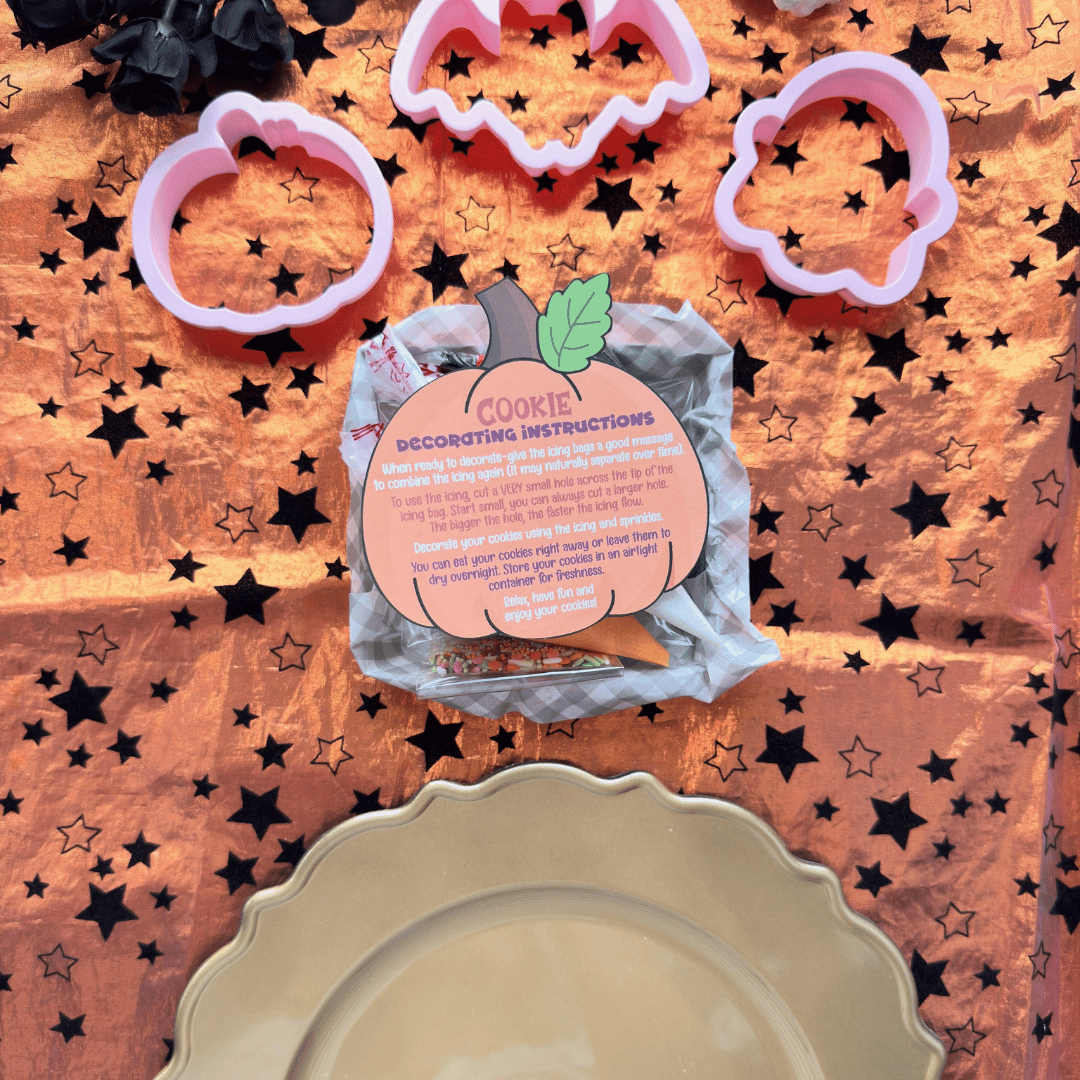
This is the detail that really ties the entire kit together! Our die-cut pumpkin instruction card adds instant value and gives your kit a professional finish...without requiring you to cut out a single card yourself.
With the box closed, customers won’t see the cookies inside right away. Instead, the fun pumpkin card and easy-to-follow instructions create an eye-catching presentation and make opening the kit even more exciting for kids!
7. Add the Finishing Touches
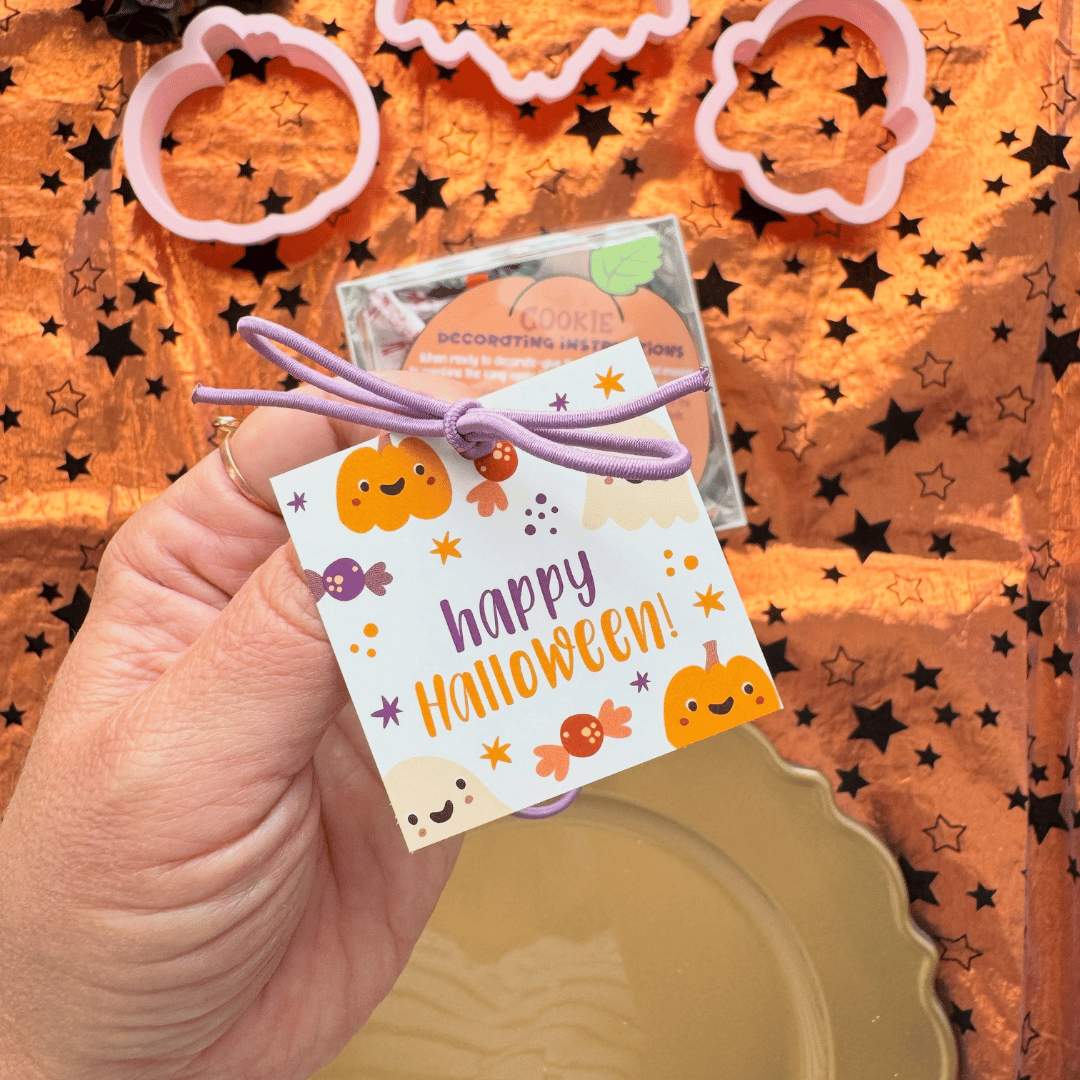
Choose a stretch loop and coordinating tag to finish your box. These simple details bring the whole design together and create the perfect eye-catching Halloween display!
Spooky DIY Pizza Box
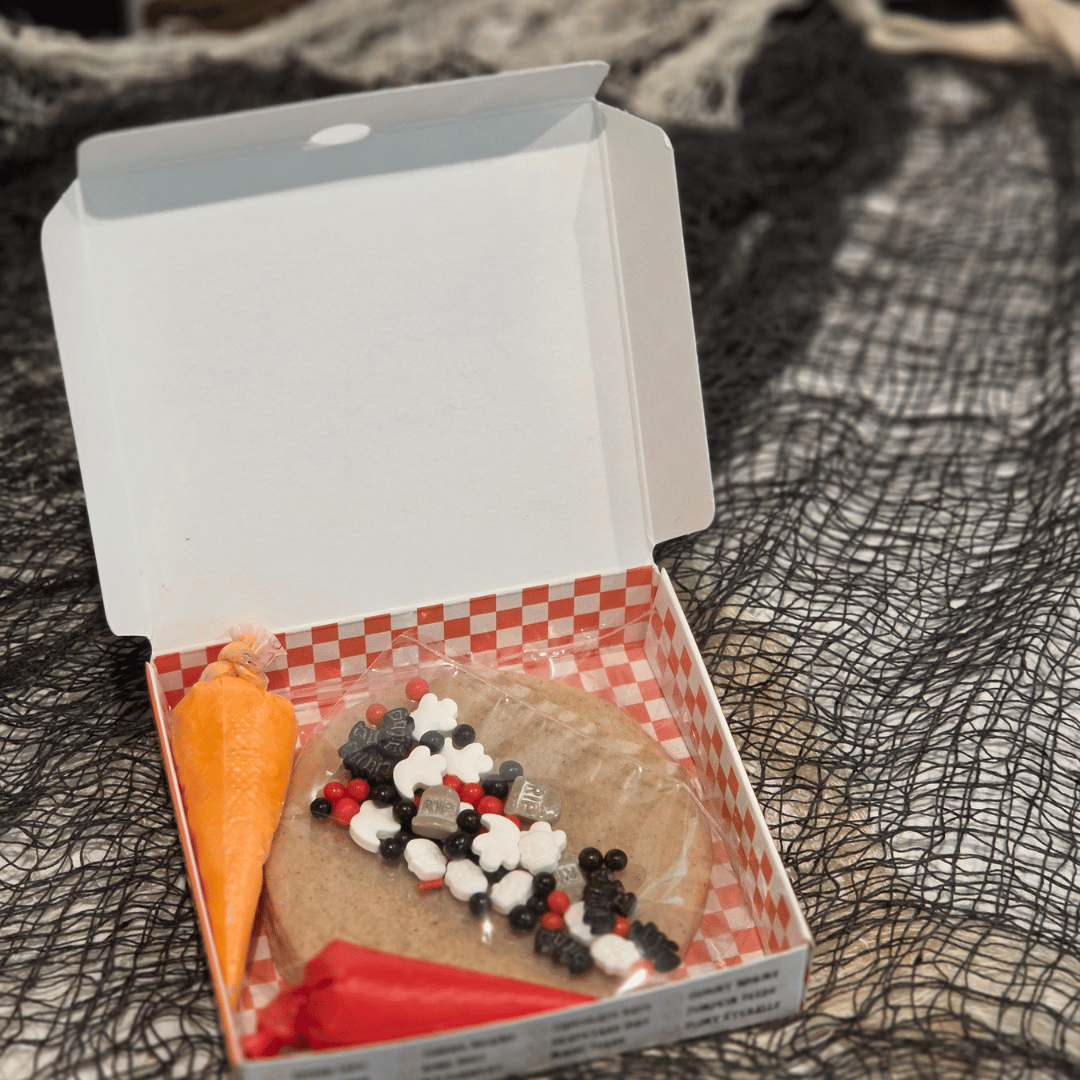
Our pizza boxes are always such a hit (and so much fun to decorate) so we thought the kiddos should get to decorate them, too! We tested everything to make sure the box could comfortably hold the cookie, icing bags, and sprinkles. Then I gave one to my neighbor’s seven-year-old for the ultimate test. Within five minutes of dropping it off, I was already getting pictures of him decorating his spooky pizza, so we’re officially calling this one a success!
What You’ll Need
1. Assemble Your Pizza Boxes
Our pizza boxes ship flat, so assembling all of them at once makes it easy to prepare your kits in batches. Fold along each scored line before assembling the box to help everything bend and slide into place more easily.
2. Bake Your Pizza Cookies
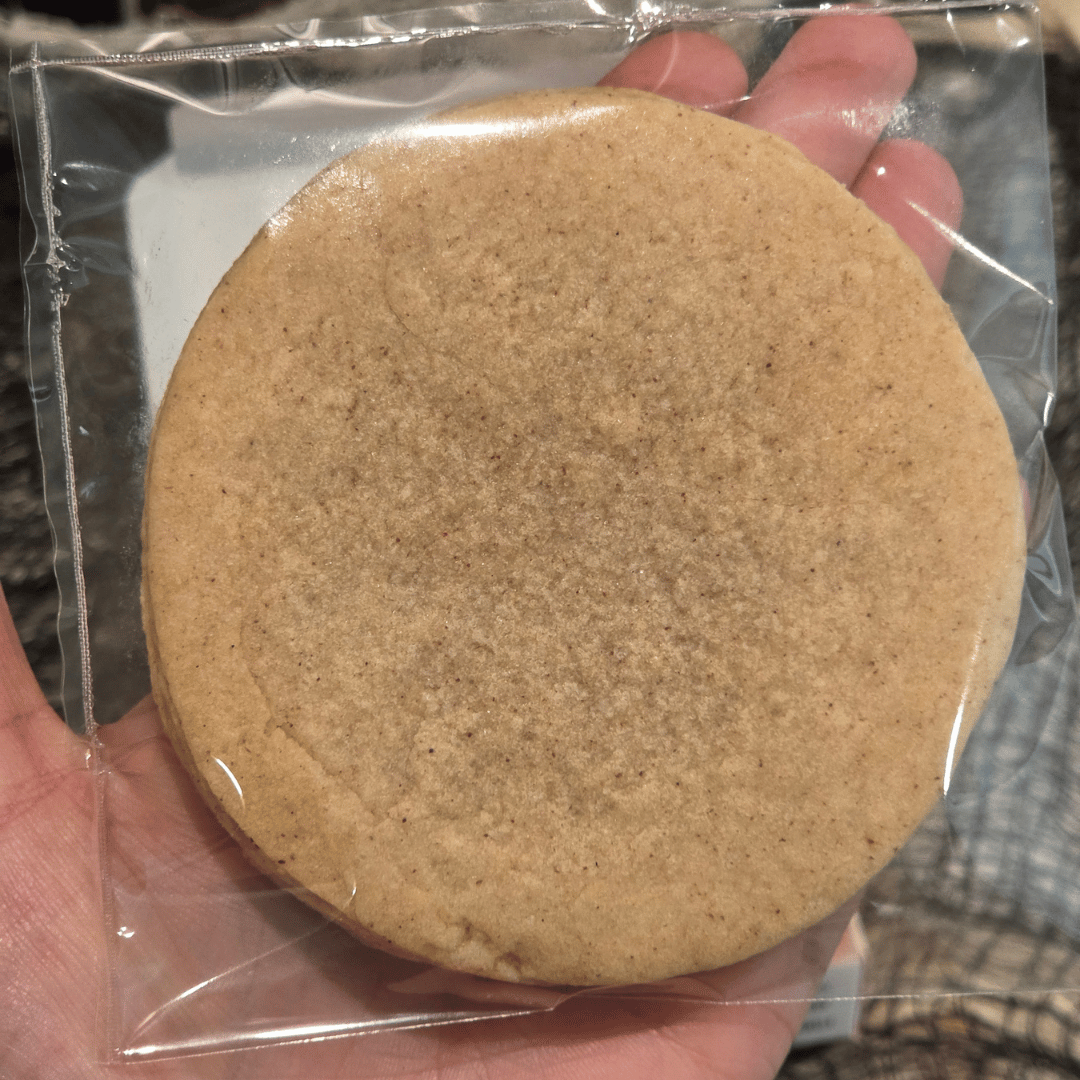
Use our 3.5" Pizza Cookie Cutter to make your cookies. I rolled my dough to 3/8" thick, which gave me the perfect-sized cookie for the box!
3. Bag Your Cookies
Once your cookies have completely cooled, package them in 5" x 7" self-seal poly bags. Although these bags can fit two pizza cookies, we’re only including one cookie per box for this kit.
4. Prepare Your Icing
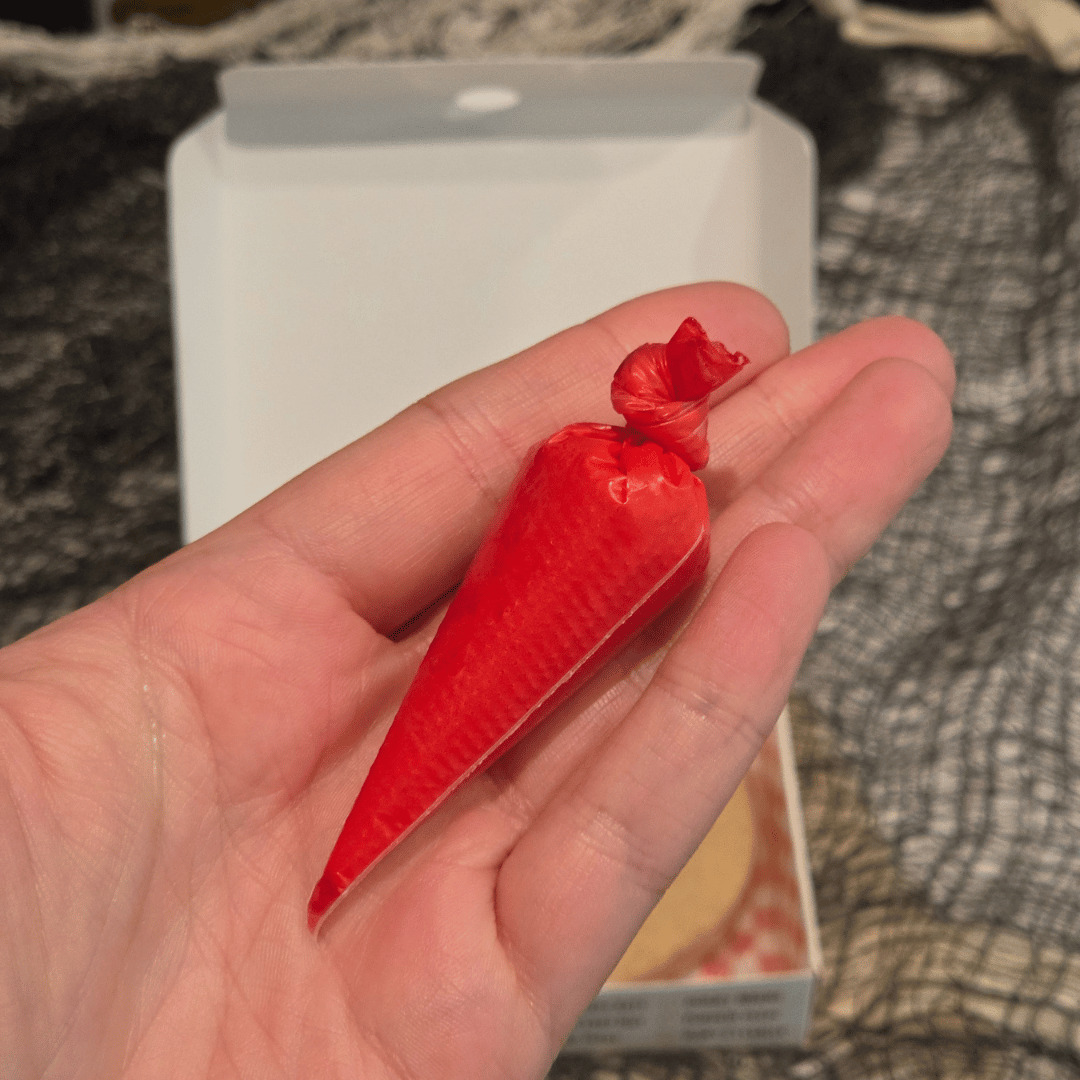
This kit is extra easy because the sprinkle “toppings” do most of the decorating; you only need “sauce” and “cheese”! I made a vibrant red icing for the sauce and a light orange icing for the cheese, but white icing would also work perfectly.
Fill each small tipless piping bag with approximately 0.6 ounces of icing. This gives kids plenty to decorate with while leaving enough room inside the box for the sprinkles.
5. Prepare Your Toppings
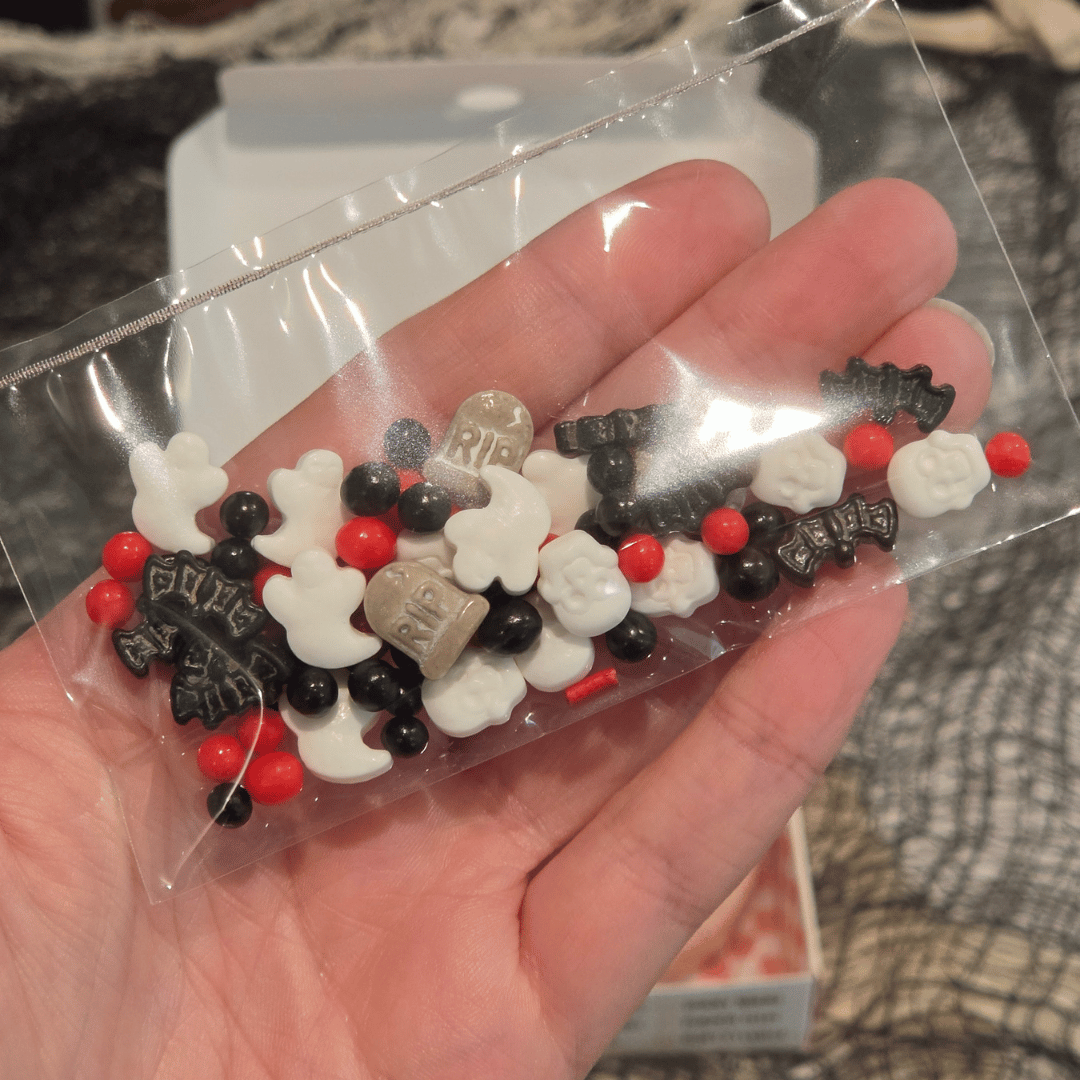
I used Walmart’s Graveyard Sprinkle Mix, but you can use any sprinkles you already have on hand or anything you think would look cute on a spooky pizza! Place the sprinkles in a 3" x 4" self-seal poly bag, seal it, and add it to the pizza box with the cookie and icing.
6. Add Your FREE DIY Instructions
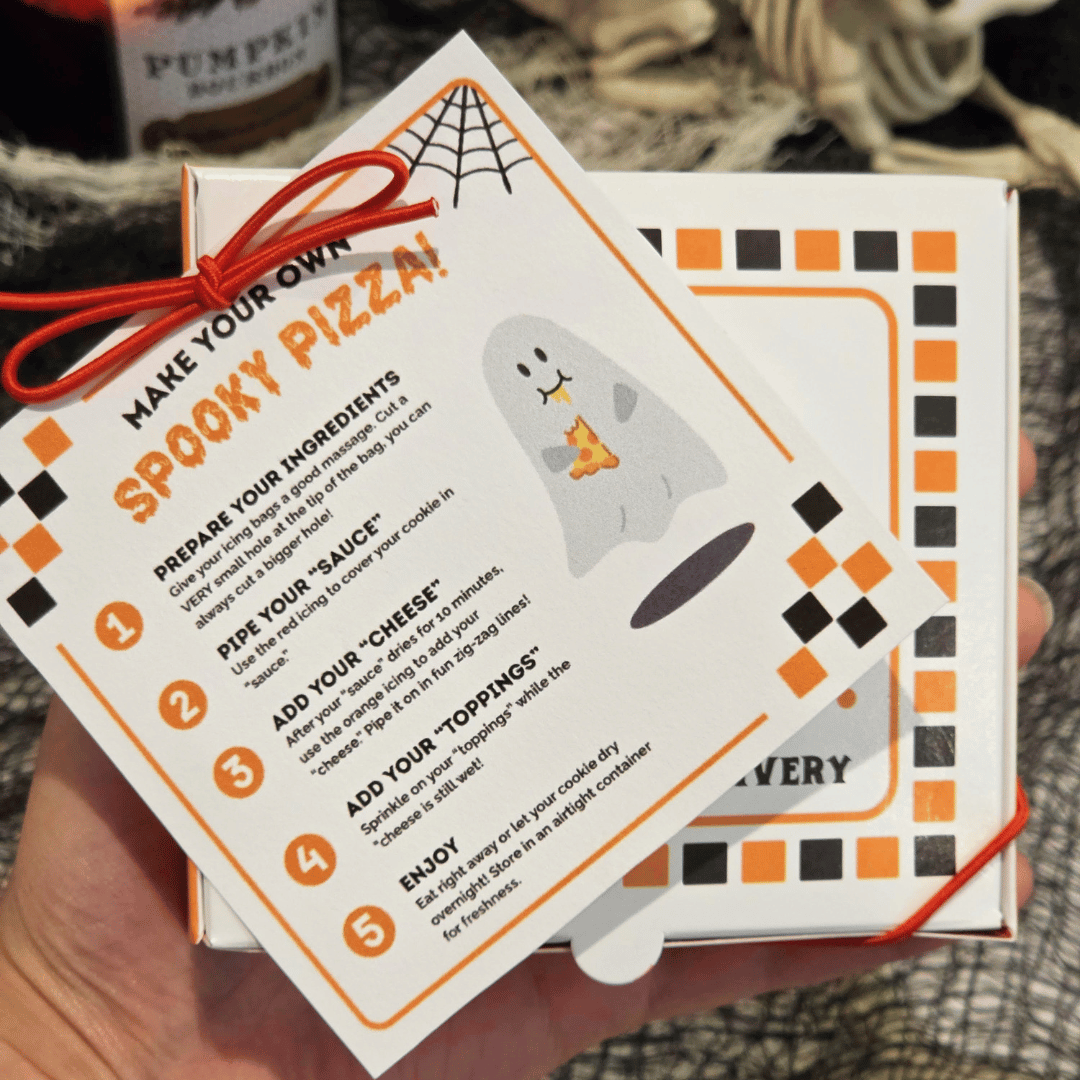
I created this DIY instruction tag specifically for our Spooky Pizza Box, so your finished kit looks intentional and professional, and the template is completely free!
Simply print the PDF on sturdy cardstock, use a paper cutter for clean edges, and punch a hole at the top. Thread a stretch loop through the hole so the bow sits neatly at the front, then secure the loop around the corners of the pizza box. I used a 12" stretch loop, but a 10" loop will also fit!
Pro Tip: Show Your DIY Kits in Action!
Market your DIY cookie kits with a Reel or TikTok showing the cookies being decorated! You can film yourself assembling the finished design or show kids having fun with the activity and reveal their creations at the end.
This not only shows customers how cute and interactive your kits are, it also doubles as an instructional video. Some people understand an activity much better when they can see it being done, so a quick decorating video can help customers feel confident that the kit is easy, fun, and worth ordering!
Paint Your Own Cookies
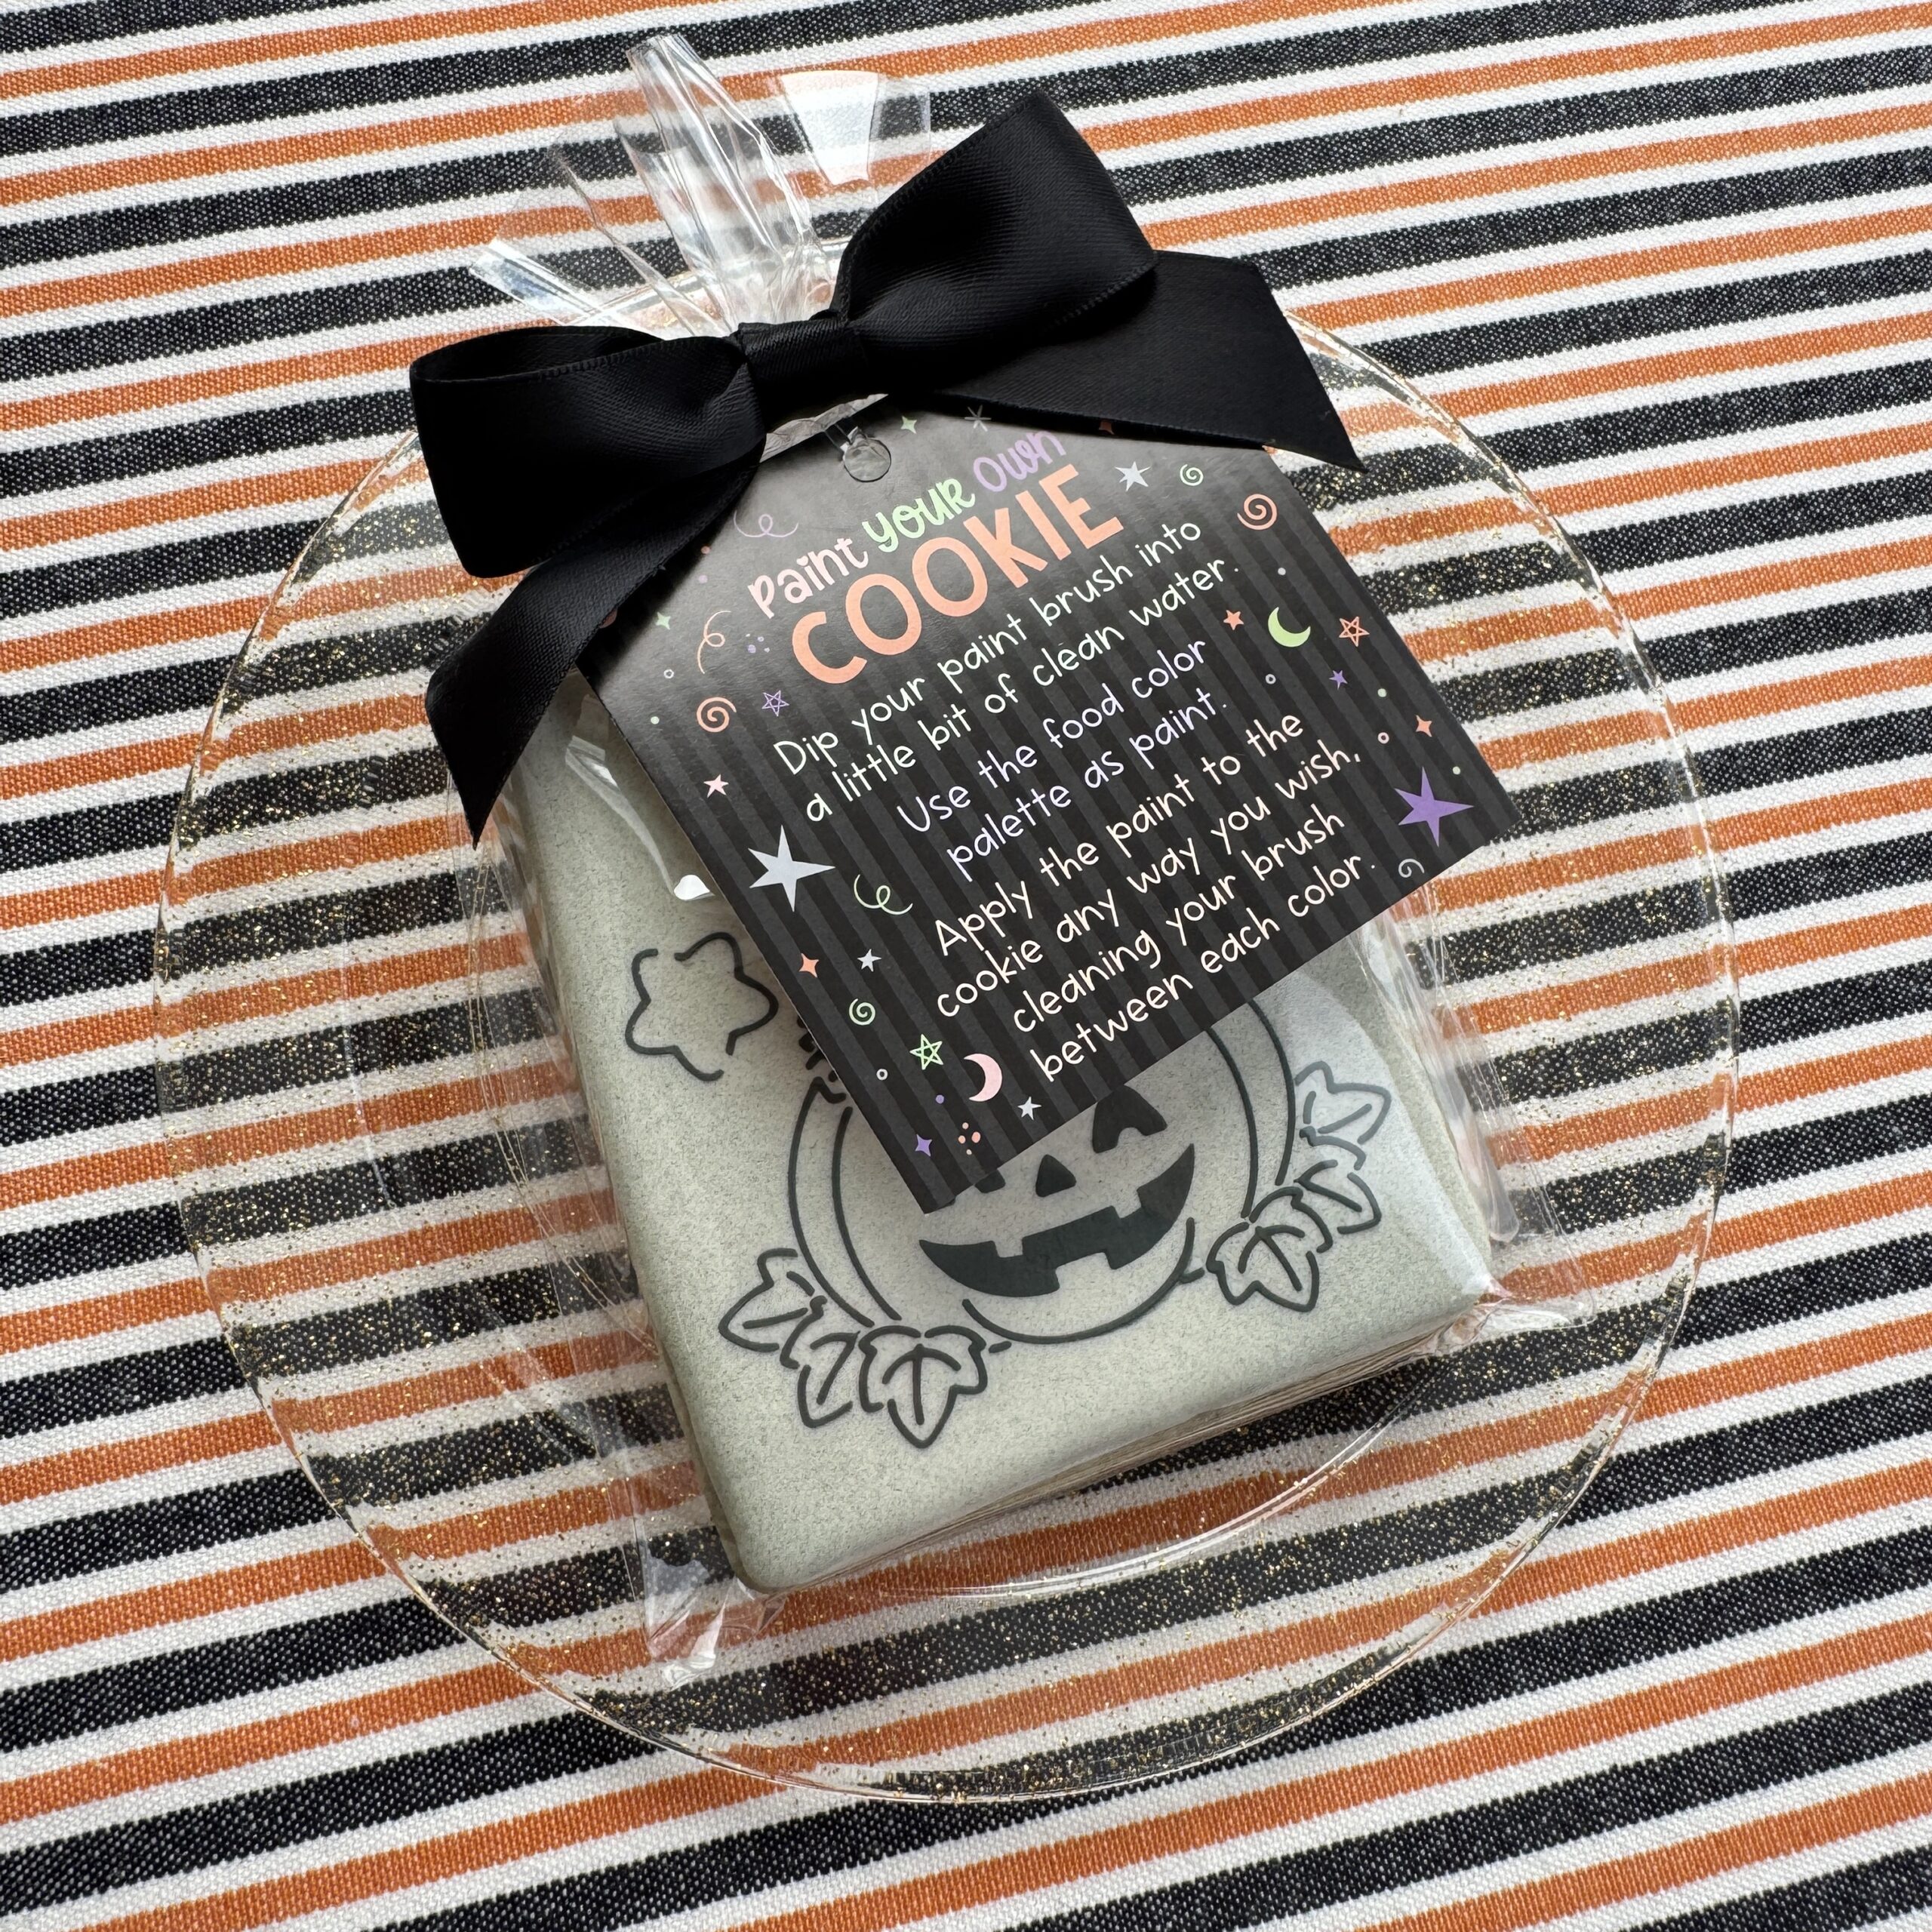
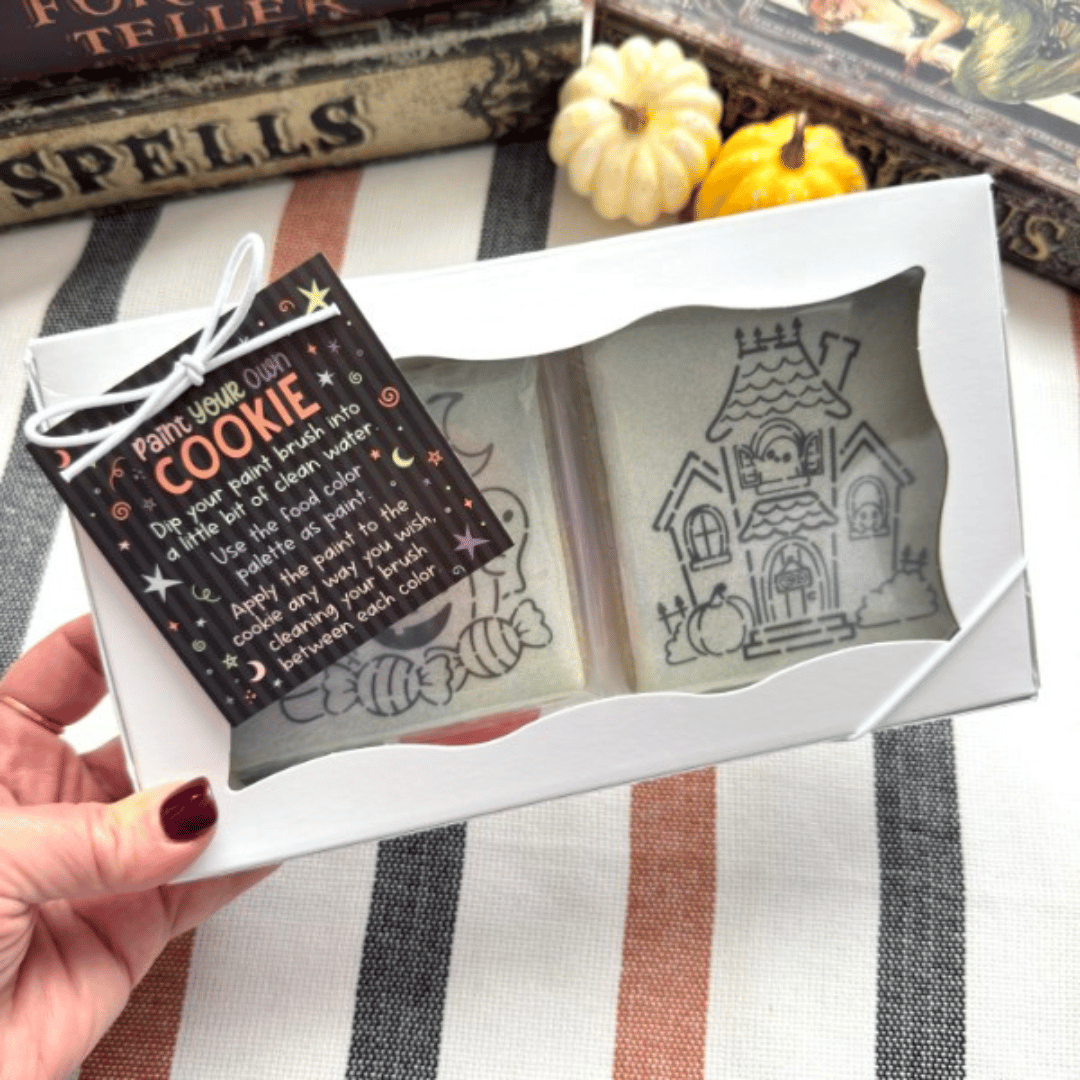
Paint Your Own cookies offer many of the same benefits as DIY kits; they take less hands-on decorating time and give customers both a treat and an activity. They’re also a great option for newer bakers who may not be ready to offer fully decorated cookies but still want to add something fun and professional-looking to their Halloween lineup.
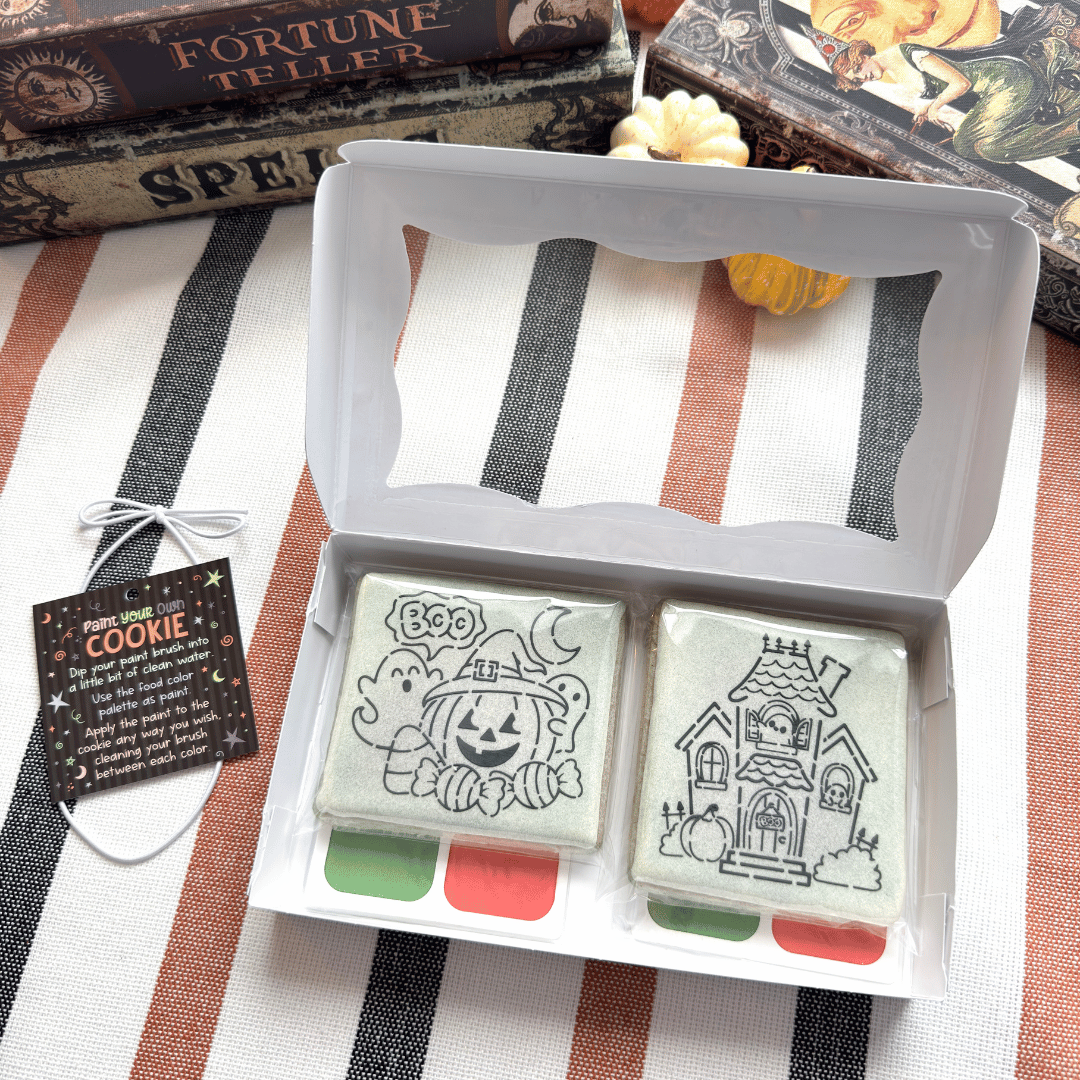
Our PYO stencils take care of the cute part for you, and we have everything you need to turn your cookies into a complete, ready-to-sell kit! We’re sharing two fun ways to package them: a Halloween PYO Box and an easy Fold-Over Topper.
Halloween PYO Cookie Box
This option is perfect when you want to package multiple PYO cookies together. It works especially well for preorders because you already know exactly how many kits you need to prepare. Instead of packaging each cookie as its own individual kit, you can arrange several inside one box with a single instruction tag. Simply choose the box size that works best for the number of cookies you’re offering!
What You’ll Need
- 3.5" x 4" Rectangle Cookie Cutter
- PYO Stencil
- Stencil Holder
- Medium or Large Tipless Piping Bag
- Appropriately Sized Box
- Large Bakery Box for approximately six cookies
- Small Bakery Box for two cookies
- Treat Box for two to three cookies, depending on their finished thickness
- Greaseproof Paper (optional)
- 5" x 7" Self-Seal Poly Bags
- PYO Paint Palettes
- Halloween PYO Instruction Tag
- Stretch Loop
- 12" loop for the Small Bakery Box or Treat Box
- 16" loop for the Large Bakery Box
1. Bake and Flood Your Cookies
Bake your cookies and flood them with white icing to create a clean base for the edible paint. Let the icing dry completely for at least eight hours, although overnight (or approximately 12 hours) is best.
Because you’ll be stenciling these cookies, the icing needs to be 100% dry. If it’s still soft, the stencil could crack or damage the surface, forcing you to start over!
2. Stencil Your Cookies
Use black icing with a toothpaste-like piping consistency. Secure your stencil with a stencil holder, then scrape the icing across it in one smooth downward motion.
If you’ve never stenciled a cookie before, check out THIS Stenciling 101 blog for complete step-by-step instructions.
Pro Tip: We have a 3D-printed square practice cookie that lets you test your icing consistency and technique without sacrificing a real cookie!
3. Package Your Cookies
Once the stenciled design has dried completely (overnight is always best) package each cookie in a 5" x 7" self-seal poly bag to keep it fresh.
4. Line Your Box (Optional)
Choose the box that best fits the number of cookies in your kit, then line it with food-safe greaseproof paper. Since PYO cookies typically begin with a simple white base and black stenciled design, patterned paper is an easy way to add color, contrast, and a more cohesive Halloween presentation.
5. Add the Paint Palettes
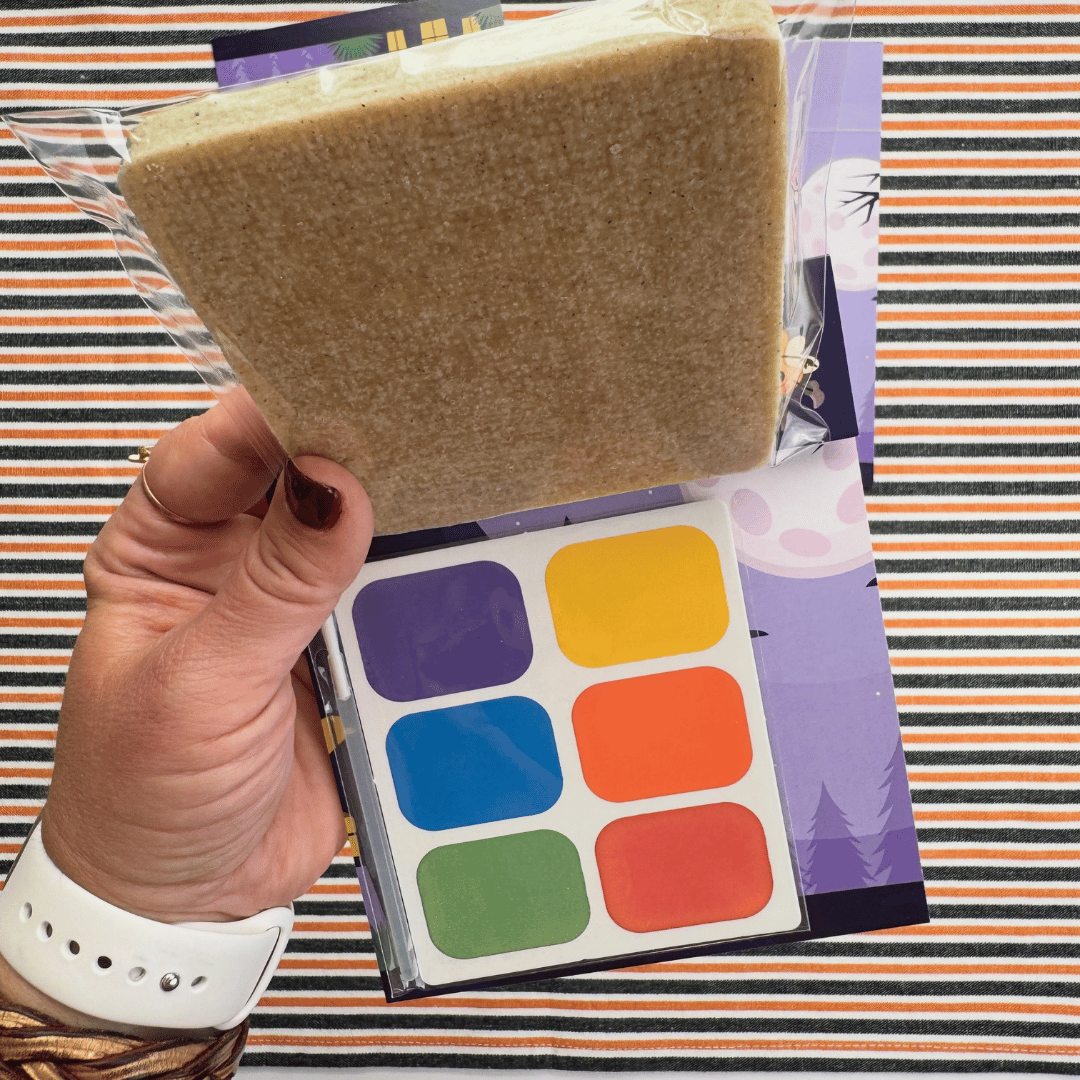
Place your paint palettes neatly in the box and then lay your bagged cookies on top for a tidy presentation!
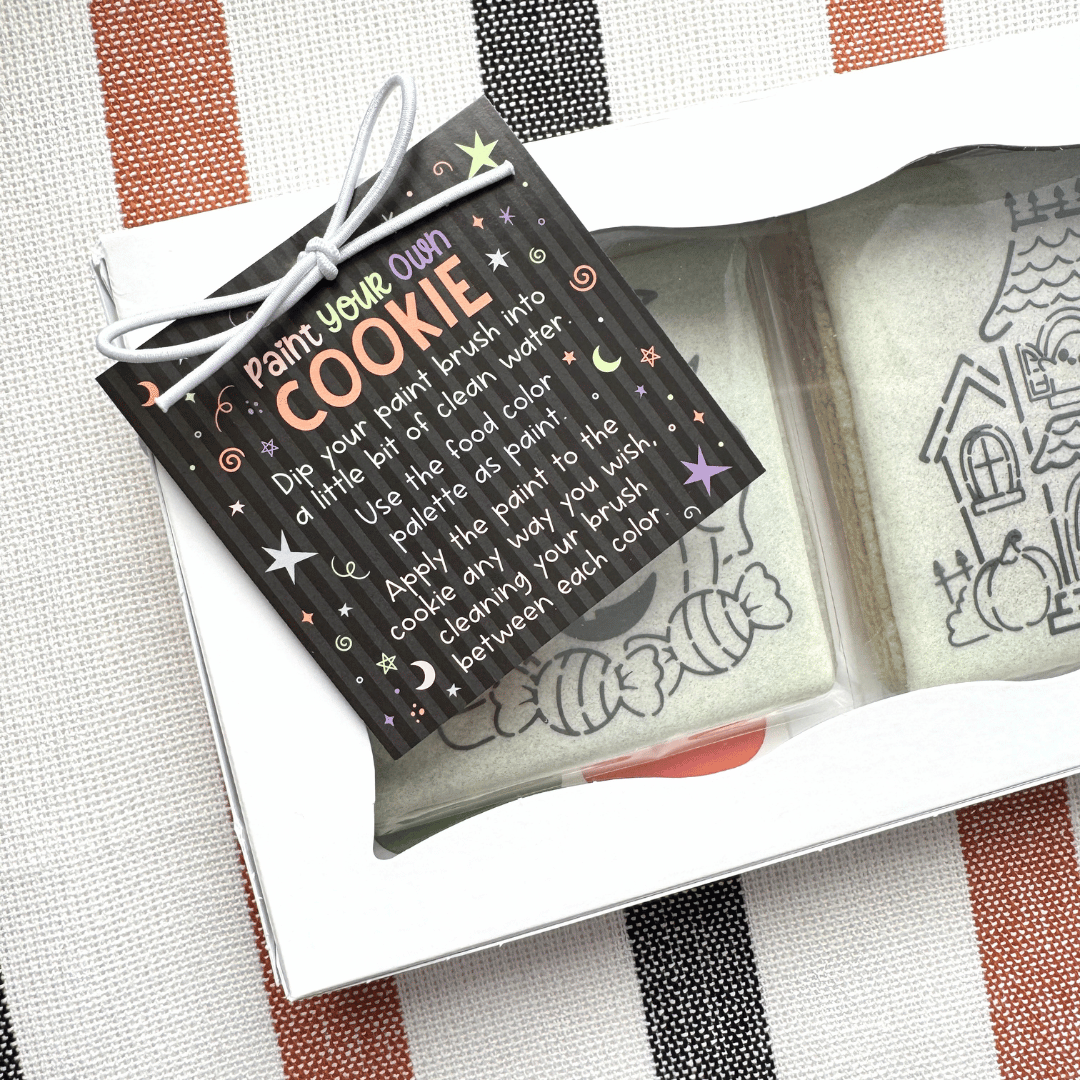
6. Add Your Instruction Tag
Our Halloween PYO Instruction Tag is the perfect finishing touch for a box containing multiple cookies. It gives customers all the information they need without requiring you to create a separate instruction kit for every cookie.
Thread the appropriate stretch loop through the hole in the tag, secure it around the box, and you’re done!
Halloween PYO Fold-Over Toppers
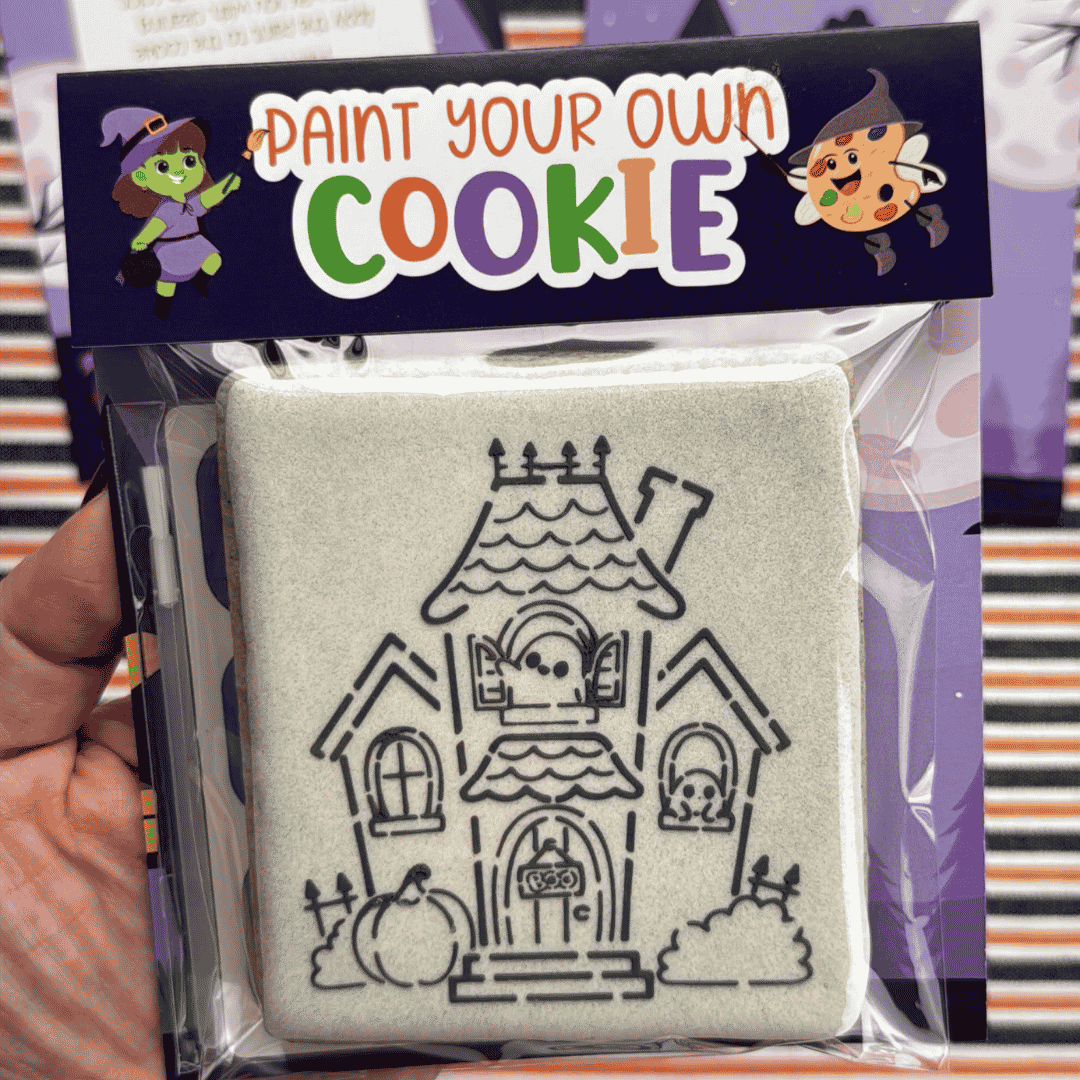
We have three adorable Halloween PYO topper designs that are perfect for packaging individual cookies! These make a great grab-and-go option for market tables because the packaging instantly catches customers’ attention and clearly shows that they’re getting more than just a cookie.
You can also market them as classroom treats, giving each student their own little painting kit with the instructions included!
What You’ll Need
1. Bake and Flood Your Cookies
Bake your cookies and flood them with white icing to create a clean base for the edible paint. Allow the icing to dry completely for at least eight hours (preferably overnight) before stenciling.
2. Stencil Your Cookies
Use black icing with a toothpaste-like piping consistency and a stencil holder to keep your design in place. Scrape the icing across the stencil in one smooth downward motion, then allow the finished design to dry completely.
3. Package Your Cookie
Place each cookie inside a 5" x 7" heat-seal bag and seal it to keep the cookie fresh. We’re using a heat-seal bag for this version because we need the extra space above the cookie to attach the fold-over topper.
4. Prepare Your Topper
Place glue dots on the back of the PYO paint palette and attach it to the inside of the topper, behind the area where the packaged cookie will rest. This keeps the palette secure while maintaining a clean presentation from the front.
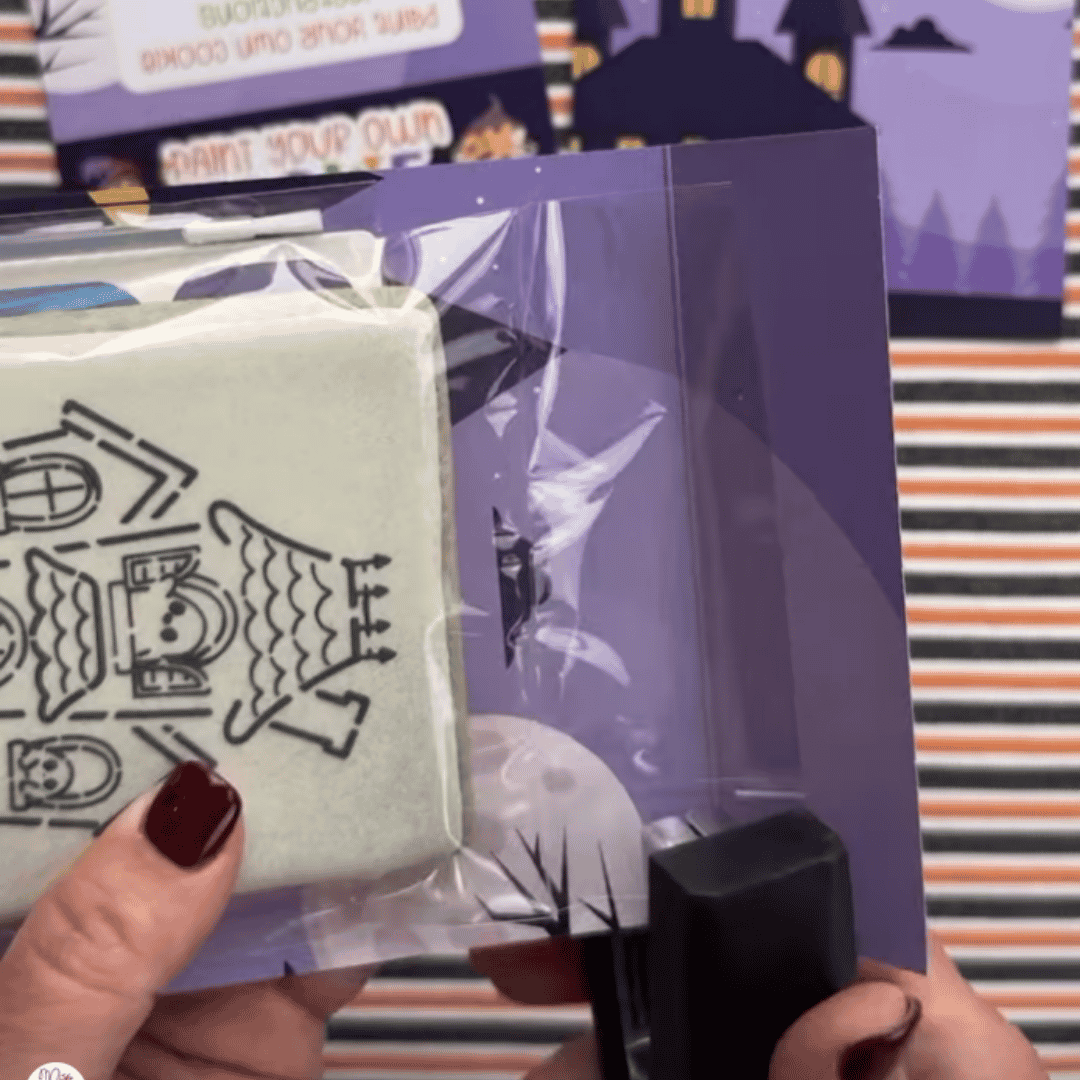
5. Attach the Cookie Bag
Position the top of the sealed cookie bag against the lower half of the topper, just below the scored fold line. Staple or glue the bag in place.
6. Secure the Topper
Fold the upper portion of the topper forward along the scored line so it covers the top of the cookie bag. Use glue dots to secure the folded topper to the bag and keep everything neatly closed.
7. You’re Done!
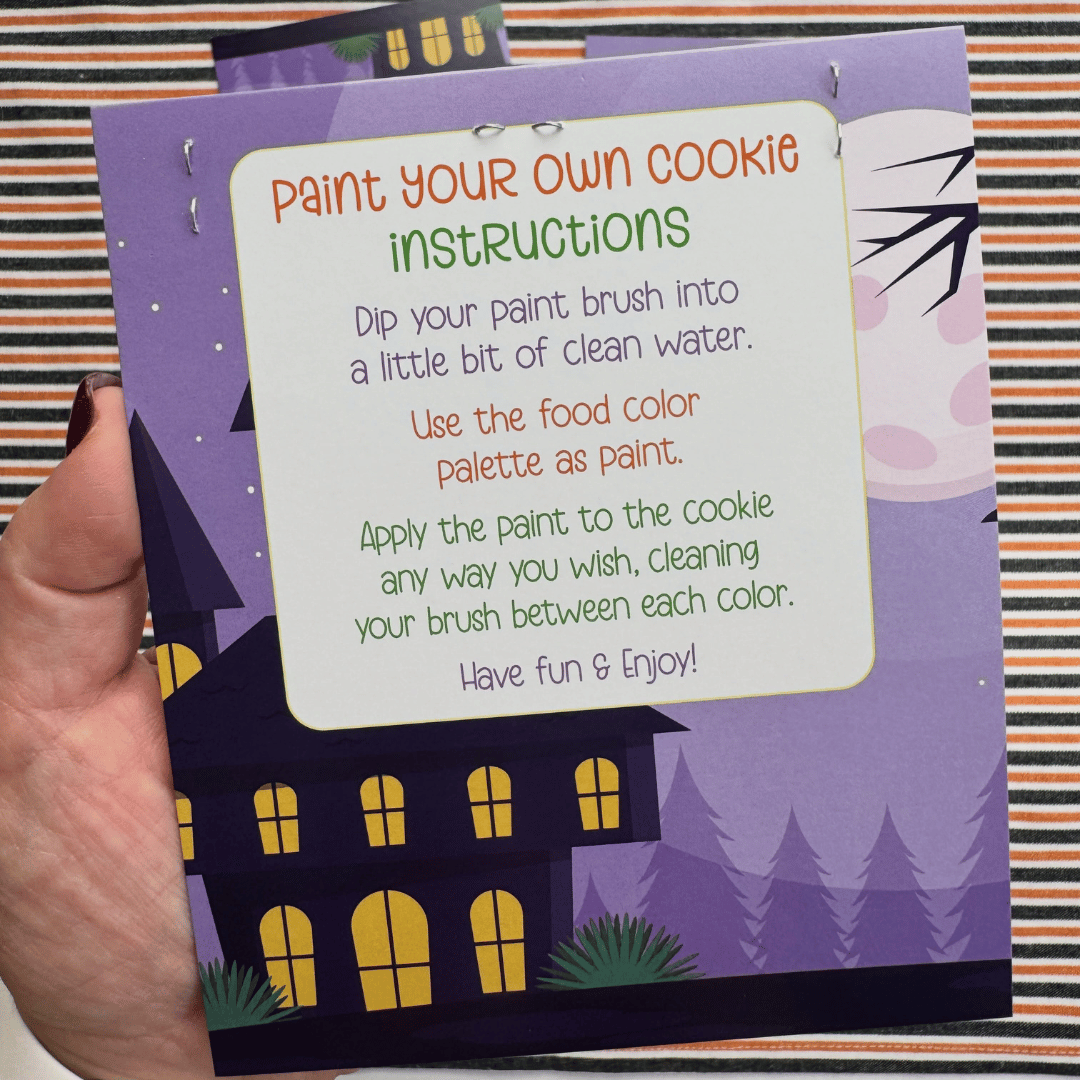
That’s it! No additional packaging or instruction card is required! The PYO directions are printed directly on the back of each topper, making these individual kits so much fun and so easy to assemble!
Silver Screen Halloween Stencils
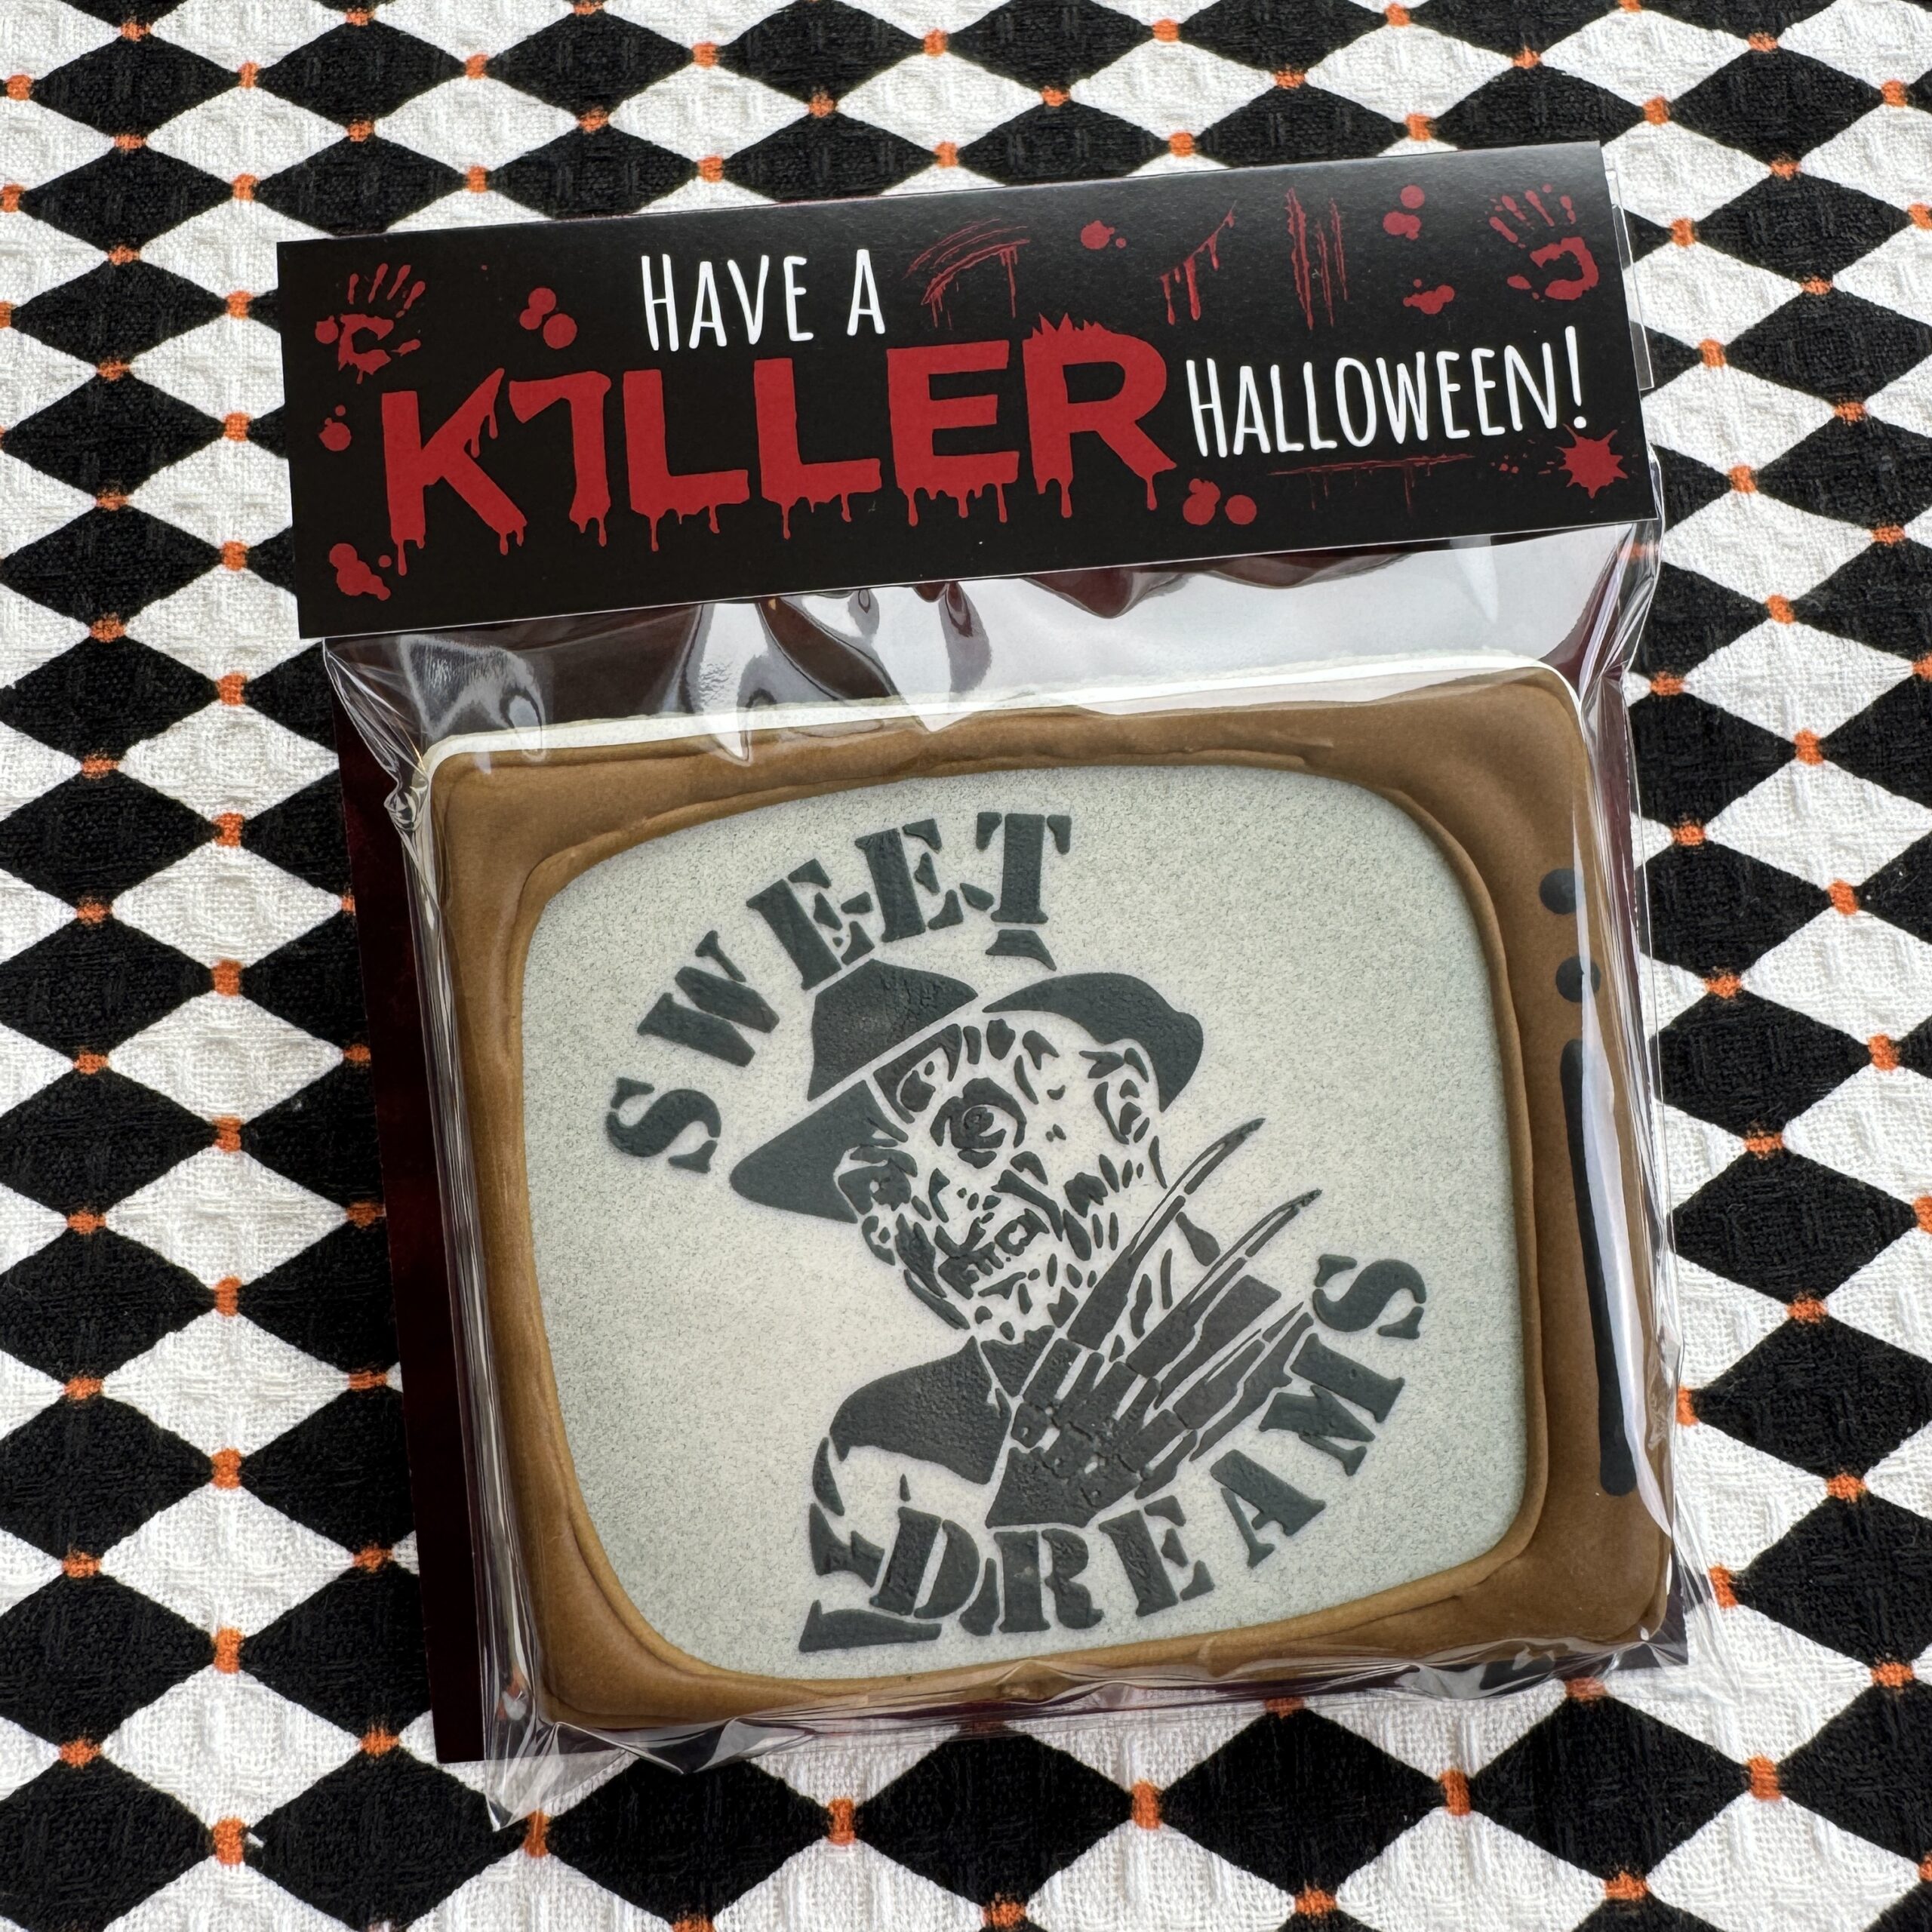
We are SOOO excited about these stencils! Each design was hand-illustrated and carefully tweaked to create the perfect Halloween stencil for all the movie buffs out there.
While many Halloween cookies are marketed toward kids, teens and adults love cookies, too, and what says spooky season better than a classic Halloween movie?! We even turned our popular Killer Halloween backer and tag combination into a fold-over topper, helping you create some of the most fun and unique cookies of the season without doing a ton of decorating. Unless you want to get fancy, of course, we added an option for that, too.
What You’ll Need
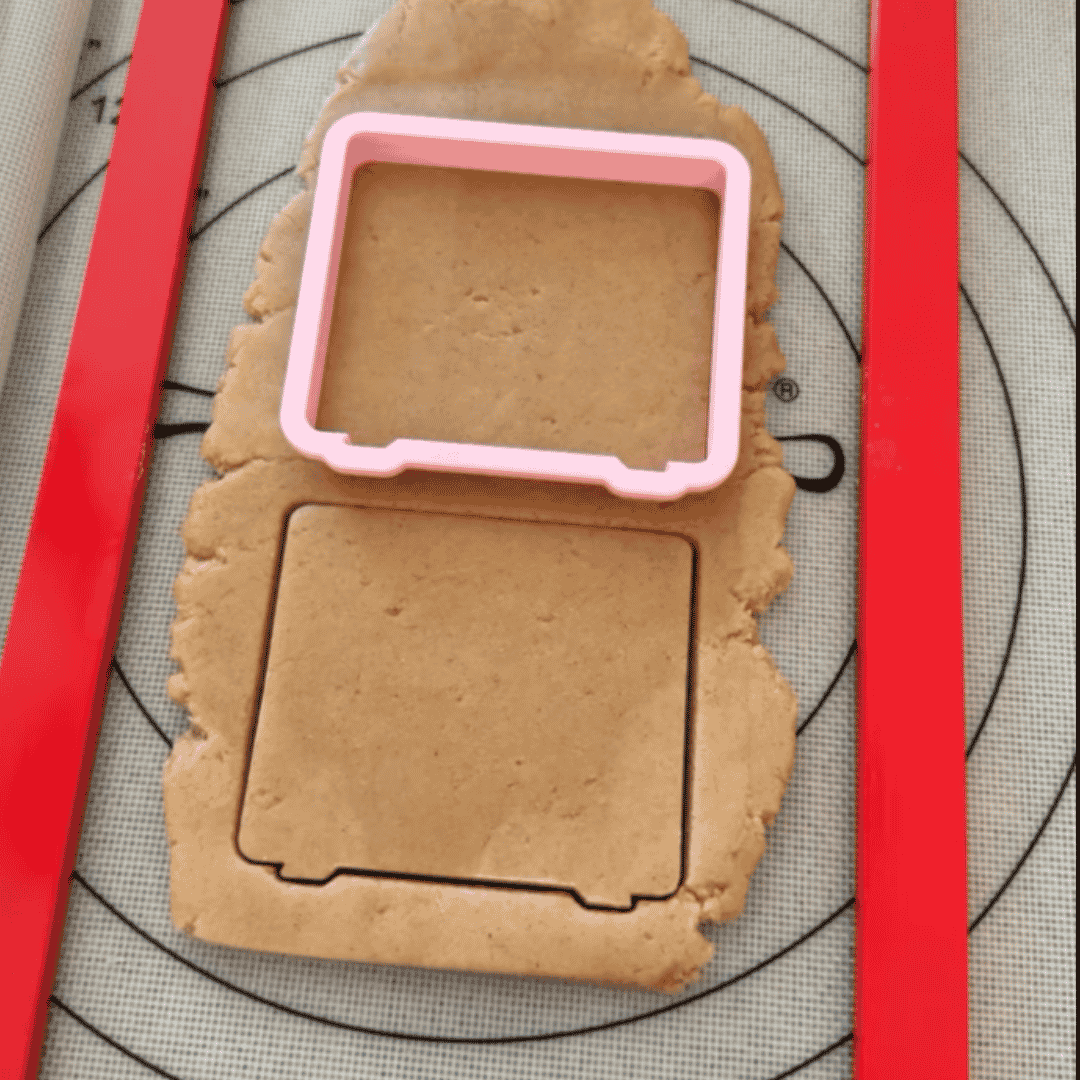
- 3.5" x 4" Rectangle Cookie Cutter or Console TV Cookie Cutter if you want to get fancy!
- Silver Screen Halloween Stencil
- Stencil Holder
- Medium or Large Tipless Piping Bag
- Airbrush and Airbrush Color (Optional)
- Killer Halloween Fold-Over Topper
- 5" x 7" Heat-Seal Bag
- Glue Dots
- Stapler or Glue
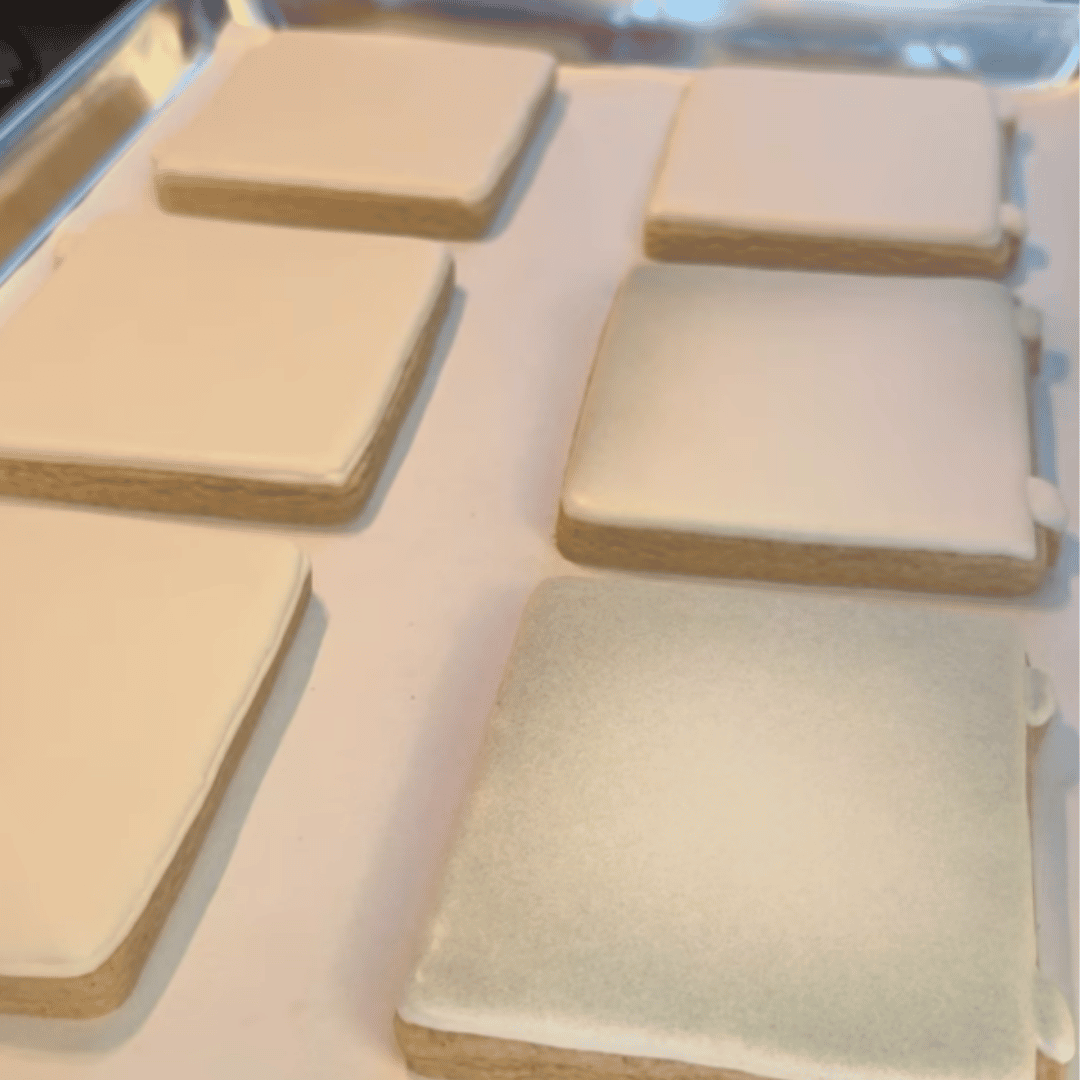
1. Bake and Flood Your Cookies
Bake your cookies and flood them with white icing. Allow them to dry completely for at least eight hours (preferably overnight) before adding your stencil.
2. Add a Vignette (Optional)
Use an airbrush to lightly shade around the outer edges of the cookie. This creates a vignette; a darker border that gradually fades toward the center and draws attention to the stenciled image.
It’s a simple detail, but it gives the cookie a dramatic, cinematic feel that fits the Silver Screen theme perfectly!
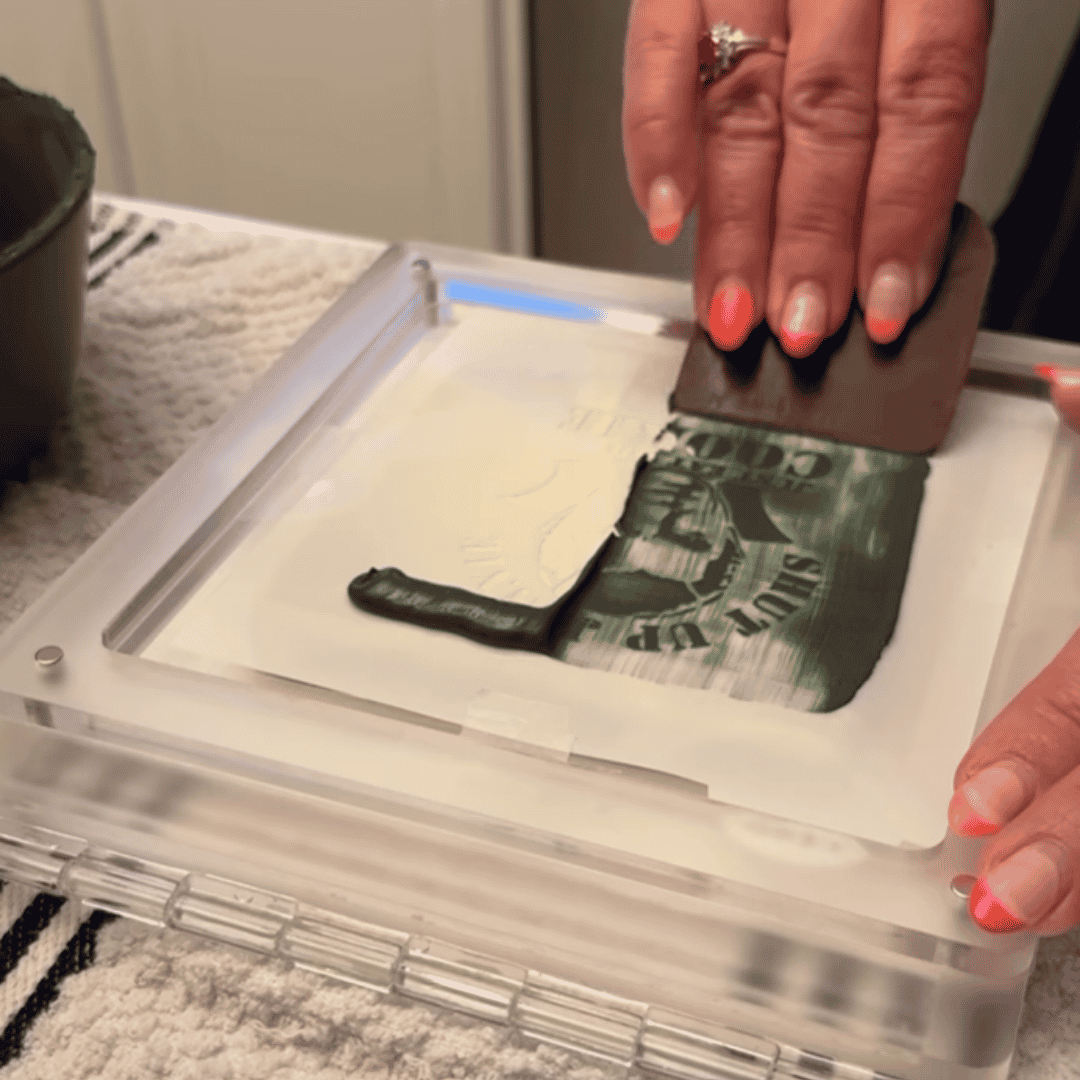
3. Stencil Your Design
Secure your Silver Screen Stencil with a stencil holder and use black icing with a toothpaste-like piping consistency. Scrape the icing across the stencil in one smooth downward motion.
The direction is important! We laser-cut these designs specifically to work with a downward motion. Moving upward or from side to side may cause the scraper to catch on the stencil. If you’re unsure of your icing consistency or technique, practice first before moving on to your finished cookies.
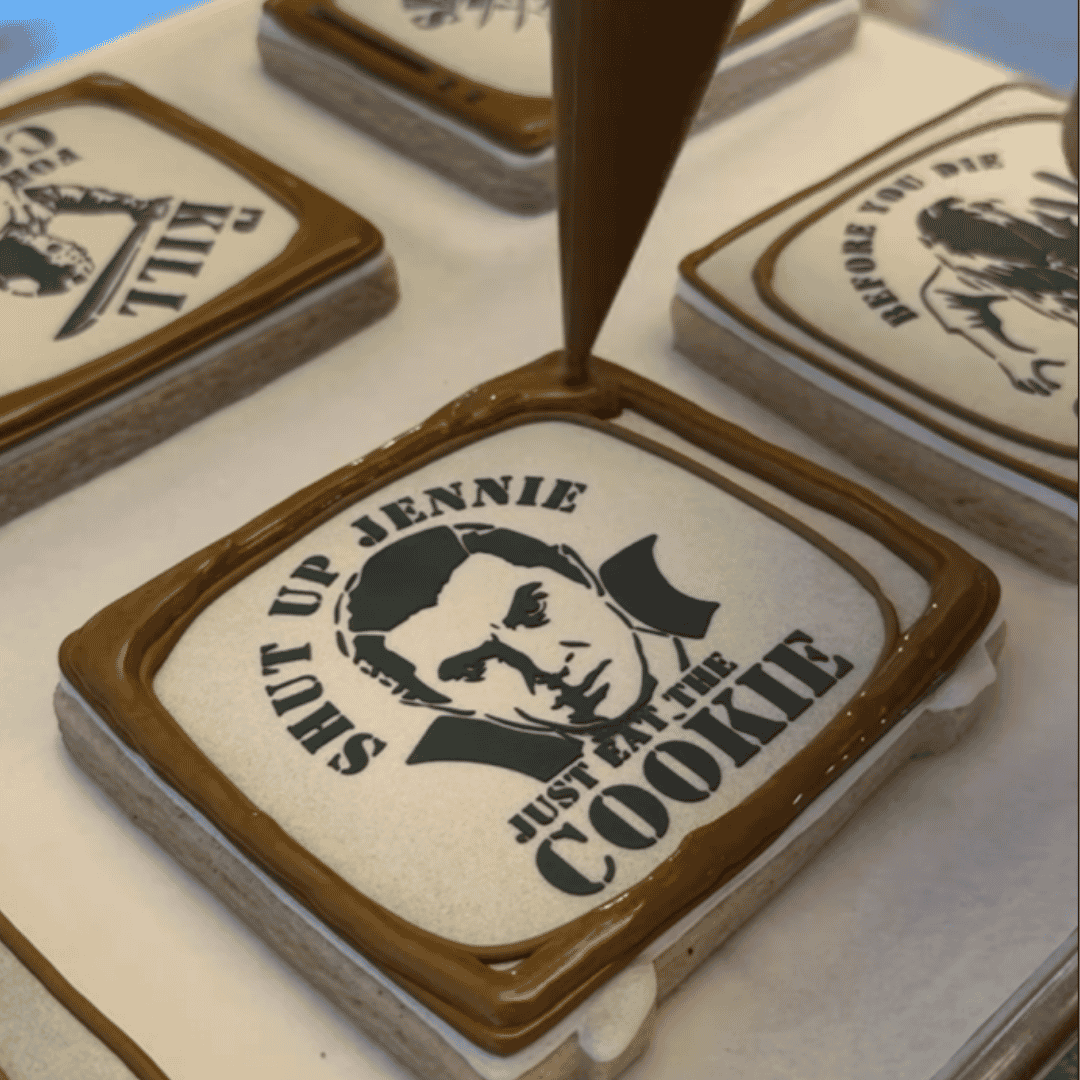
4. Decorate Your TV
If you’re using the Console TV Cookie Cutter, finish by decorating the television details around your stenciled design. We used a projector to guide the piping, but you can absolutely freehand it, too!
Each stencil pays homage to a classic Halloween movie, so turning the cookie into a little television makes the design even more fun. It’s an unexpected presentation that will absolutely stand out from the crowd!
5. Package Your Cookie
Once every detail is completely dry, place the cookie inside a 5" x 7" heat-seal bag and seal it to preserve freshness. Leave enough room above the cookie to attach the topper.
6. Attach the Topper
Position the top of the sealed bag against the lower half of the Killer Halloween Fold-Over Topper, just below the scored fold line. Staple or glue the bag securely in place.
Fold the upper portion of the topper forward along the scored line so it covers the top of the bag. Secure it with glue dots for a clean, finished look, and your Silver Screen Halloween cookie is ready for its big debut!
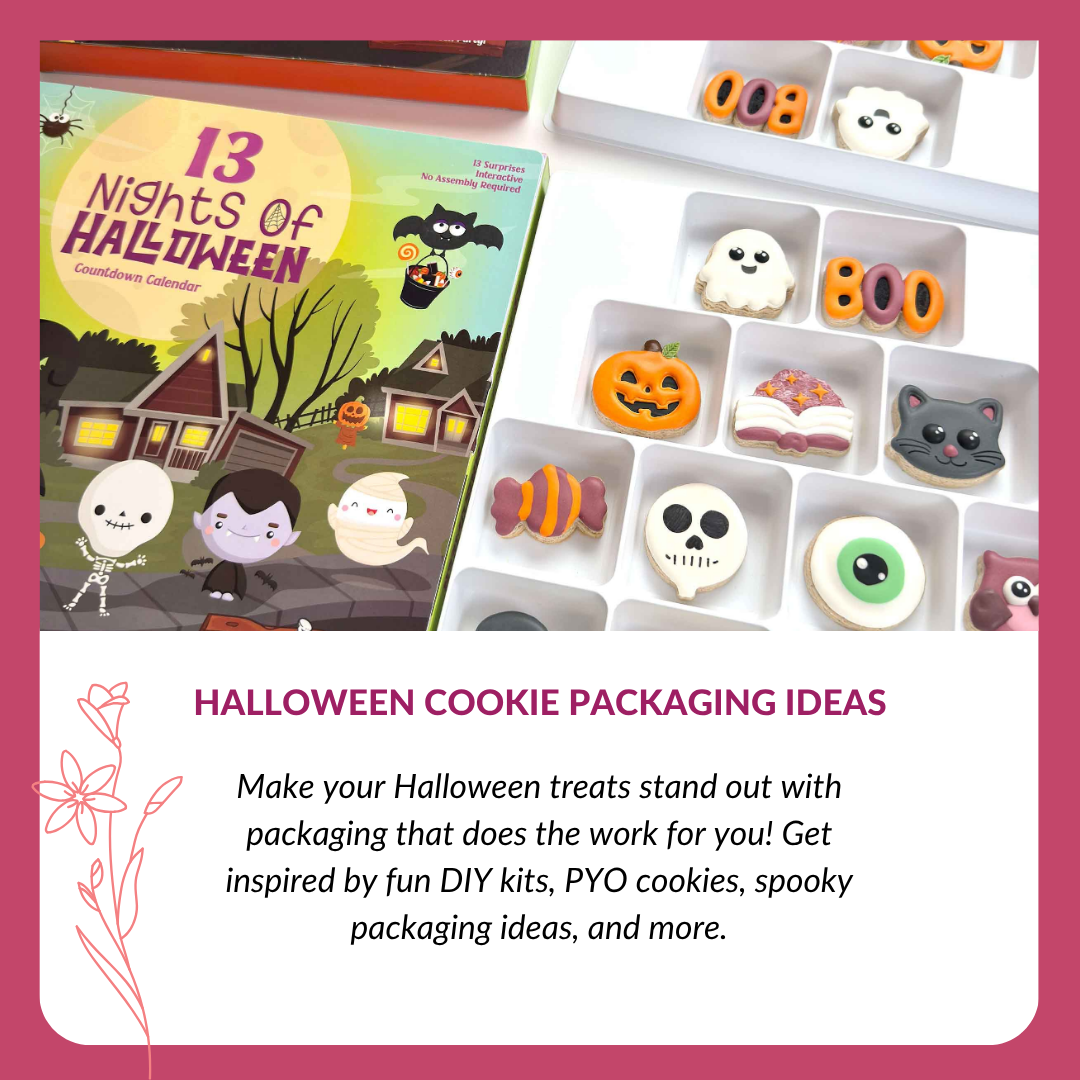
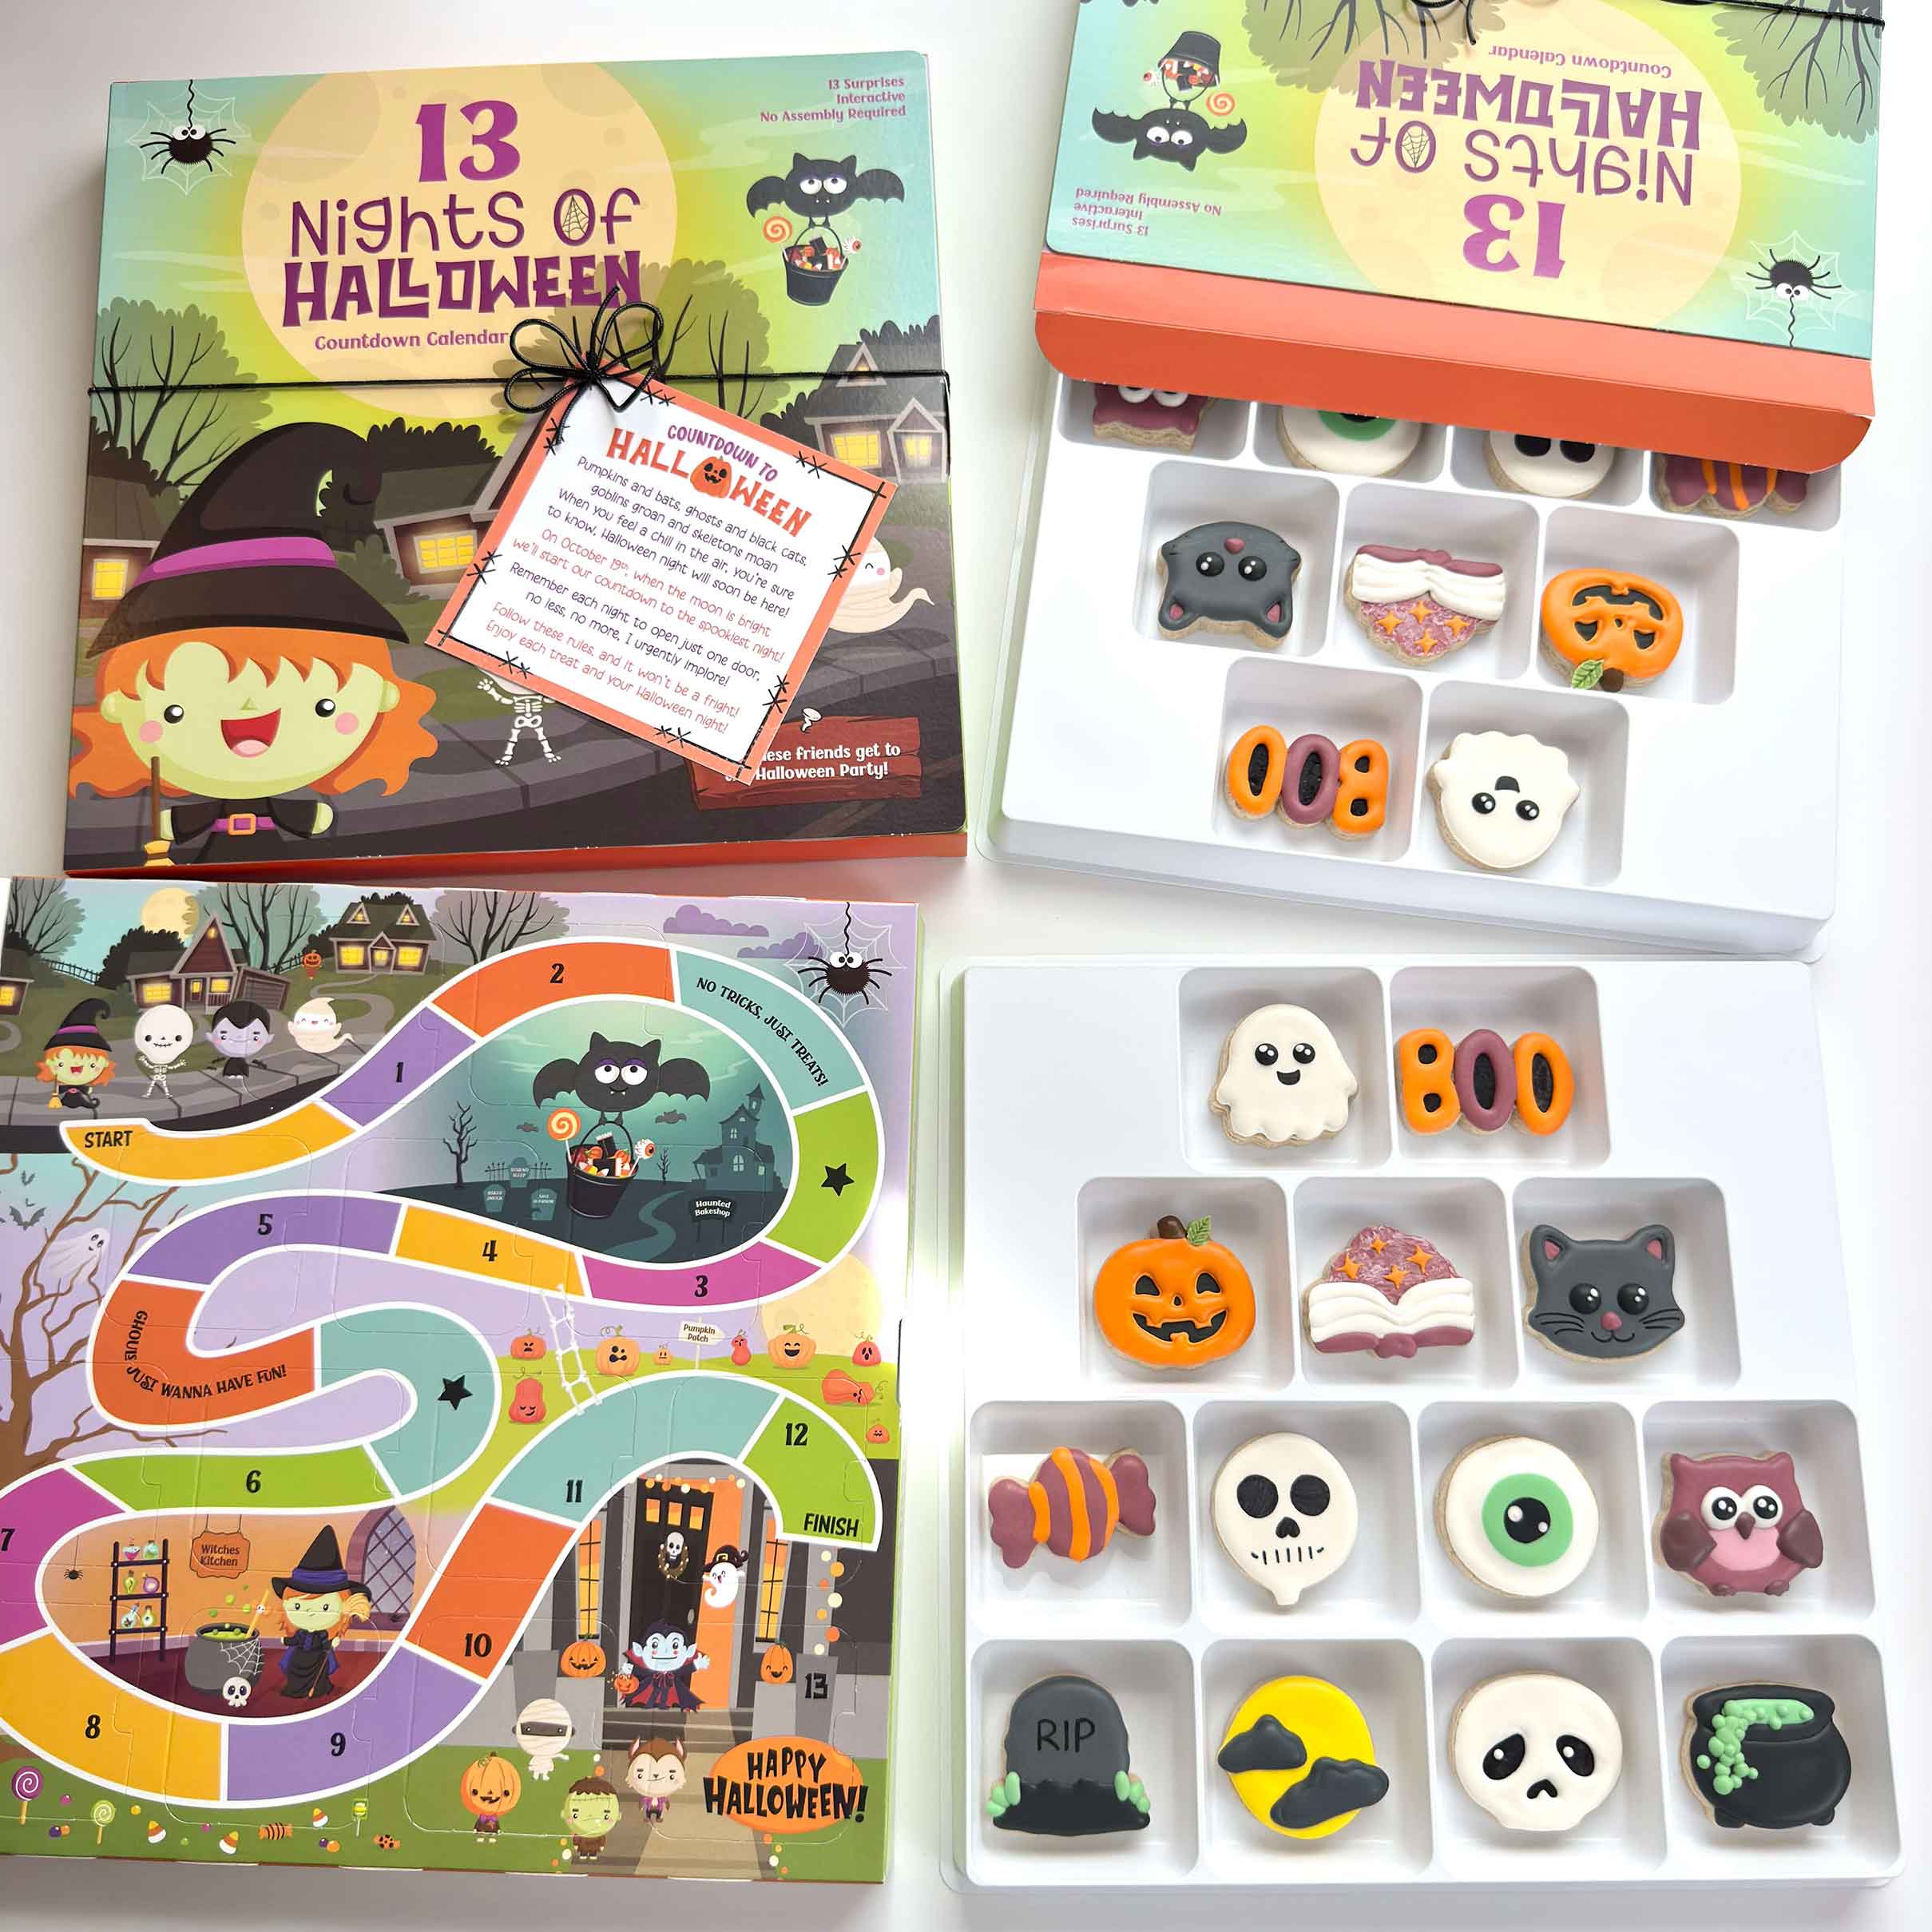
13 Nights of Halloween Countdown Calendar
Dare I say that the excitement around Halloween is finally starting to rival Christmas? We all know how quickly Christmas takes over...the day after Halloween, the decorations come down and the tree is already up in some people’s houses. But can we talk about how excited people are for Halloween these days?! Spirit Halloween stores start popping up in August, and honestly, I am HERE for it.
All of this to say: if Christmas gets an Advent calendar, why shouldn’t Halloween?
Our 13 Nights of Halloween Countdown Calendars are such a fun way to build excitement leading up to the big night. Each day reveals a new cookie, giving customers a little spooky surprise to look forward to. The calendar also creates an adorable display that feels just as special as the treats inside.
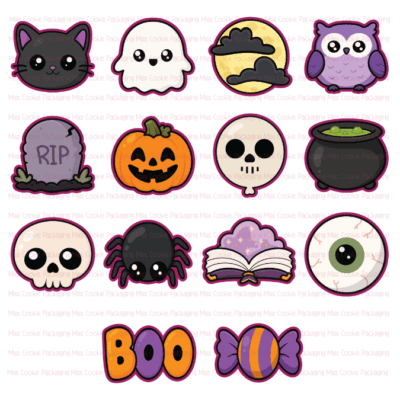
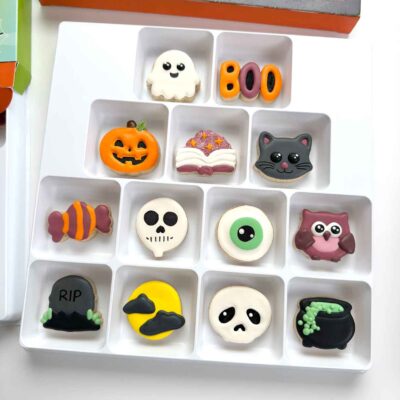
New this year, we created two matching mini cookie cutter sets designed specifically for these calendars: the Cute Halloween Set and the Spooky Halloween Set! Each cookie fits neatly inside a 3" x 4" heat-seal bag before being placed into the calendar. Both sets are available as physical cookie cutters or STL files; and if you use an Eddie edible printer, we also have coordinating Eddie files available!
These calendars are especially great for preorders because you can offer them as one complete, clearly defined product and know exactly how many cookies and supplies you’ll need before you begin. They’re easy to batch, incredibly fun to display, and give your customers 13 nights of delicious Halloween excitement!
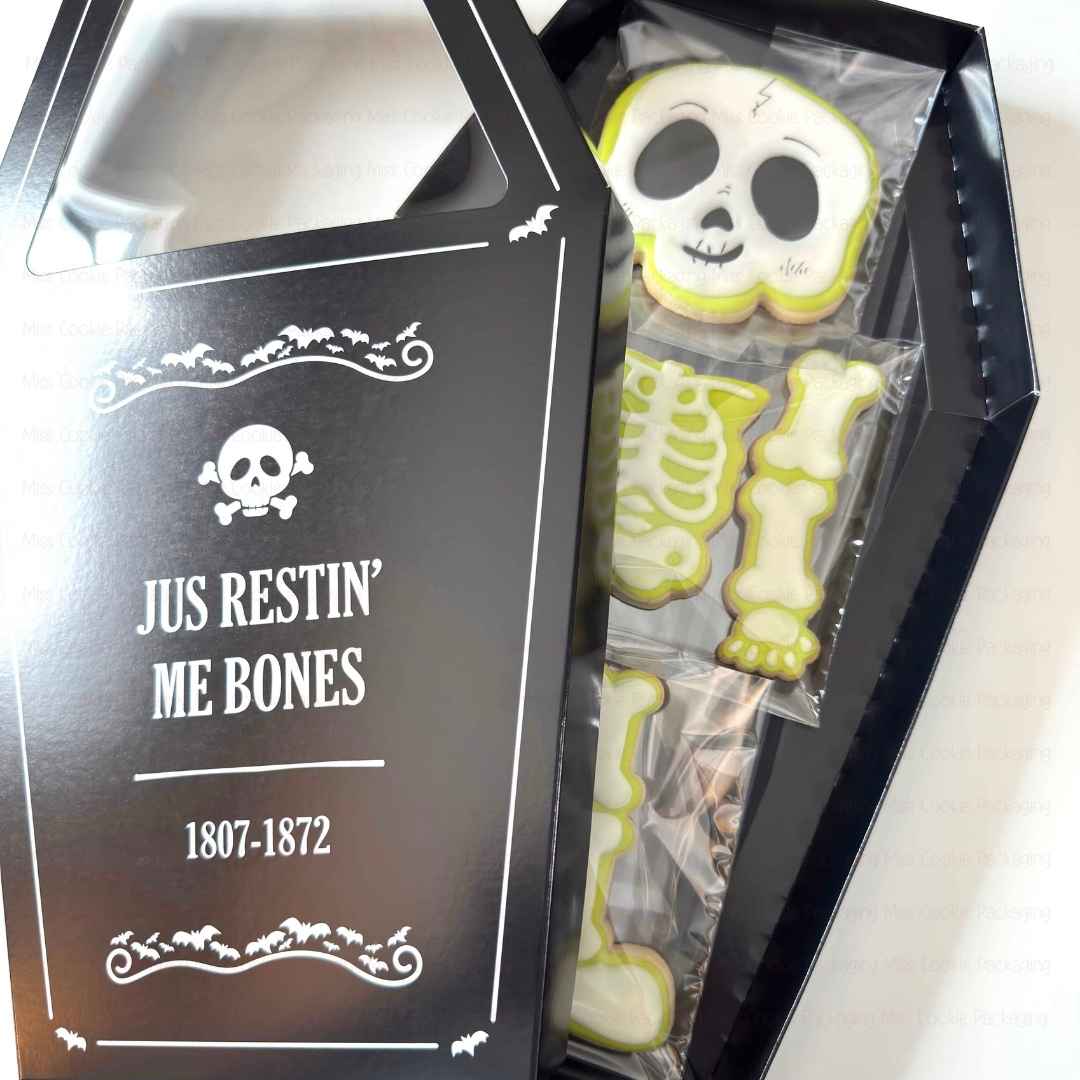
The Coffin Box
This coffin box has been a serious heavy hitter on social media, and it’s easy to see why! It creates an incredible statement piece that’s sure to catch people’s attention.
We designed our Large Skeleton Cookie Cutter Set to fit perfectly inside the coffin, but you definitely don’t have to limit this box to a skeleton cookie. Fill it with chocolate-dipped pretzels, brownie bites, cake pops, cake pucks, an assortment of mini cookies, you name it!
For an extra-fun filler, scatter white chocolate bones around skeleton-head cake pops, or dip pretzels in white and red chocolate for a more macabre look. One of our followers even sent us an amazing photo of sourdough pretzel bones she made for her coffin box!
This box is also fantastic to market for Halloween parties. Use it as an unforgettable statement piece, or leave it open and turn it into a cute and clever serving tray filled with spooky treats.
Check out this video below on how to fold the coffin box!
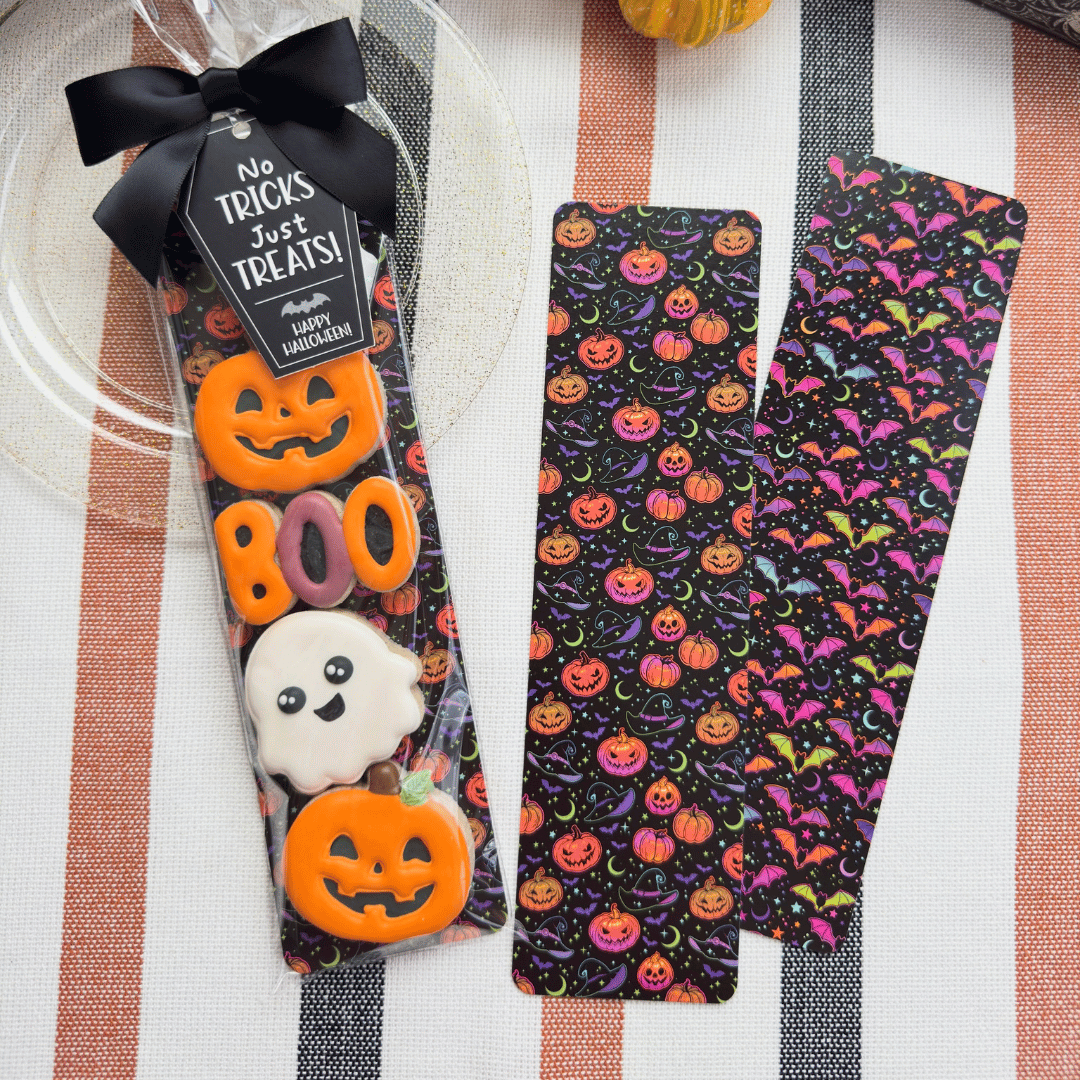
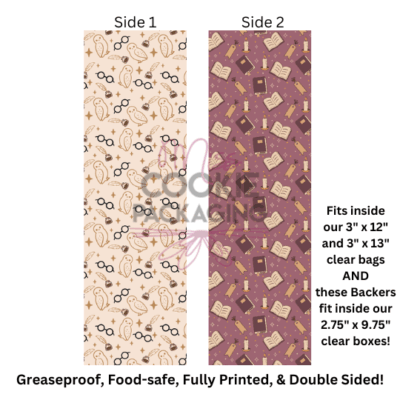
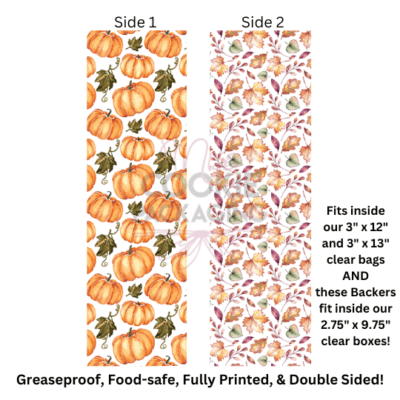
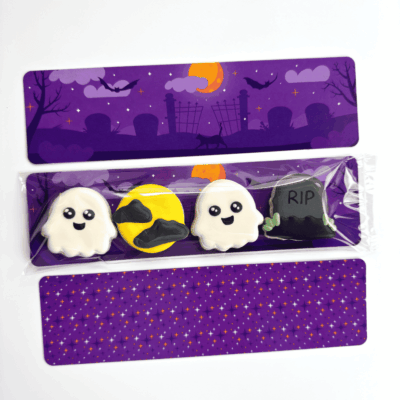
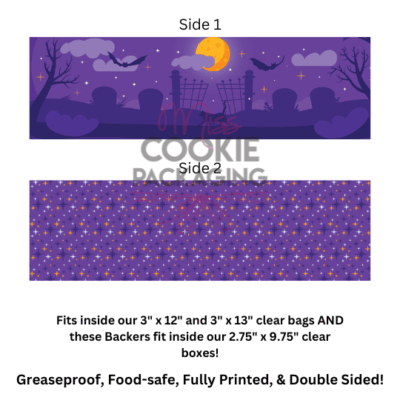
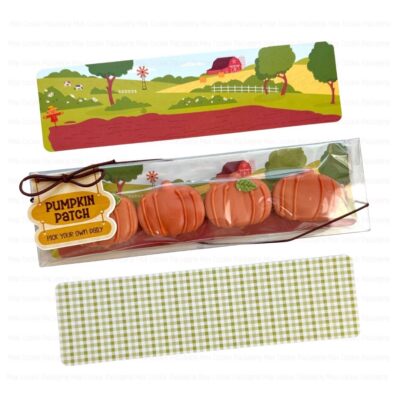
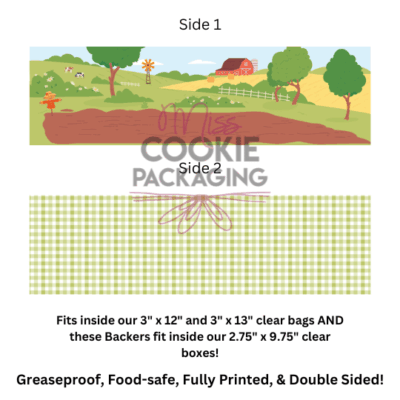
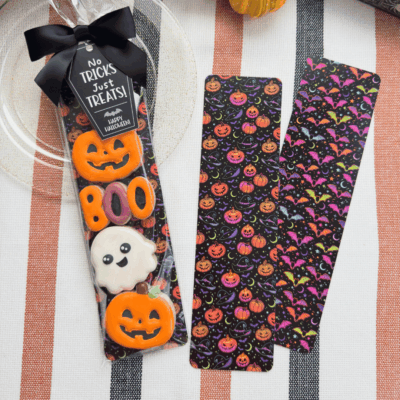
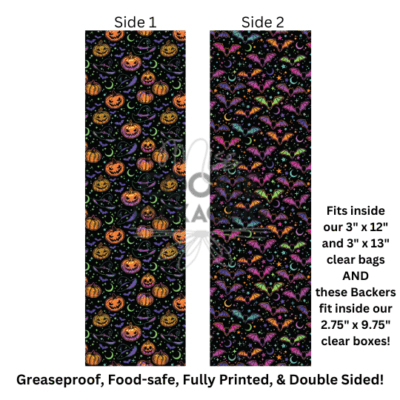
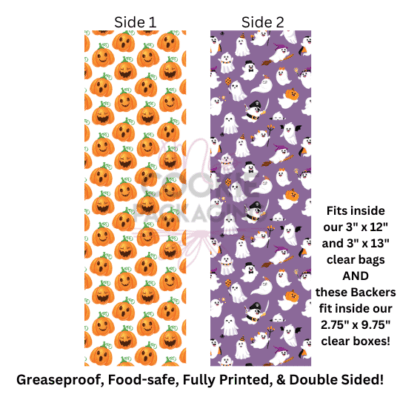
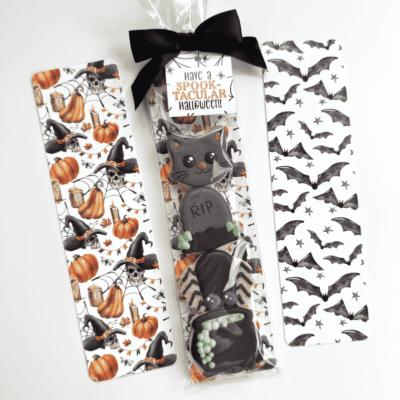
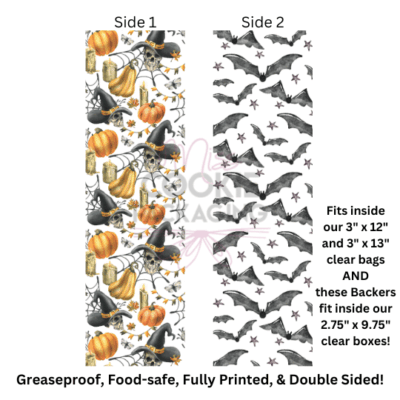
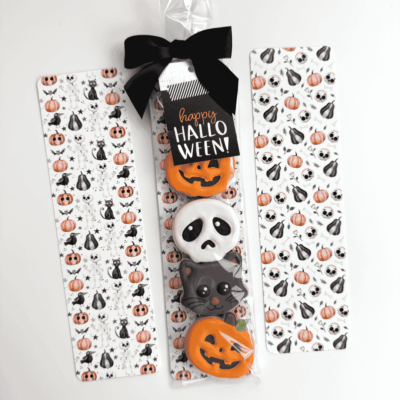
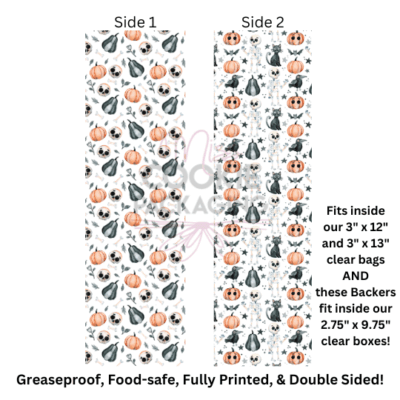
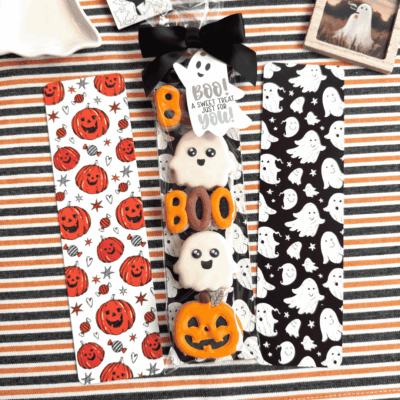
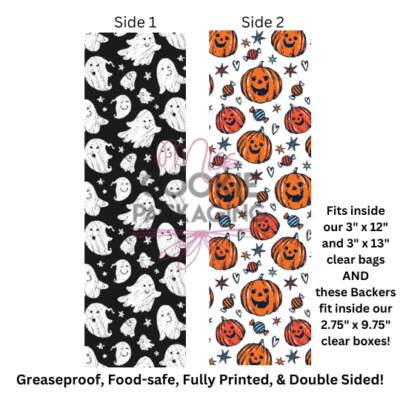
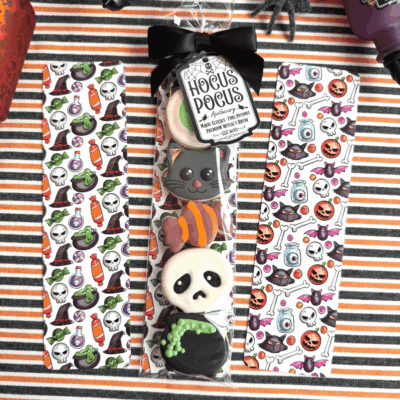
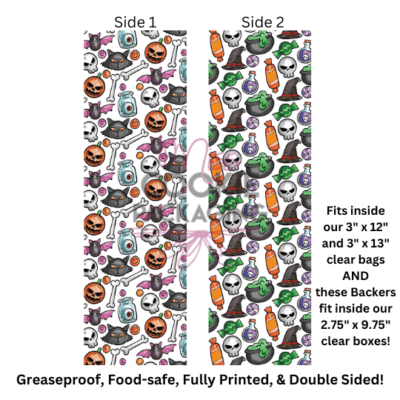
Tall Halloween Backers
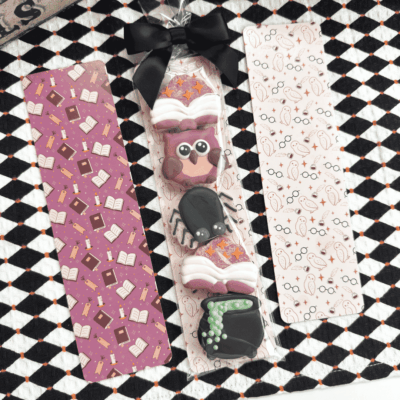
We added some adorable (and spooky!) new greaseproof backers to our lineup this year! The best part? They’re all available through our Backer Bundle, which is always 10% off.
Build your own bundle with your favorite backer, matching cookie cutter, bag, bow, tag, box, stretch loop, or anything else you need to complete the look. Take a peek at our newest designs below and get inspired!
CUTE Halloween 13 Nights Matching Cookie Cutters – 14 Cookie Cutters
$3.00 – $38.50Price range: $3.00 through $38.50
Wizard Mini Cookie Cutter Set – 7 Cookie Cutters
$3.00 – $21.00Price range: $3.00 through $21.00Ready to Package Some Halloween Magic?
Whether you’re creating interactive DIY kits, easy PYO cookies, movie-inspired treats, or a spooky statement box, the right packaging can turn even a simple treat into something customers can’t resist.
We hope these ideas inspired you to try something new this Halloween!
If you recreate any of these ideas, be sure to tag us so we can see what you make! Happy haunting...👻