Blog
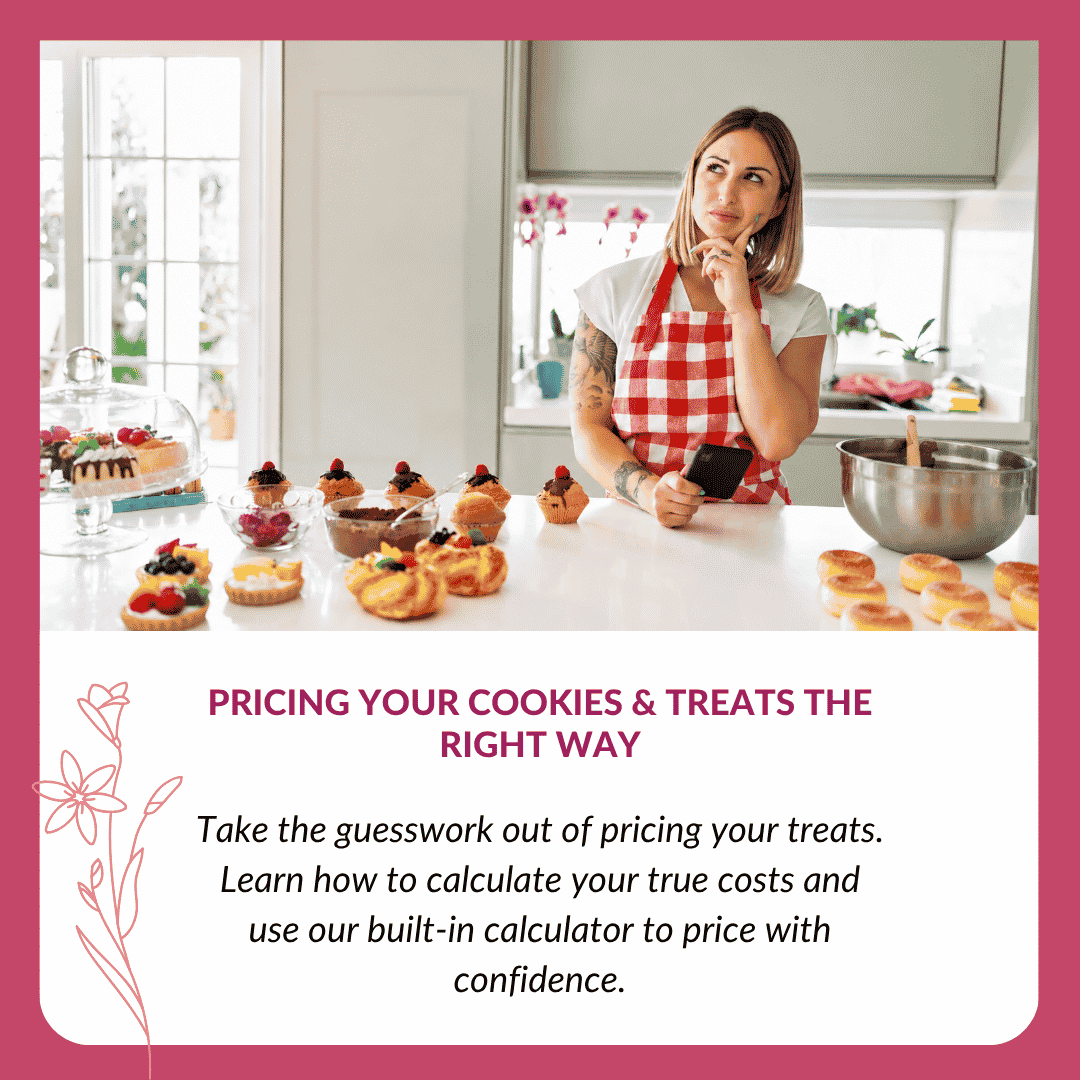
Pricing Your Cookies & Treats the Right Way
Let’s Talk About Pricing
Before we dive in, a quick introduction: hi, I’m Deanna! I’m the Marketing Coordinator here at Miss Cookie Packaging, and I’ve also been helping out with writing our blog content as well!
Before I started working with Missy, I spent years as a restaurant operations manager, which is one of the toughest industries when it comes to profit margins. In restaurants, every penny matters, so I became very familiar with cost of goods and how important it is to account for every expense if you actually want to make money.
I later carried that same mindset into my own freelance illustration work and handmade products. I learned how to calculate real costs, spot hidden expenses, and make sure I was pricing in a way that actually paid me for my work.
That same thinking is incredibly important for cookiers and other specialty bakers.
In this guide, we’re going to break down cost of goods, talk about the expenses people often forget to include, and help you price your treats in a way that is fair to your customers and fair to you.
There’s a little math ahead, so grab a coffee, put on your thinking cap, and let’s get into it.

The Mindset Shift
Being over booked and constantly sold out is not always a good thing.
I know that sounds counterintuitive, because of course we want to sell out! It feels like proof that people love what you’re making. But your business has to sustain you, both financially and mentally.
When I was doing freelance illustration, I often had around 20 commissions waiting at any given time. I was up until the wee hours of the morning trying to keep up, constantly behind, and completely exhausted. And despite all of that work, my bank account did not reflect the hours I was putting in.
I wasn’t booked solid because demand was sky-high, I was booked solid because my prices were too low.
At one point, I realized that this wasn’t sustainable, and I was starting to resent the work that I was doing. Once I raised my prices, something amazing happened: I made more money while taking on fewer commissions, and for the first time, my workload actually felt manageable.
The same thing happens in the world of cookies and specialty treats.
If you
- are booked out weeks in advance
- are turning people away regularly
- could sell more if you had time
- do raise prices, orders don’t drop much
that’s often a sign your pricing needs to be adjusted.
When orders never slow down, your market is often telling you that it can handle higher pricing.
Being booked solid and constantly sold out feels good, but sustainable pricing is what keeps you in business.
Know Your Market
One of the most common questions I get is: “What should I charge for my cookies or treats?”
And the honest answer is: I can’t give you a single number.
That’s exactly why I decided to write this guide. There are so many factors that go into pricing, and without understanding those, any number I give you would be a guess at best.
One of the biggest factors is your market.
Cookie and treat pricing is not universal. What works for one baker may not work for another, simply because they’re selling to completely different audiences.
A baker selling at a busy holiday market in a major city can often charge significantly more than someone in a small or rural town, and both prices can be correct. Things like location, average local income, foot traffic, tourism, and seasonal demand all play a role in what customers are willing to pay.
That’s why it’s so important to stop comparing your prices to what you see online and start focusing on what makes sense for your business.
How to Figure Out What Your Market Will Pay
The tricky part is that most pricing isn’t posted publicly, so a quick Google search won’t tell you much. Instead, you want to look for patterns and signals:
- Check local Facebook groups where people are asking for custom cookies or treats
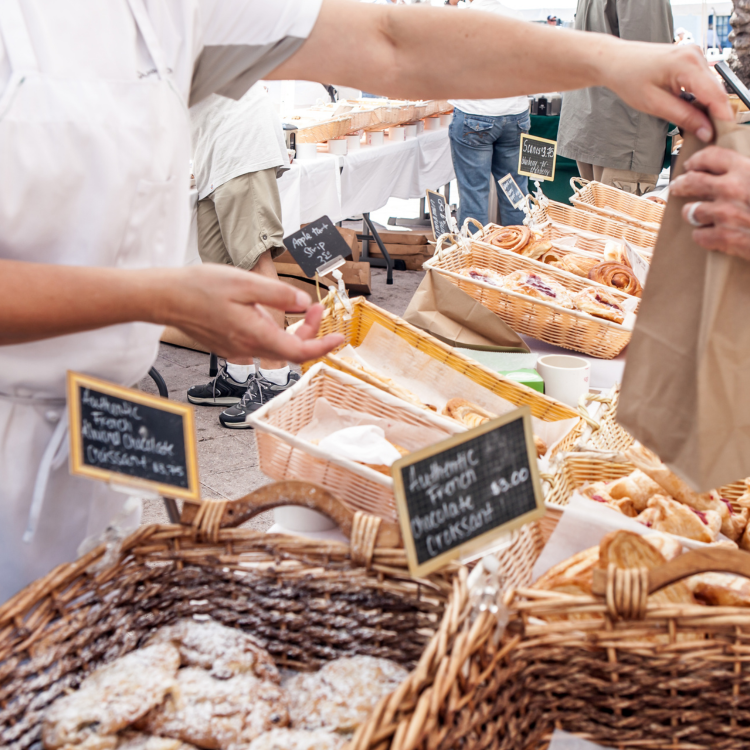
- Visit farmers markets, pop-ups, or craft fairs and observe how items are priced and how quickly they sell
- Pay attention to customer reactions, are people grabbing items, or do they look at the price and walk away?
- Look at nearby bakeries, custom cakes, and specialty desserts for general pricing expectations
You’re not looking for an exact number, you’re trying to understand what feels reasonable and comfortable to buyers in your area.
And don’t even look at grocery store prices, they’ll always be cheaper because they’re mass-produced, not specialty treats like yours.

Pricing Baselines
Now that we’ve talked about mindset and market, let’s get into some actual numbers.
One of the biggest challenges in pricing cookies and other small specialty treats is that there’s no universal standard. That said, there are general ranges that many bakers fall into, and these can be helpful as a starting point, especially if you feel like you’re pricing in the dark.
Instead of trying to figure out what to charge per dozen or per set right away, it’s much easier (and much more accurate) to start with a price per treat, then scale from there.
This method gives you flexibility across everything you sell, whether it’s:
- Custom orders
- Pre-made sets
- Singles at markets
- Cake pops, chocolate dipped treats, or other specialty items
Once you know your per-treat price, everything else becomes simple math.
A Simple Starting Point
Most decorated cookies and similar specialty treats fall into these general ranges:
- Simple designs: $3–$5 each
- Medium detail: $5–$8 each
- High detail / characters / logos: $8–$12+ each
This gives you a foundation to work from, but the key is understanding why a treat falls into one category or another.
What Actually Affects Pricing?
Pricing isn’t just about size, it’s about time, detail, and process.
A smaller treat can still be more expensive if it requires:
- Multiple icing colors
- Detailed piping or lettering
- Layering or drying between steps
- Fine detail work
On the flip side, a larger treat with a simple design might be quicker and easier to produce.
Size does not equal effort. Effort equals price.
When you price per treat instead of per dozen, you naturally avoid underpricing more detailed designs and it becomes much easier to build custom quotes without second-guessing yourself. It keeps your pricing consistent across different products and takes away the need to re-calculate every time an order changes. It also makes adjusting your pricing over time much simpler, raising your per-treat price by even $0.25 automatically carries across your entire menu.

Hidden Costs
Okay, now that you have some baseline numbers to work with, let’s take it a step further.
If you want to really understand what your treats actually cost you to make (and make sure you’re not undercharging without realizing it) this is where things start to click.
One of the biggest pricing mistakes is only thinking about ingredients.
Packaging and overhead are not “extra” costs, they are part of your product.
If you’re selling a cookie in a box with a bow, that packaging isn’t optional. It’s part of what the customer is buying, and it needs to be included in your price.
Think about everything that goes into presenting your treats:
All of these things add up, and they should be built into your pricing, not absorbed as a loss.
And if you’re sitting there thinking, “No one is going to pay $5 for my cake pop on a cute card, I have to eat the packaging price,” take a quick walk into Starbucks.
They’re charging pretty close to that for one plain, mass-produced cake pop; no bag, no bow, no cute presentation. Meanwhile, yours is handmade and packaged like a gift.
That comparison alone should tell you you’re on the right track.
The Costs You Don’t Always See
Beyond packaging, there are a lot of small costs that are easy to overlook:
- Food coloring and decorating supplies
- Tools and equipment
- Electricity and kitchen use
- Test batches and mistakes
- Storage and organization supplies
Individually, these don’t seem like much, but over time, they add up fast and can quickly eat into your profit.
One thing that helped me tremendously was getting organized with my inventory and pricing.
In my “Get Organized” blog, I created a free spreadsheet that includes a simple “price” column so you can quickly see what each item costs you, whether it’s packaging, ingredients, or supplies.
Note: If you’d like to use this free spreadsheet I created, be sure to check out the Inventory section in the blog linked above, I’ve included step-by-step directions and screenshots to help you get started!
Having everything laid out in one place makes it incredibly easy to understand what you’re actually spending.
When you stay on top of your inventory and keep your costs updated, calculating your cost of goods becomes so much simpler.
Instead of guessing or trying to remember what things cost, you can just glance at your spreadsheet and plug in your numbers. When you’re organized, your pricing becomes easy as pie.

What is Overhead?
Overhead is one of those things that people hear all the time, but don’t always fully understand, especially when you’re baking from home.
If you’re working out of a storefront or commercial kitchen, it’s pretty straightforward. Your overhead is your rent, your full utility bills (electricity, heat, water), equipment, and any employees you have. Those are fixed costs, and your pricing has to cover them.
For home bakers, it’s a little less obvious, because you’re already paying for those things in your everyday life. But your business is still increasing those costs, and that increase is what counts as overhead.
Some examples of often overlooked overhead:
- Website or platform fees
- Subscription tools (email, design software, etc.)
- Equipment (mixers, printers, heat sealers)
- Market booth fees or pop-up costs
- Occasional paid help
- A portion of your utilities (electricity, gas, water)
These aren’t tied to one specific batch, but they’re very real costs of running your business.
How to Estimate Your Overhead at Home
Instead of trying to figure out exactly how much electricity your oven used for one batch (please don’t do that to yourself), think in rough, realistic terms.
When it comes to utilities, you’re not charging your entire bill. You’re just accounting for the portion your business is responsible for.
Let’s say:
- Your monthly utilities are around $200
- You estimate about 25% of that is from baking and running your business
Note: If you’re not sure where to start, around 20–30% is a reasonable estimate for many home bakers. You can adjust that based on how often you’re using your kitchen. If you’re baking most days or for long hours, you may be on the higher end. If you’re only baking a few days a week, you may be on the lower end.
$200 × 25% = $50 in monthly overhead
Now, if you make about 100 treats in a month:
$50 ÷ 100 = $0.50 per treat
Then your utility overhead per item is $0.50, and your treats need to have that baked into the pricing (pun intended).
Now think about the rest of your overhead. Did you hire someone for a couple hours this month to help you at a market or take photos for social media? Do you have website or subscription costs each month? If the answer is yes, you know what to do, add those into your overhead total.
Let’s say you had an additional $50 in overhead that month. Add that to your original overhead and divide it across your treats:
($50 + $50 utilities) ÷ 100 treats = $1.00 per treat in overhead.
Ideally, you’re not adjusting your prices by a few cents every month because your electric bill went up or you baked a little less. The goal is to find a realistic average overhead cost, build that into your pricing once, and move forward with confidence.
Just make sure to revisit your numbers every year or so to keep everything on track, you don’t want to slowly lose money without realizing it.

A Quick Note on Equipment
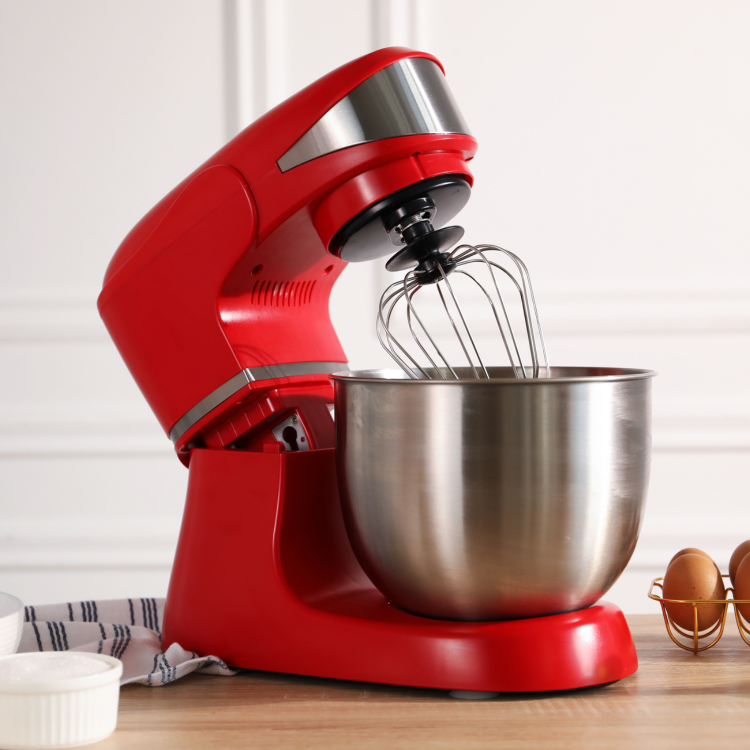
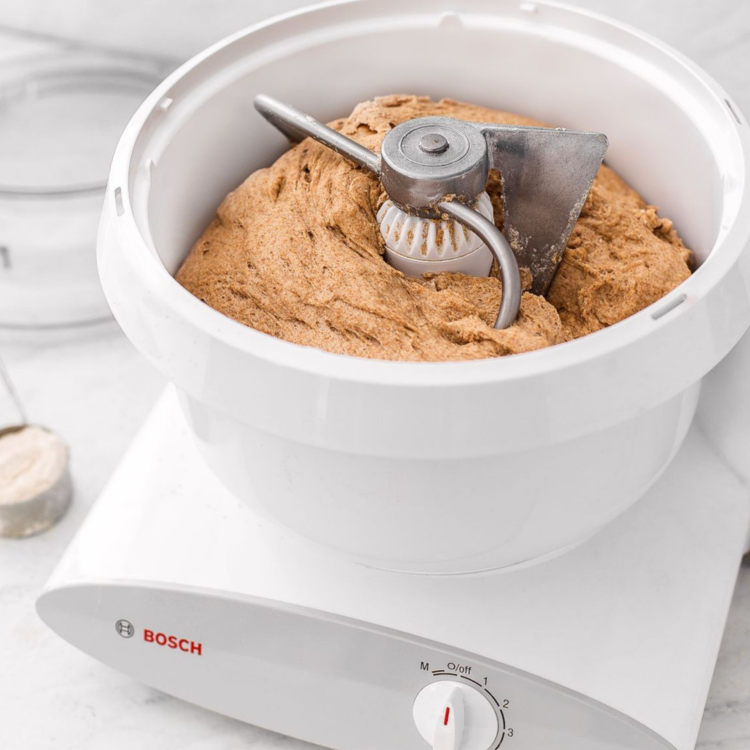
One last thing to keep in mind for overhead is your equipment.
Things like your stand mixer, printer, heat sealer, or other larger tools are part of your business too, but you don’t need to build their full cost into your pricing all at once. In fact, high-quality equipment like a stand mixer can last 10–25 years, so you’re getting a lot of value out of that investment over time.
Instead, it makes more sense to spread that cost out.
If you want a simple way to think about it, you can use this formula:
Replacement Cost ÷ Expected Lifespan (in months) = Monthly Equipment Cost
For example, let’s say:
- Your mixer cost $300
- You expect it to last about 10 years (120 months)
$300 ÷ 120 = $2.50 per month
Now take that monthly cost and spread it across what you produce. If you make about 100 treats per month:
$2.50 ÷ 100 = $0.025 per treat (about 2–3 cents)
That’s it, that’s your mixer cost per item.
Now here’s the important part, you don’t have to calculate every piece of equipment this precisely to run a sustainable business. You just need a general sense of what your tools are worth and make sure they’re being accounted for.
Even adding a small amount per treat makes a big difference. Let’s say you add $0.10 per item to account for equipment.
$0.10 × 100 treats per month × 12 months = $120 per year
That $120 is your new heat sealer when yours finally gives out, or money toward replacing any of your expensive tools over time.
If you’re not accounting for that upfront, those replacements come straight out of your profit.

Let's Talk About Your Time
Paying yourself for your time is the part that feels the most uncomfortable, and trust me, I get it.
When you start factoring your time into your pricing, the numbers can feel high at first. It’s easy to second guess it and think, “there’s no way people will pay that.” But what you’re actually seeing is the real cost of what you’re making.
I learned this the hard way when I was doing freelance illustration. I was constantly busy, had a long list of commissions waiting, and it felt like things were going great. Then I actually did the math and realized I was paying myself about $5 an hour.
And that’s really the reality of it: if you’re not paying yourself for your time, you’re not running a business, you have an expensive hobby.
That doesn’t mean you need to double your prices overnight, but it does mean your time has to be part of the equation. At the end of the day, it’s not just about covering your costs, it’s about making sure the work you’re putting in is actually worth it.
You don’t have to pay yourself $25 an hour right out of the gate to be sustainable, but you also shouldn’t sell yourself short just because you’re starting out. Build a fair rate for your time into your pricing now, even if it’s modest, and increase it as your business grows and your skills develop.
Find Your True Cost Per Treat
Now that you have a better understand of what should go into your pricing, let's break out the calculator.
This is where most people realize why their pricing hasn’t been working.
We’re going to calculate your true cost per treat; not just ingredients, but everything it actually takes to run your business.
Step 1: Add Up Your Total Batch Costs
Think about everything you used for a batch of treats:
- Ingredients: $_____
- Packaging (boxes, bags, backers, ribbon): $_____
- Supplies (icing colors, sticks for cake pops, etc.): $_____
- Overhead (utility costs, equipment etc.): $_____
Total Cost: $_____
Step 2: Divide by the Number of Treats
Now divide that total by how many treats you made.
Total Cost ÷ Number of Treats = Cost Per Treat
$_____ ÷ _____ = $_____ per treat
This is your material cost per item.
Step 3: Pay Yourself for Your Time
Your time is not free.
Ask yourself:
- How many hours did this batch take? _____
- What do you want to pay yourself per hour? $_____
Multiply those together:
Hours × Hourly Rate = Labor Cost
_____ × $_____ = $_____
Now divide that across your treats:
Labor Cost ÷ Number of Treats = Labor Per Treat
$_____ ÷ _____ = $_____ per treat
Step 4: Find Your True Cost
Now combine both numbers:
Material Cost + Labor Cost = Your TRUE cost per treat
$_____ + $_____ = $_____ per treat
This number is your minimum. This is essentially the price you need to sell your treats at to keep a sustainable business.
A Quick Example
Let’s say:
- You spend $100 on ingredients, packaging, and overhead
- You make 50 treats → $2 per treat
- You spend 10 hours working
- You want to make $20/hour → $200 in labor
- $200 ÷ 50 treats = $4 per treat
Now your true cost is:
$2 + $4 = $6 per treat
That means selling for $4 or $5 isn’t just “a good deal,” it’s a loss.
Most people only think about ingredient cost, which is usually the smallest piece of the puzzle.
When you factor in packaging, supplies, overhead, labor, etc. You start to see the real picture.
If you don’t account for every cost, you’re the one paying the difference.

Add your Profit
Once you’ve accounted for your ingredients, labor, and overhead, you’ve found your true cost.
But you’re not done yet! You still need to leave room for profit.
Profit isn’t something you hope is left over at the end, it needs to be built into your pricing from the start.
A good target to aim for, especially when you’re starting out, is around 5-10% profit. That might sound lower than expected, but remember, you’ve already paid yourself for your time. This is on top of that. Your labor is what pays you. Profit is what supports your business. Without it, your business stagnates.
As your business grows, your efficiency improves, and your pricing becomes more refined, your margins can grow with you.
What 10% Actually Looks Like
Let’s say your total cost per treat is that $6 we calculated earlier.
10% of $6 is $0.60
That means your final price would be:
$6.00 + $0.60 = $6.60 per treat
That $0.60 is your profit.
It might not seem like a lot on one item, but just like everything else we’ve talked about, it adds up quickly over time.
This is where your business either grows or stalls. If your pricing only covers your costs and nothing more, there’s no room for growth. No room to upgrade your equipment, handle unexpected expenses, or reinvest back into your business.
You don’t need to overcomplicate it, and you don’t need to aim for huge margins right away. Start with something sustainable, like 5-10%, and build from there.
Try This at Home
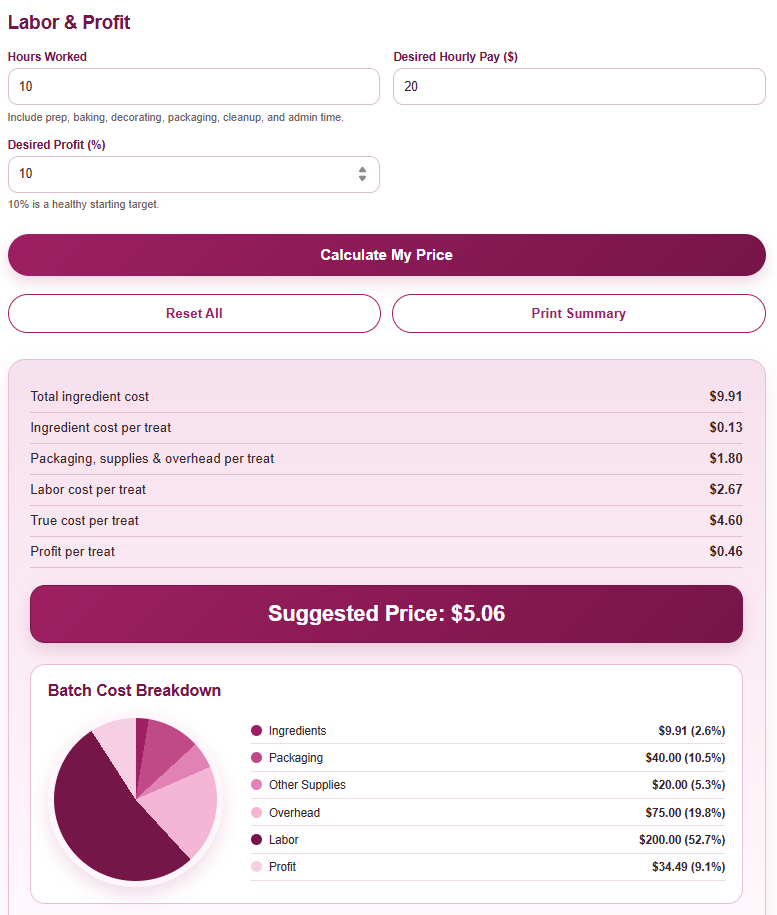
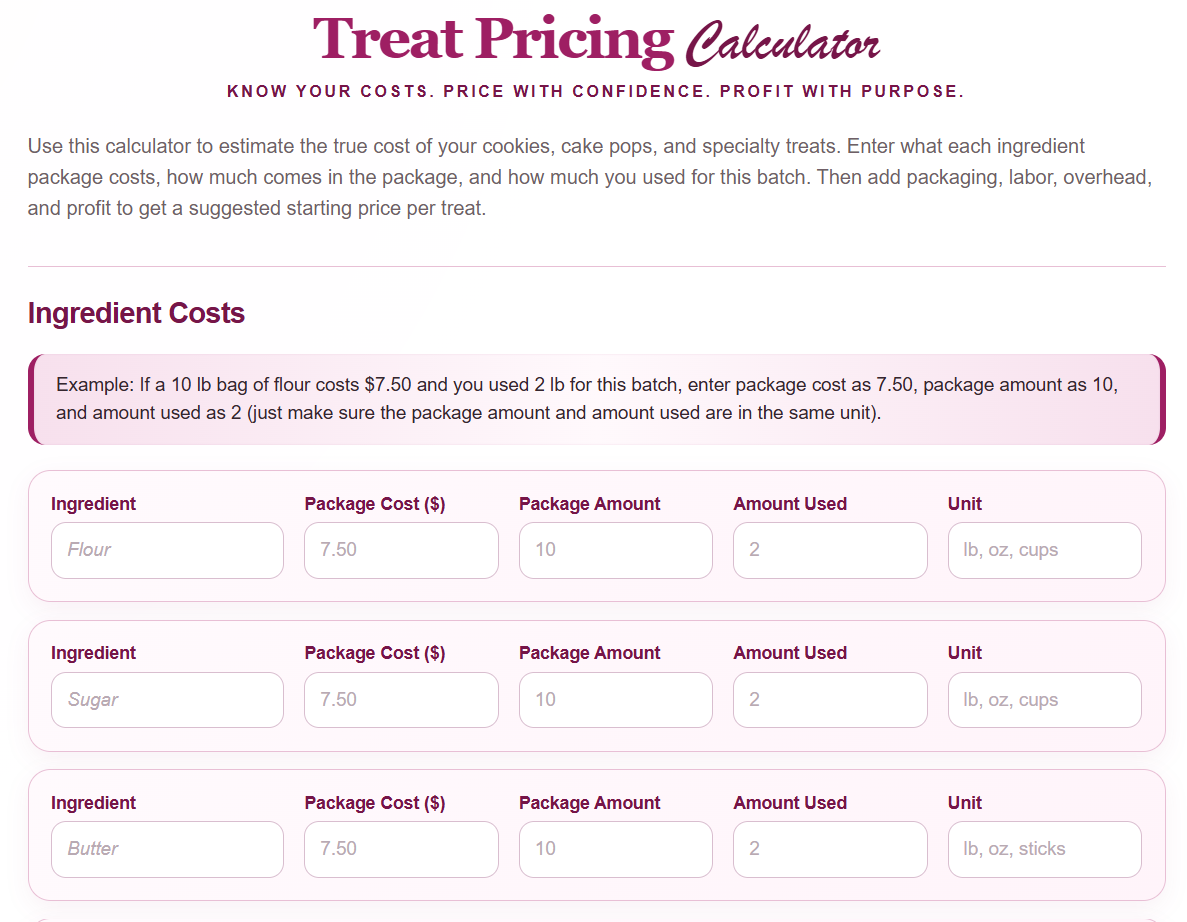
I put together a simple pricing calculator that you can use alongside your inventory spreadsheet to get a much clearer picture of your true costs, click the image below to try it out!
It lets you plug in your ingredients, packaging, supplies, overhead, labor, and even your profit margin all in one place, so you can see exactly where your money is going and what you should be charging.
I also created a kitchen measurement conversion cheat sheet to help you figure out your price per recipe if you’re working in cups instead of weights, you can find that HERE.
Give it a try and see what you should be charging per treat!
How to Save on Costs
Now that we’ve talked about all the things that go into your pricing, let’s talk about the flip side: where you can actually save money.
Because while you shouldn’t cut corners on your pricing, you can be smart about how you spend.
One of the easiest ways to do that is by thinking ahead, especially when it comes to non-perishables. Things like boxes, bags, backers, bows, and other packaging supplies don’t expire, so when you see them on sale, stock up.
Buying a little extra now can save you a lot over time, and having your go-to supplies always on hand will save you overnight shipping fees when you realize you don't have enough bags to finish an order.
The same goes for certain ingredients and decorating supplies. If you know you’ll use something regularly, it’s worth grabbing it when the price is right instead of waiting until you need it.
This is actually a big part of why mass-produced baked goods are able to be so much cheaper. Grocery stores and large companies have tremendous buying power, they’re purchasing ingredients and supplies in massive quantities at heavily discounted prices.
As a one-person business, you’re never going to compete with that, and you don’t need to.
But you can take a page from that mindset and apply it in a way that works for you:
- Buy what you use often
- Take advantage of sales
- Think ahead for upcoming holidays and seasons
Even small savings, like getting your packaging a little cheaper, can add up over time and improve your margins without raising your prices.
Final Thoughts
Remember, There isn’t one “perfect” price for cookies and specialty treats. There are too many variables, your market, your style, your process, your costs.
But there is a right way to approach pricing.
When you understand your numbers, account for your costs, and respect your time, pricing stops feeling like guesswork.
You don’t need to be the cheapest option. You don’t need to compete with grocery stores or big chains. You just need to price in a way that supports your business and makes the work you’re putting in worth it.
And remember, the decimal point is your best friend! If you want to start adjusting your prices, you don’t need to make huge jumps. Most people see $6.50 and think “six dollars and some change,” not seven. Even a small increase like $0.25 per treat adds up quickly. Sell 150 treats, and that’s an extra $37.50 in your pocket from one small adjustment.
This doesn’t have to happen all at once. Small, intentional changes over time can make a huge difference. Pay attention to your workload, test your pricing, and let your business grow with you.
I hope this guide helped you feel more confident about your pricing. What works for you won’t work for everyone, and what works for everyone might not work for you, and that’s okay.
If you’d rather not sit down and work through all the math and just want to enjoy selling cookies on the side, the baseline pricing we talked about is a great place to start. But if you’re looking to grow your business and maximize your profits, it’s worth taking the time to understand your numbers and factor in those hidden costs.
No matter which route you choose, the most important thing is that your pricing works for you. Don’t be afraid to make adjustments, test things out, and find what feels right for your business.