Blog
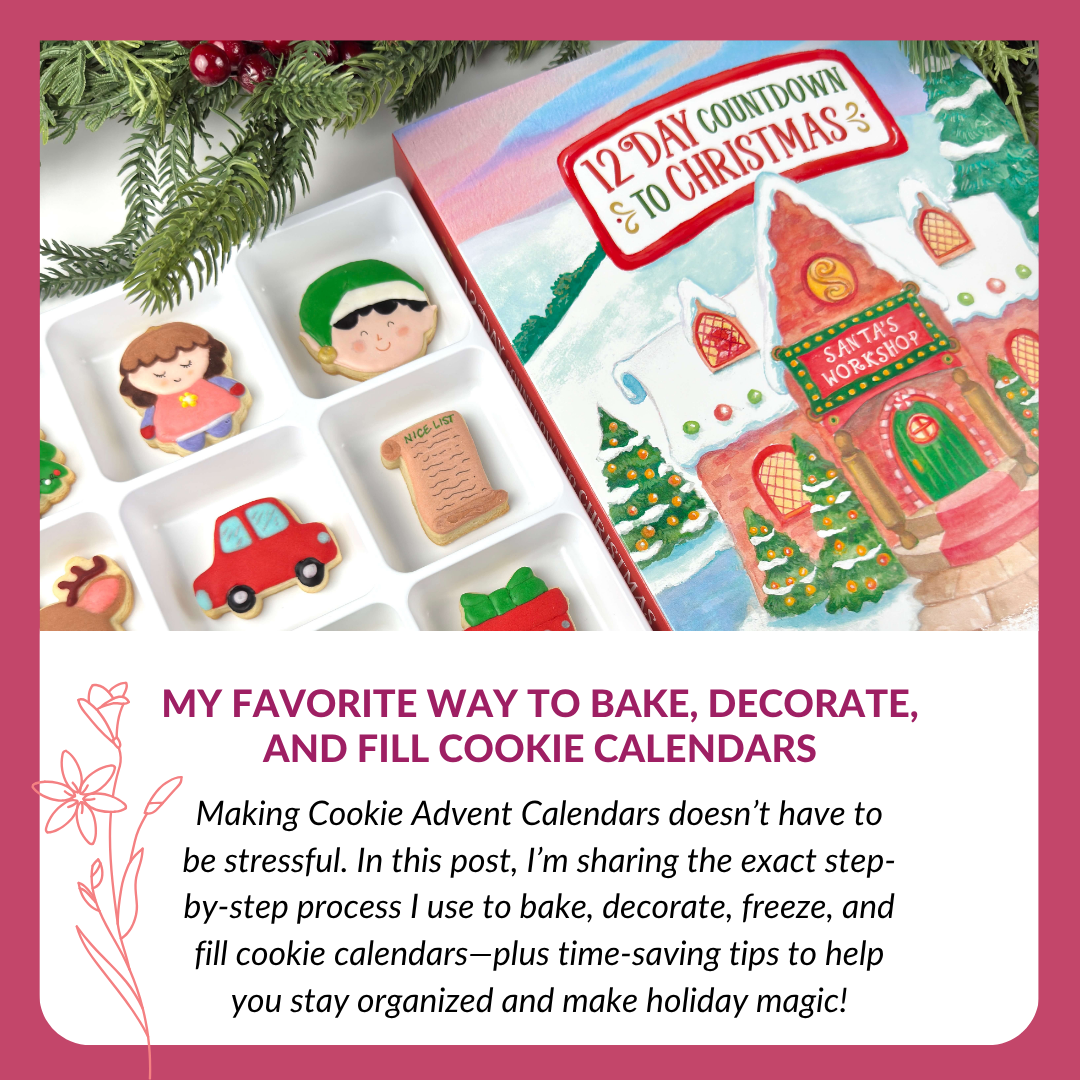
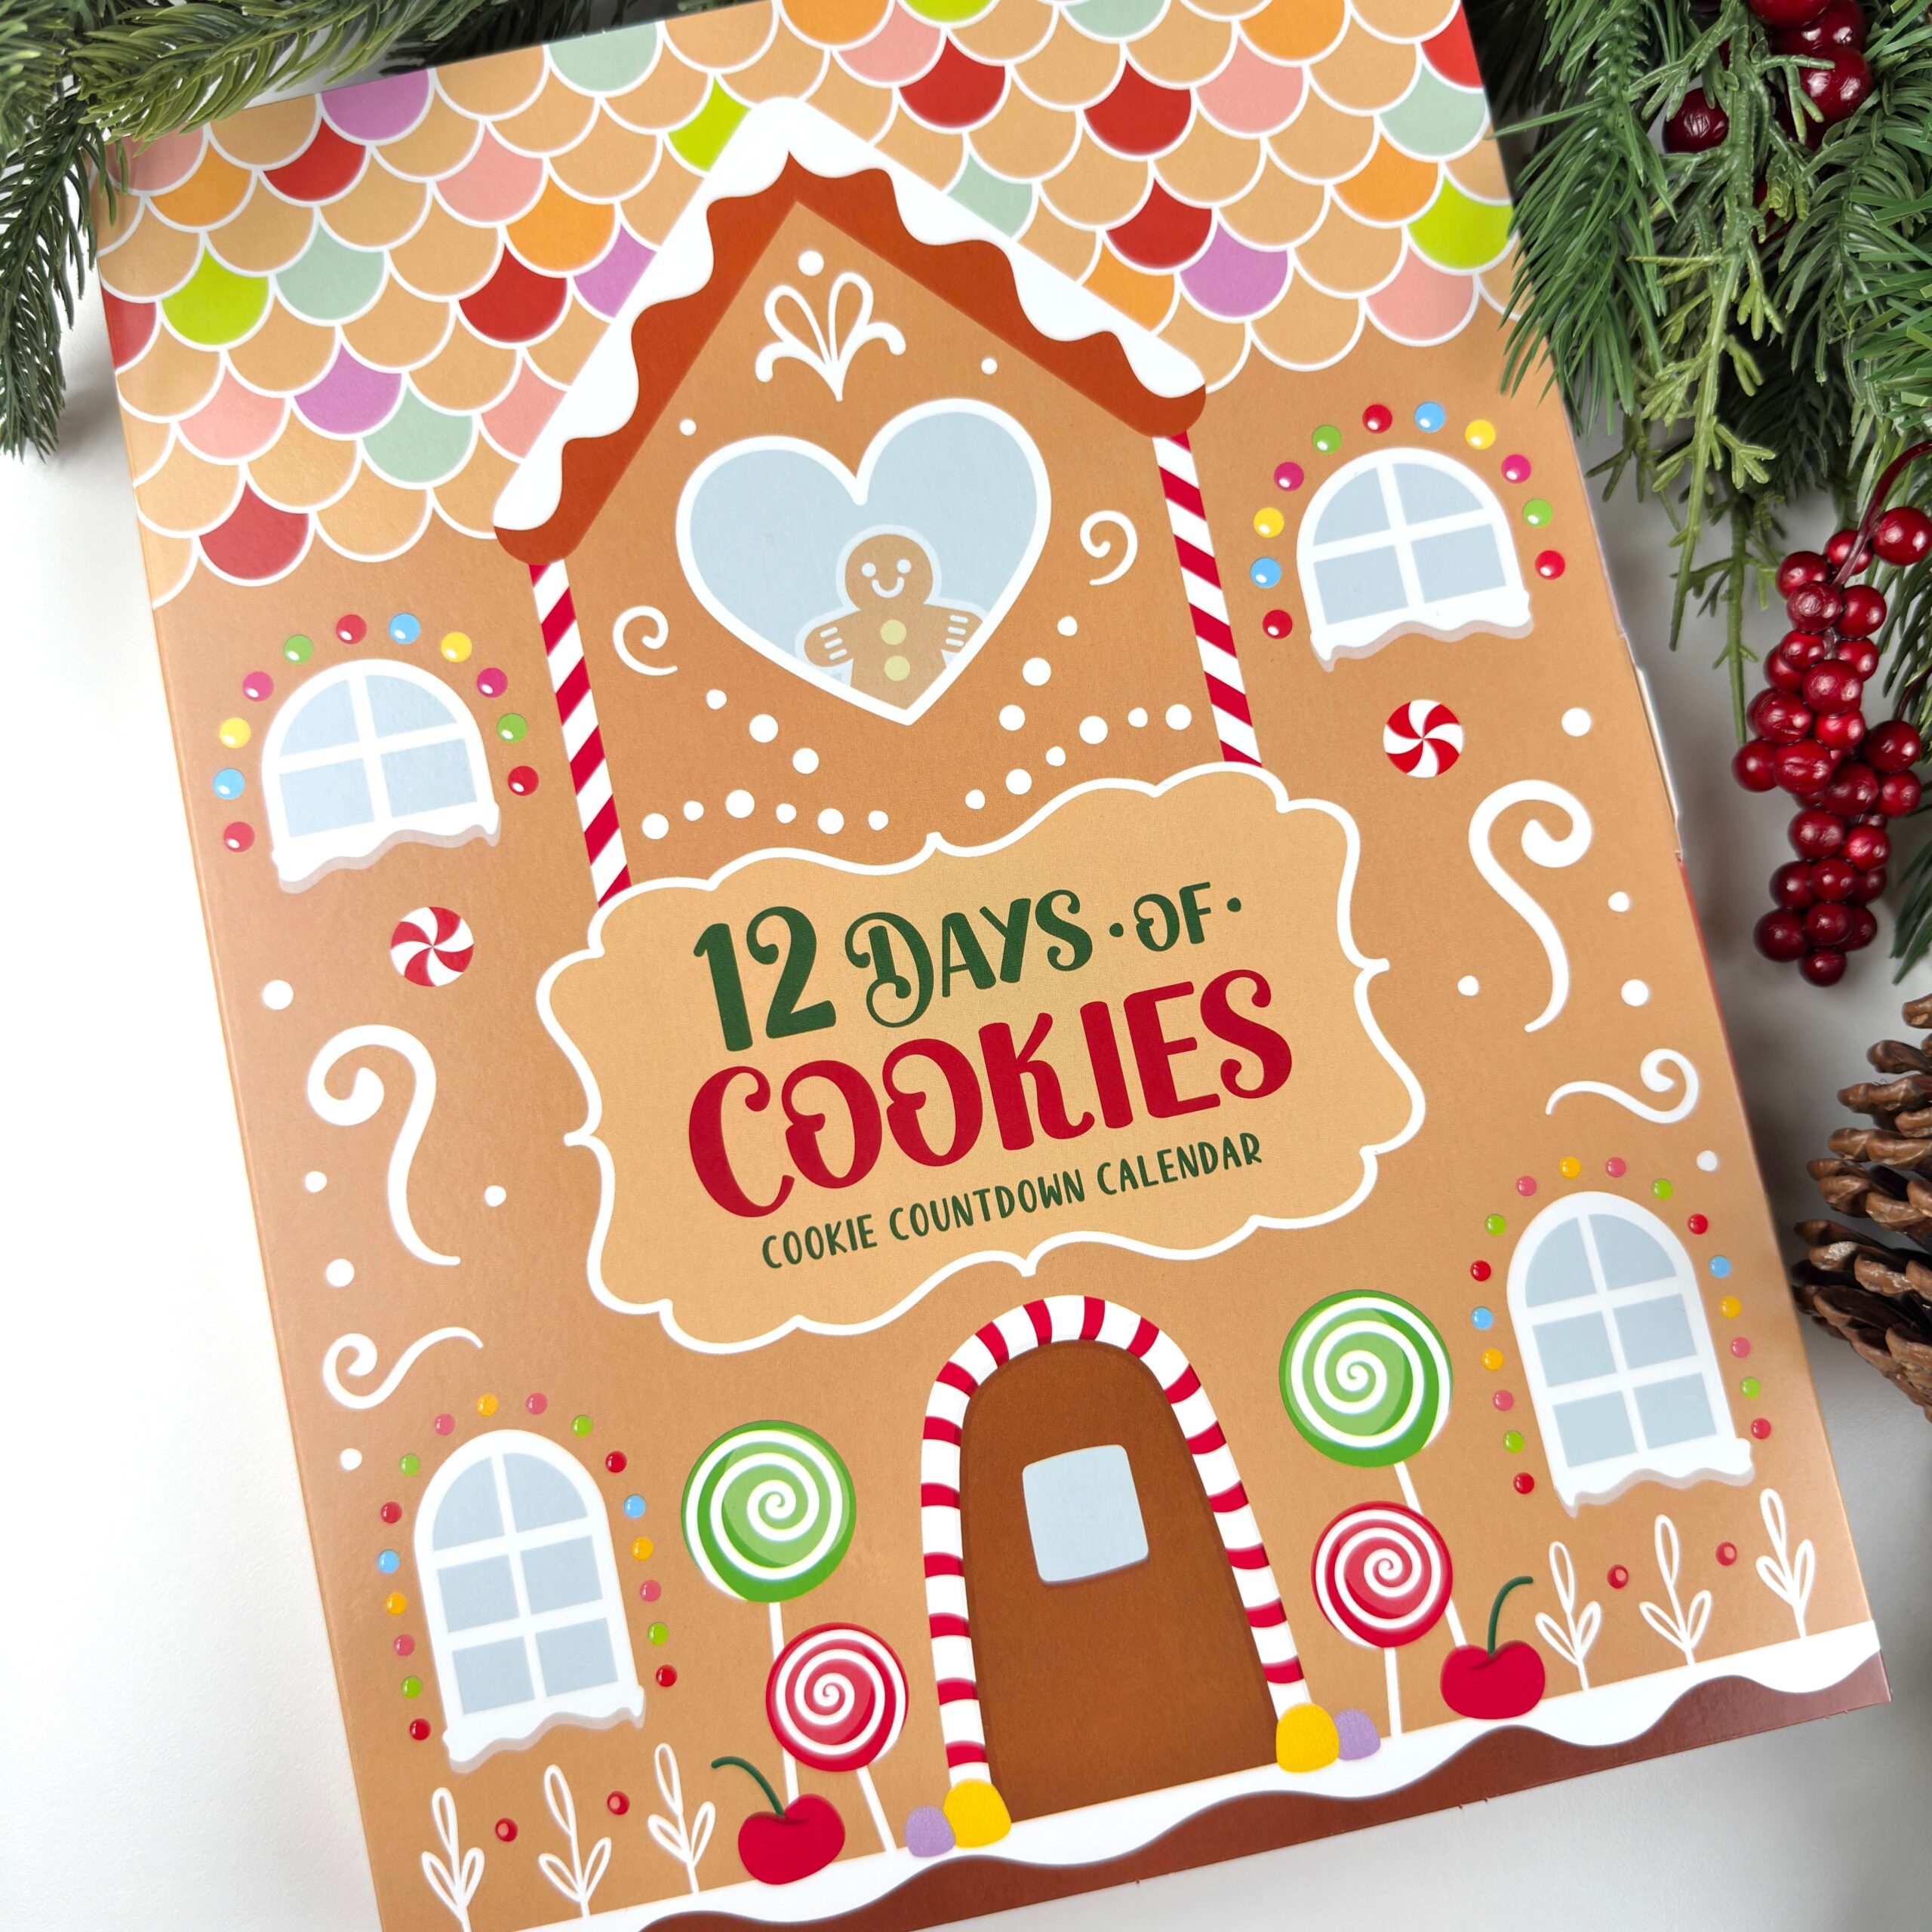
How to Make Cookie Advent Calendars: My Step-by-Step Decorating & Filling Process

8. Put It All Together and Seal Your Boxes
What You’ll Need:
- Filled internal Cookie Advent Calendar trays
- Cookie Advent Calendar boxes
- Bows, stretch loops, poem or instruction cards (optional)
- Large, flat work surface
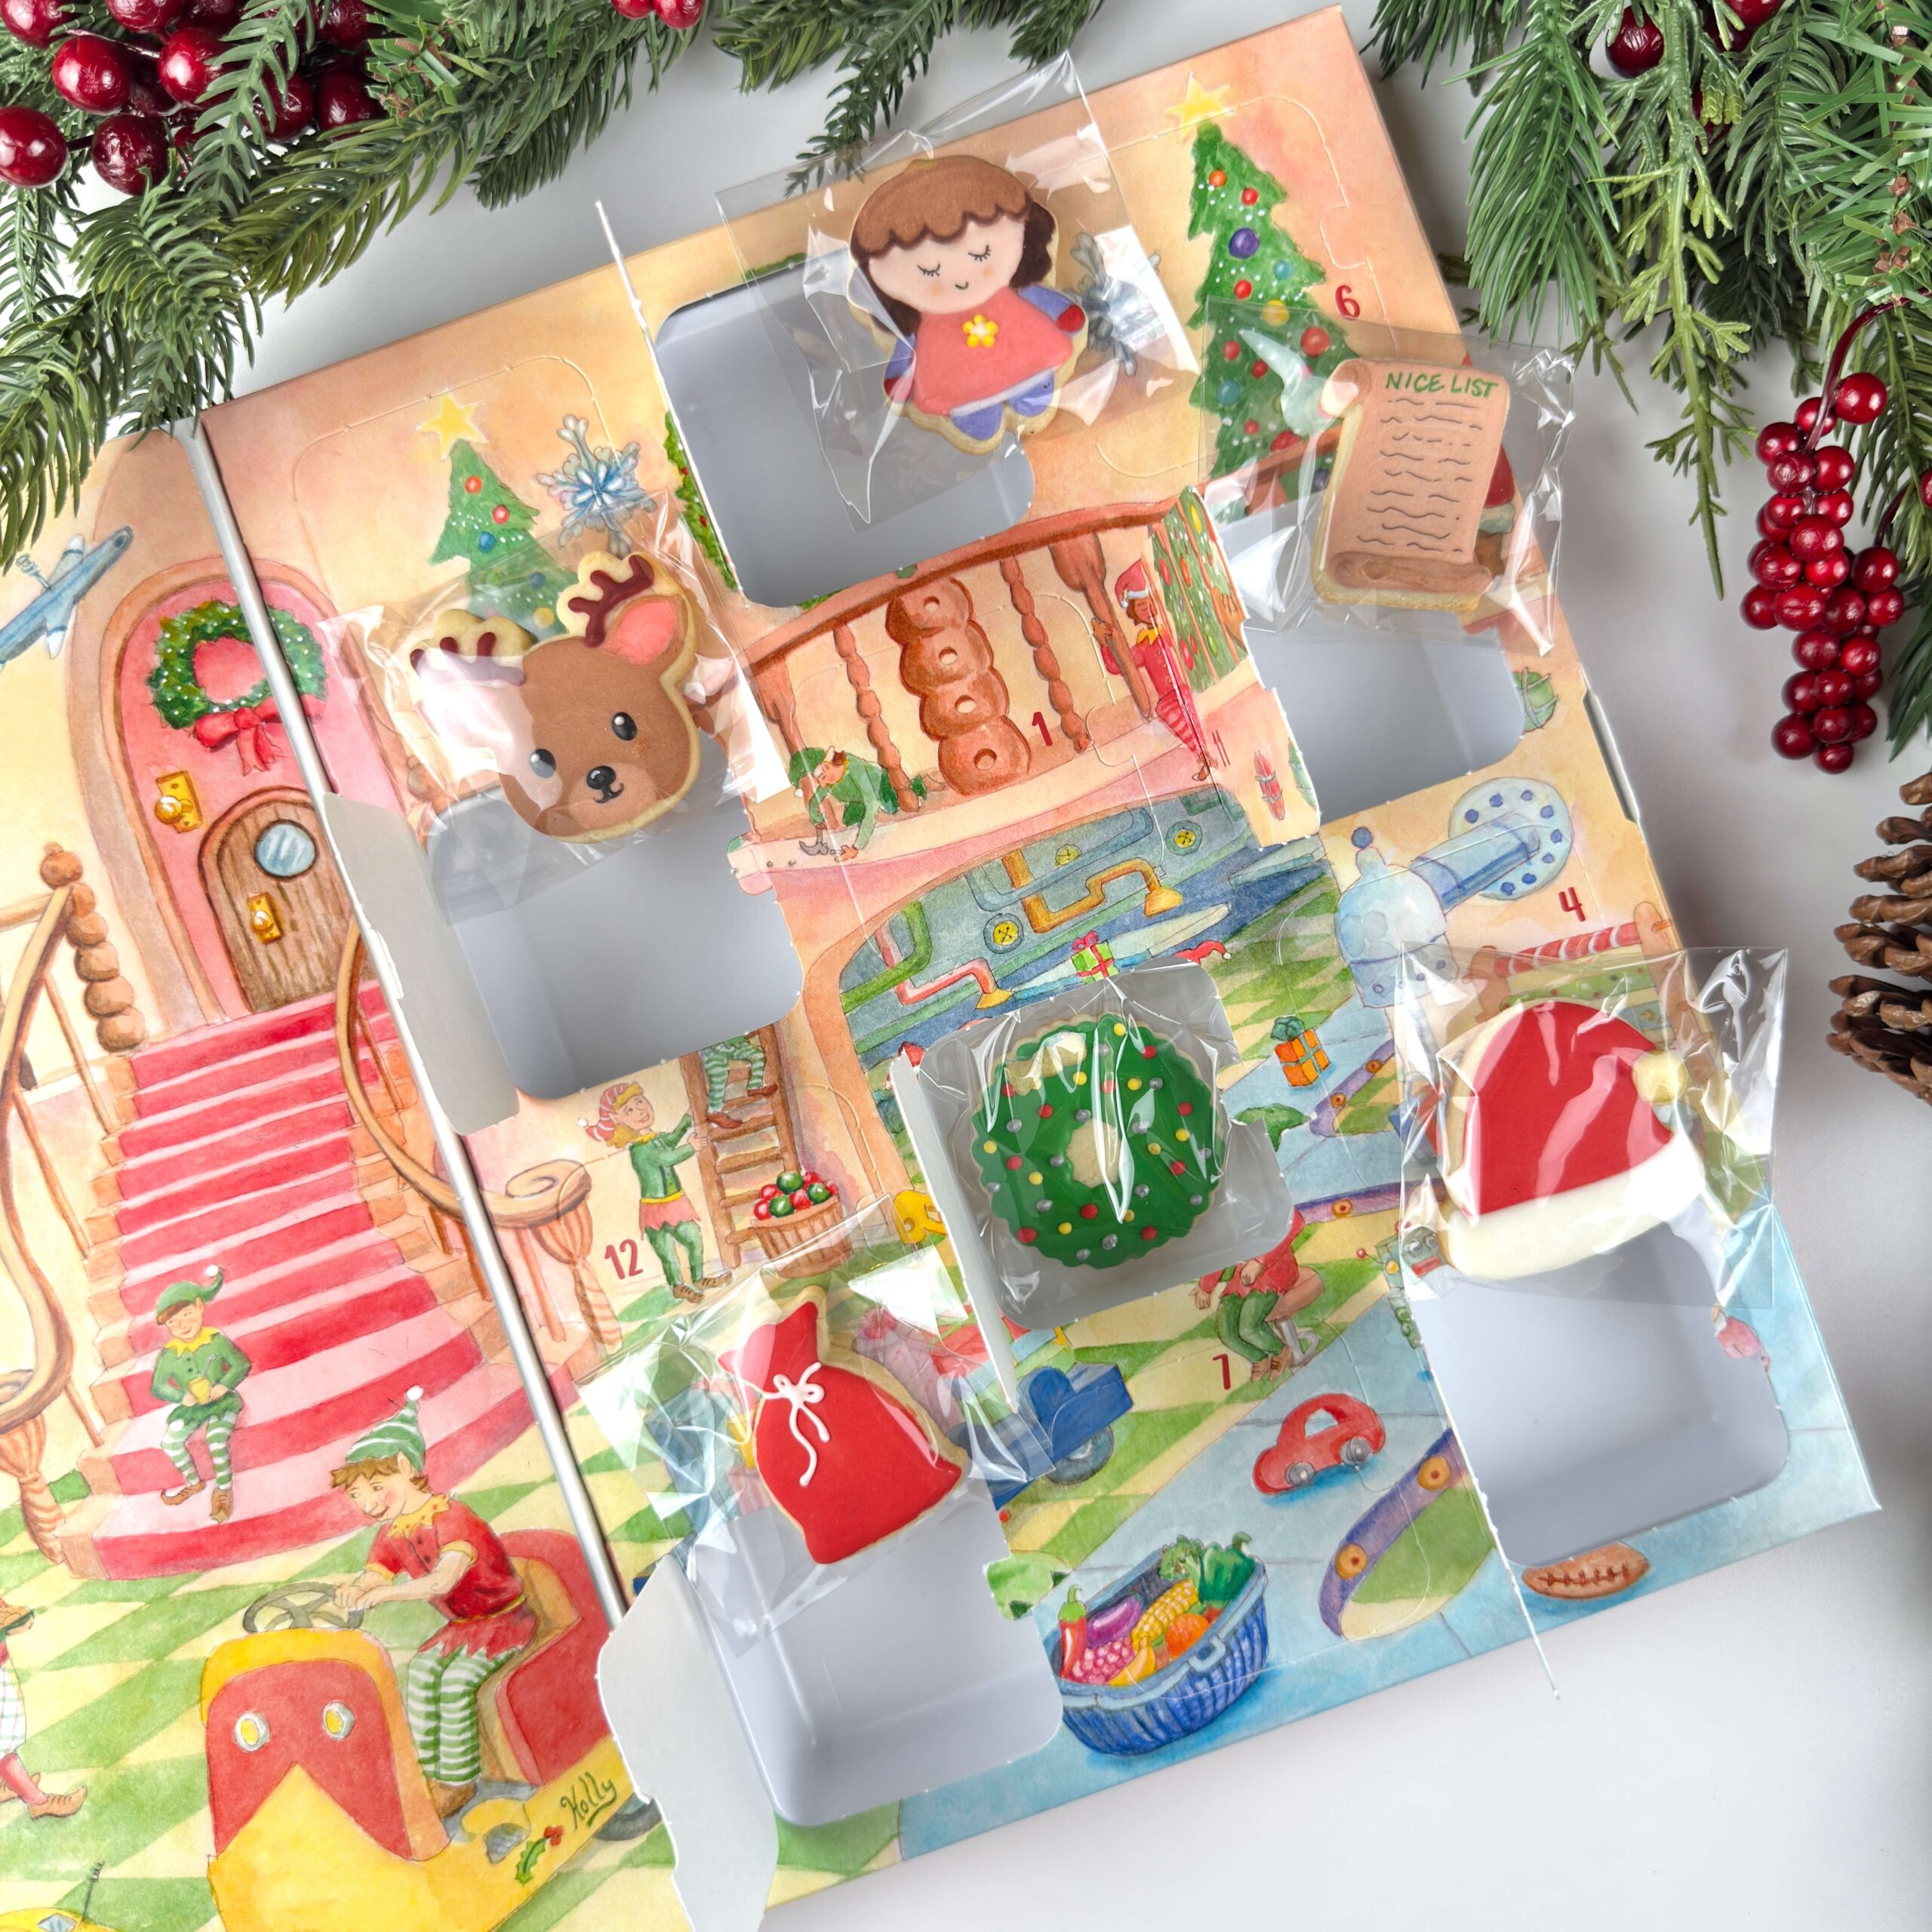
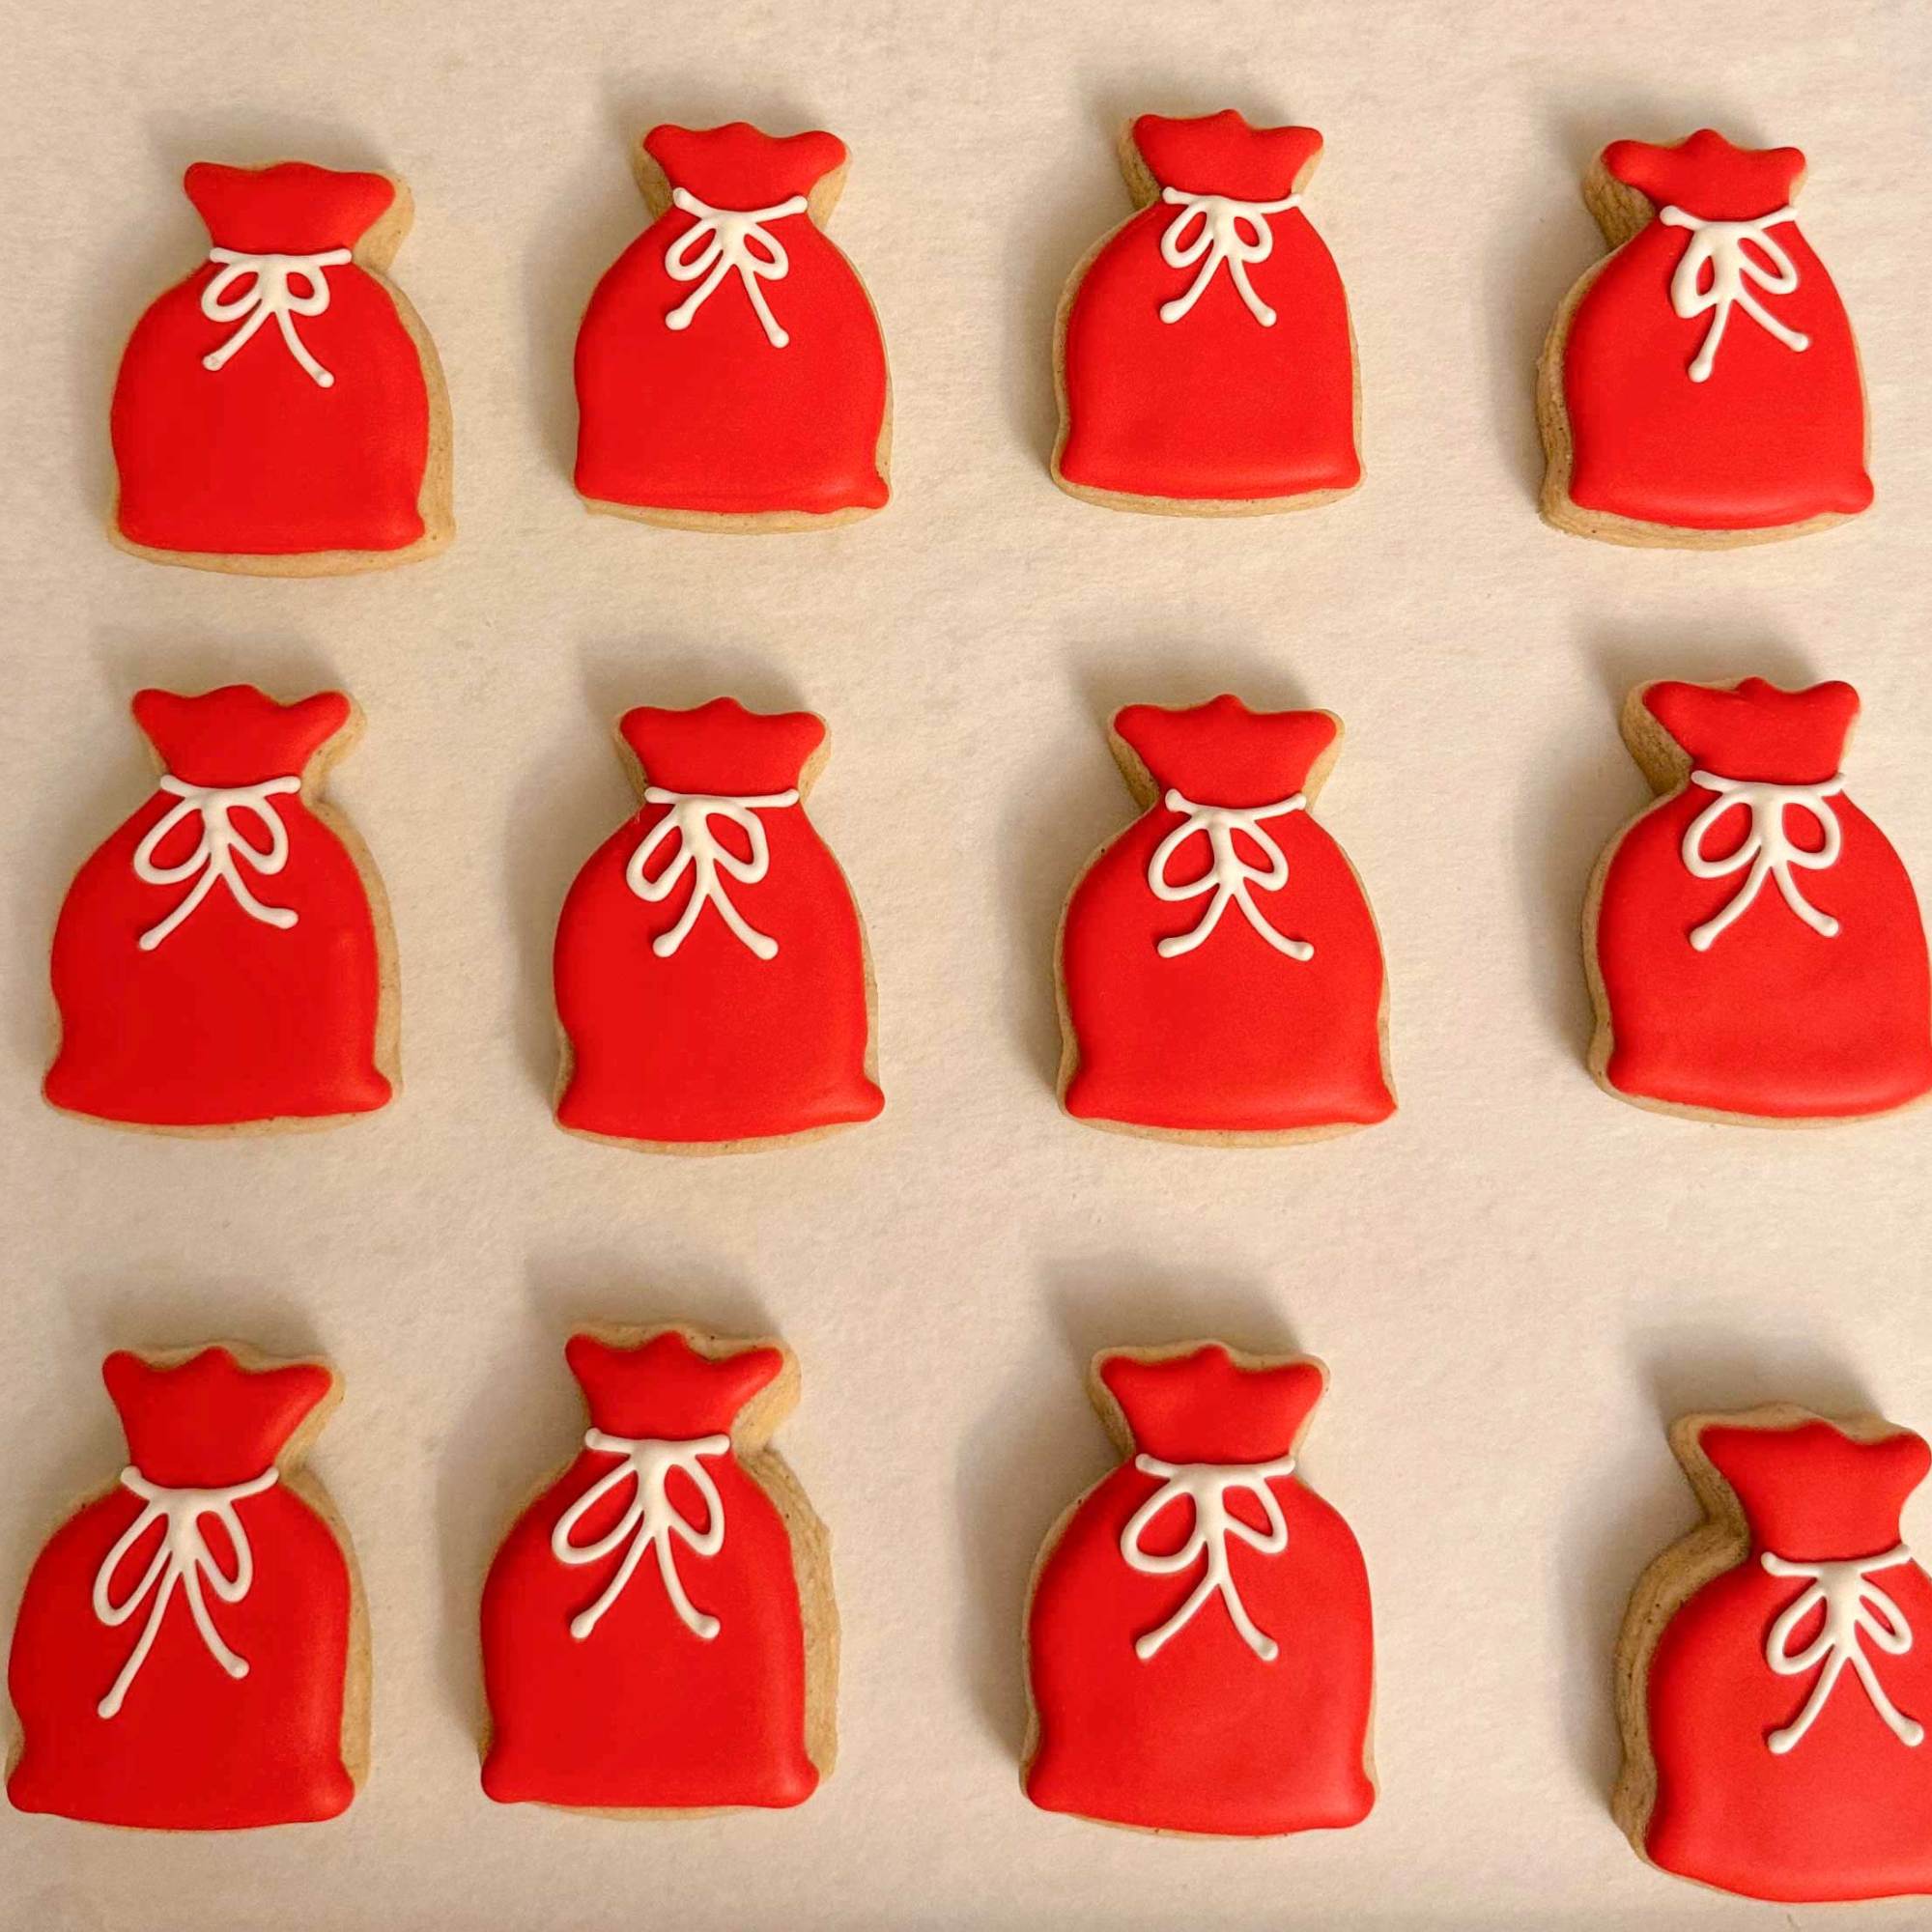
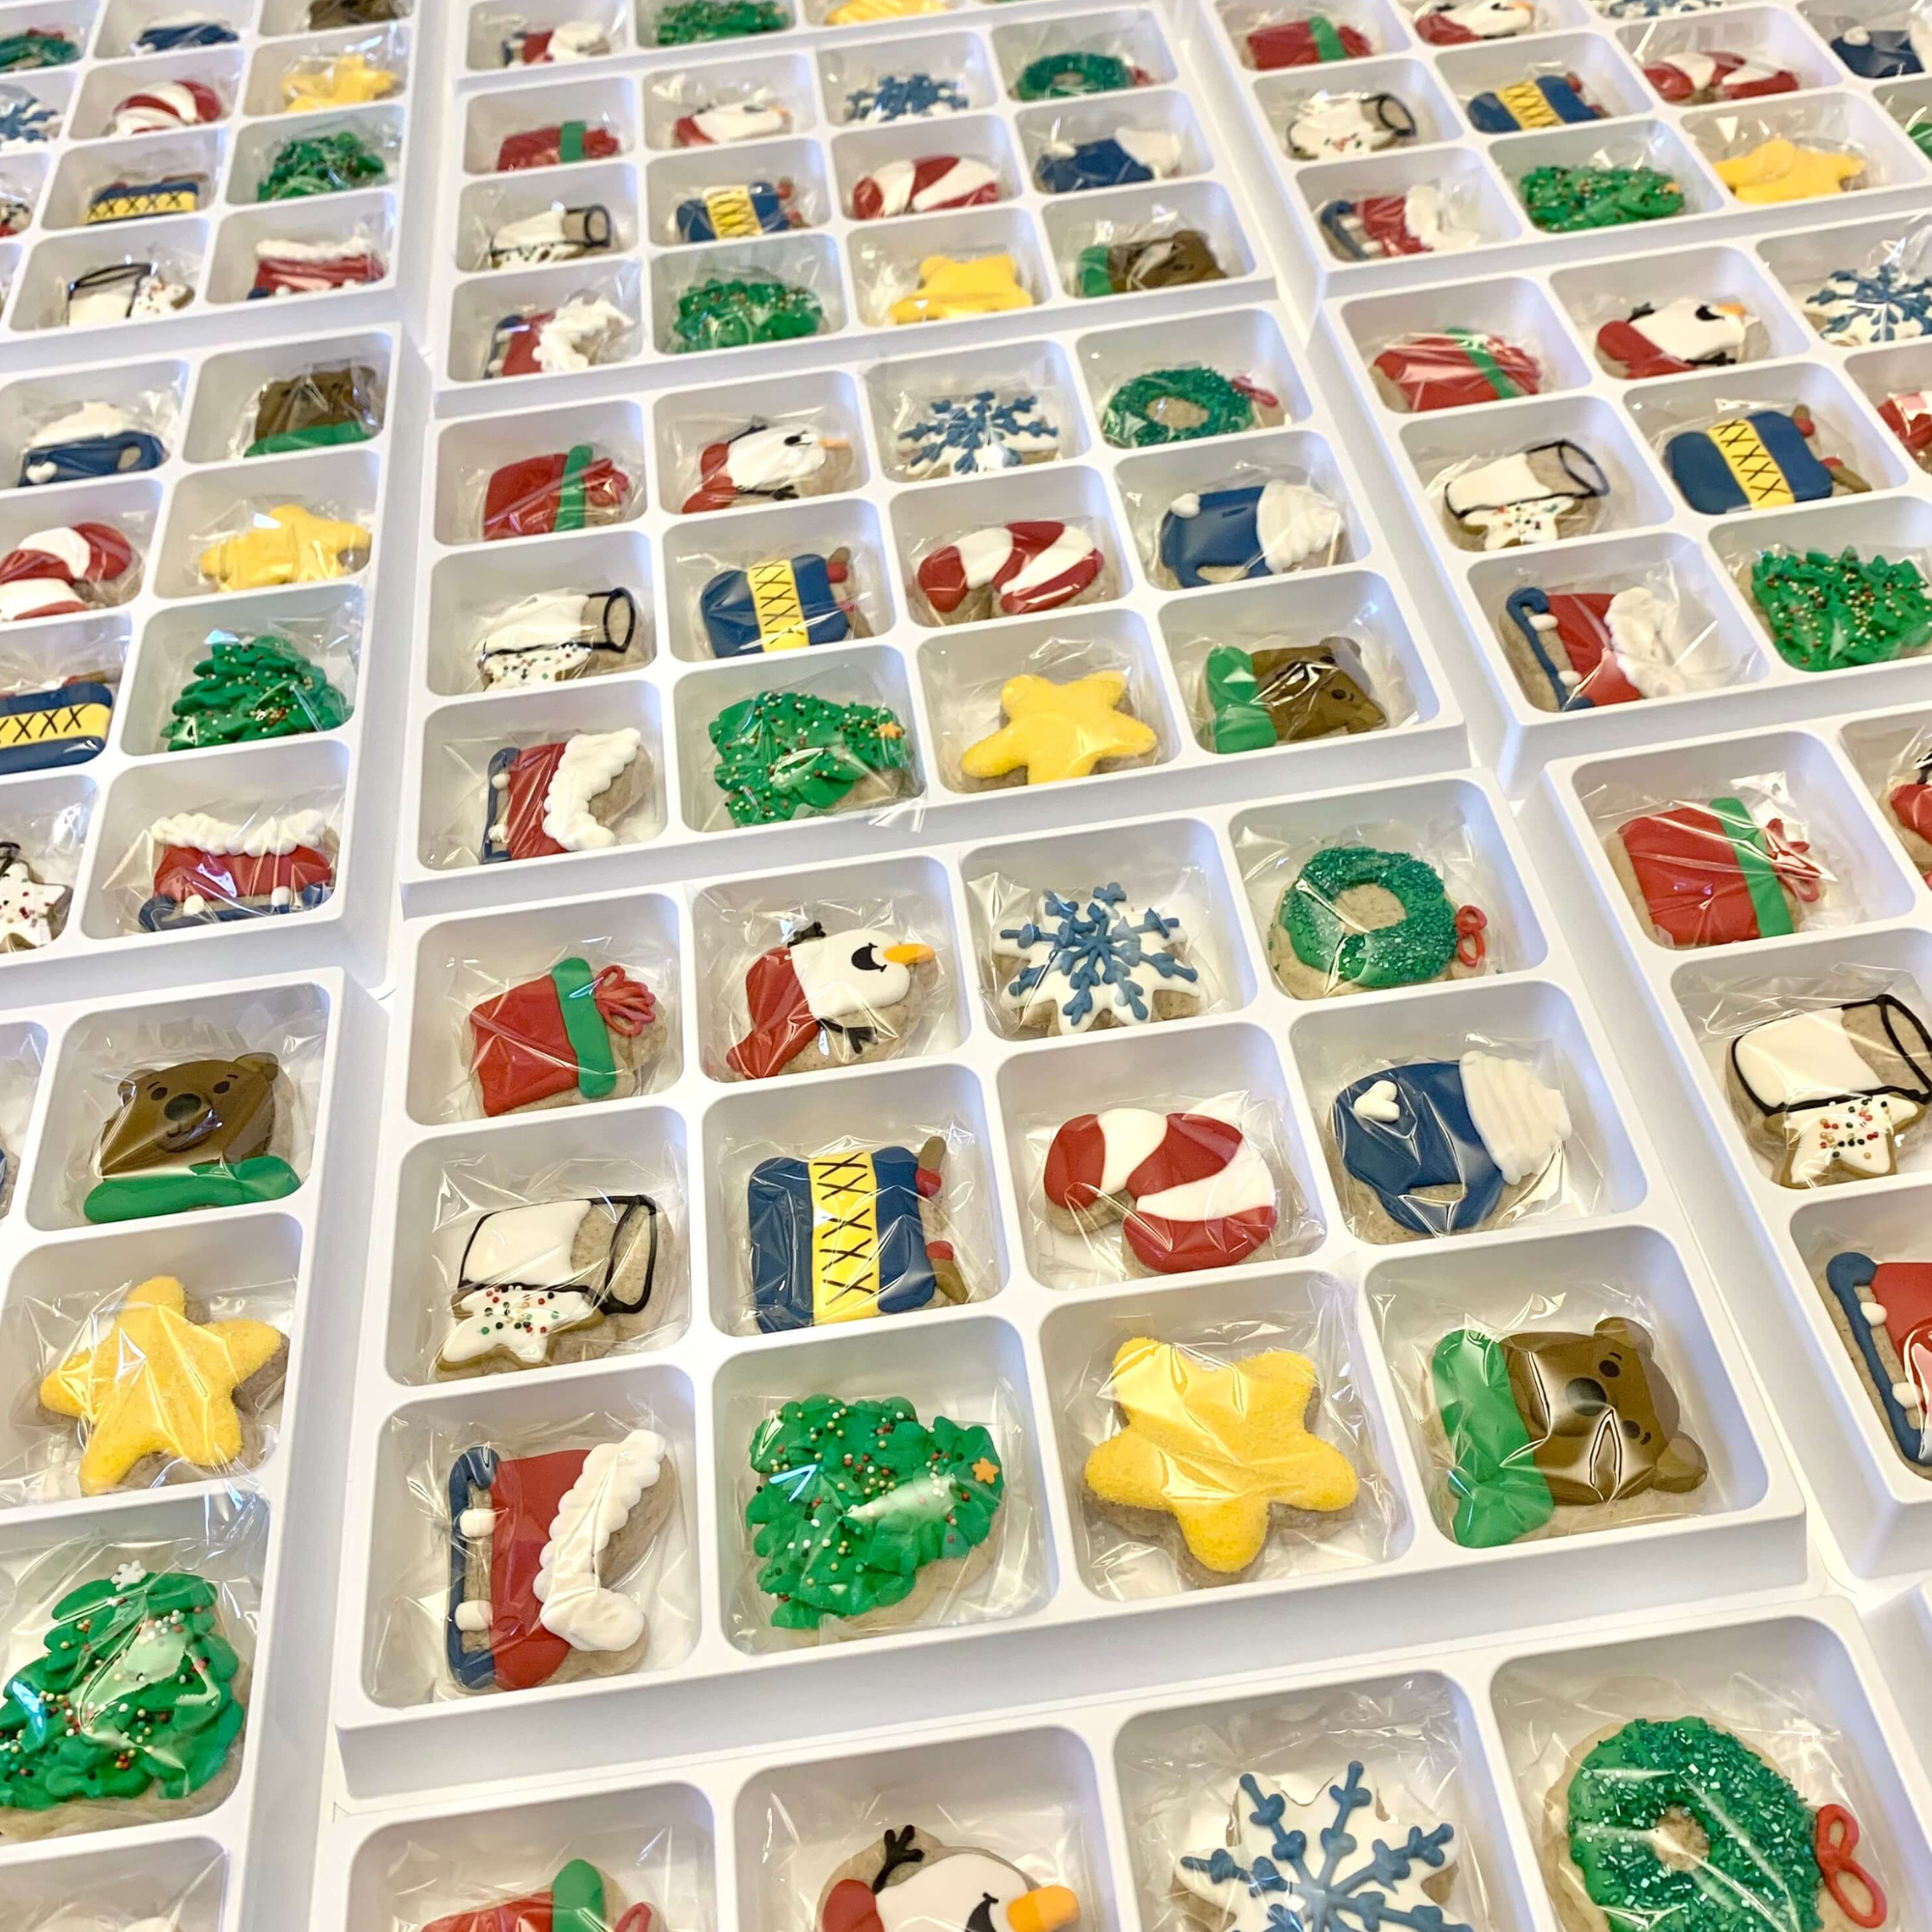
Once all of the cookies are in place, slide each of your filled trays gently into the designed calendar boxes. This is when you’ll thank Past You for making your life easy by pre-folding all of those boxes! Finally, using that tab you popped out before, you'll close each box so customers can open it like a storybook.
Before gifting my cookie advent calendars, I always add a few special touches — a poem card, freezing instructions, and a stretch loop to tie it all together. ![]() Watch how easy it is to add these details to your own holiday cookie boxes!
Watch how easy it is to add these details to your own holiday cookie boxes!
What’s your favorite part of holiday packaging?  Tell me below!
And if you’re making your own cookie advent calendars, tag me so I can cheer you on! 
Related Posts
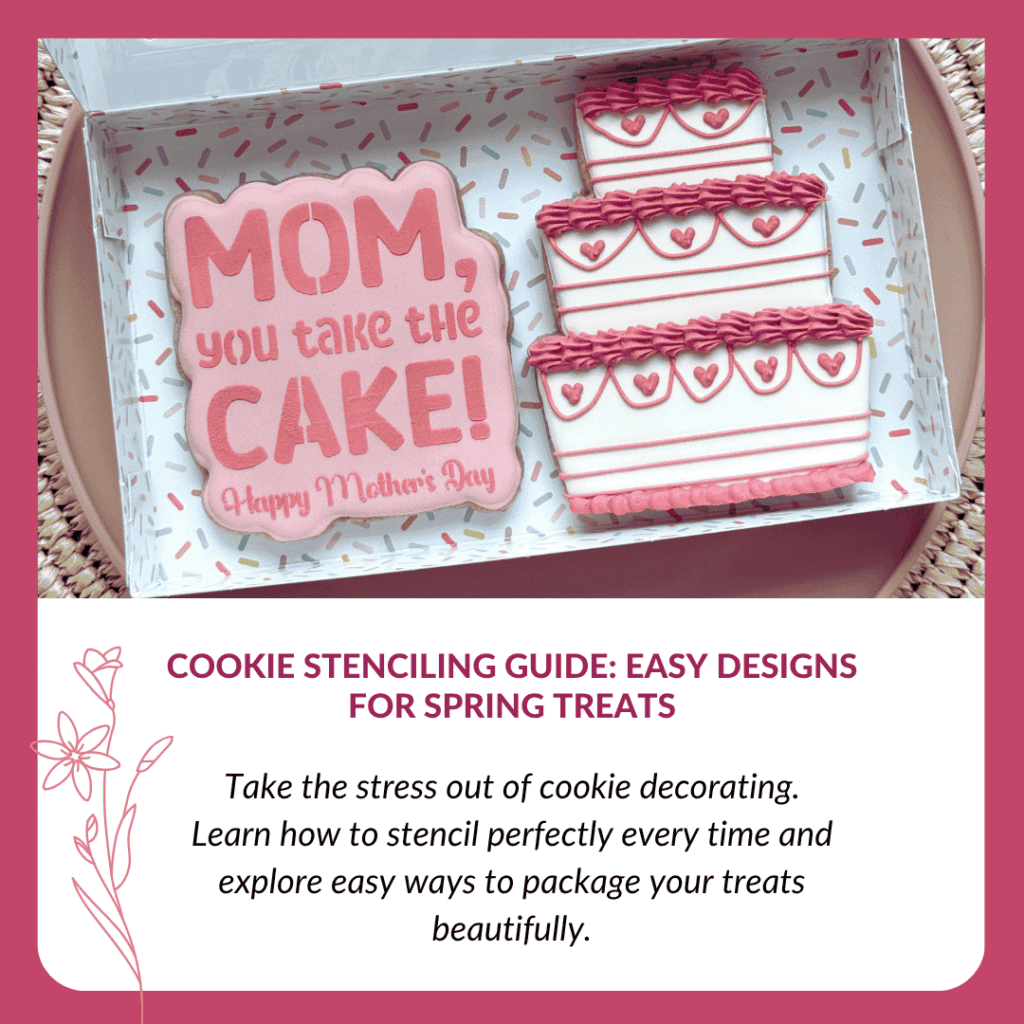
Cookie Stenciling Guide: Easy Designs for Spring Treats
The Spring Rush Is Here (And We’ve Got You Covered)Spring is one of the busiest seasons of the year for bakers. Between Easter, Mother’...
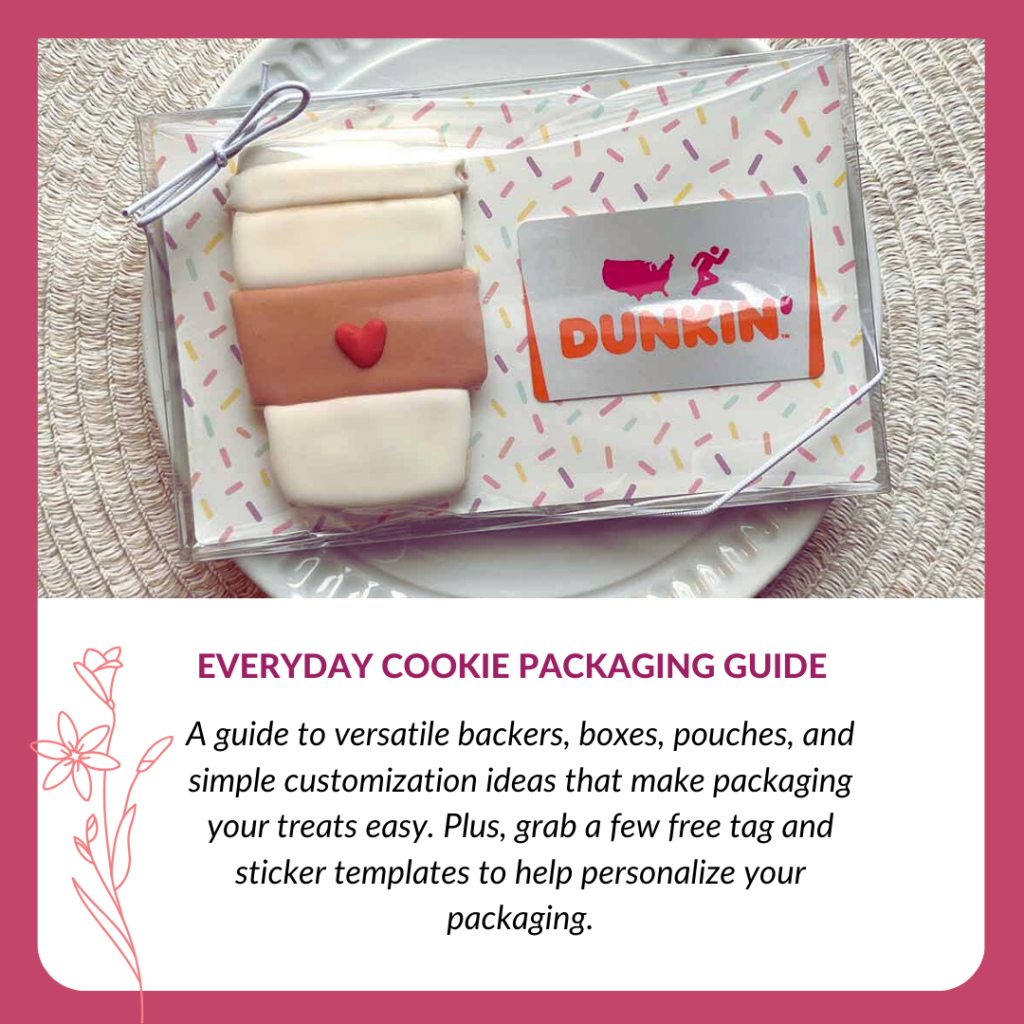
Everyday Cookie Packaging Guide
The Baker’s Secret Weapon: Everyday Cookie PackagingIf you’ve been decorating cookies for a while, you probably know the truth: the pre...
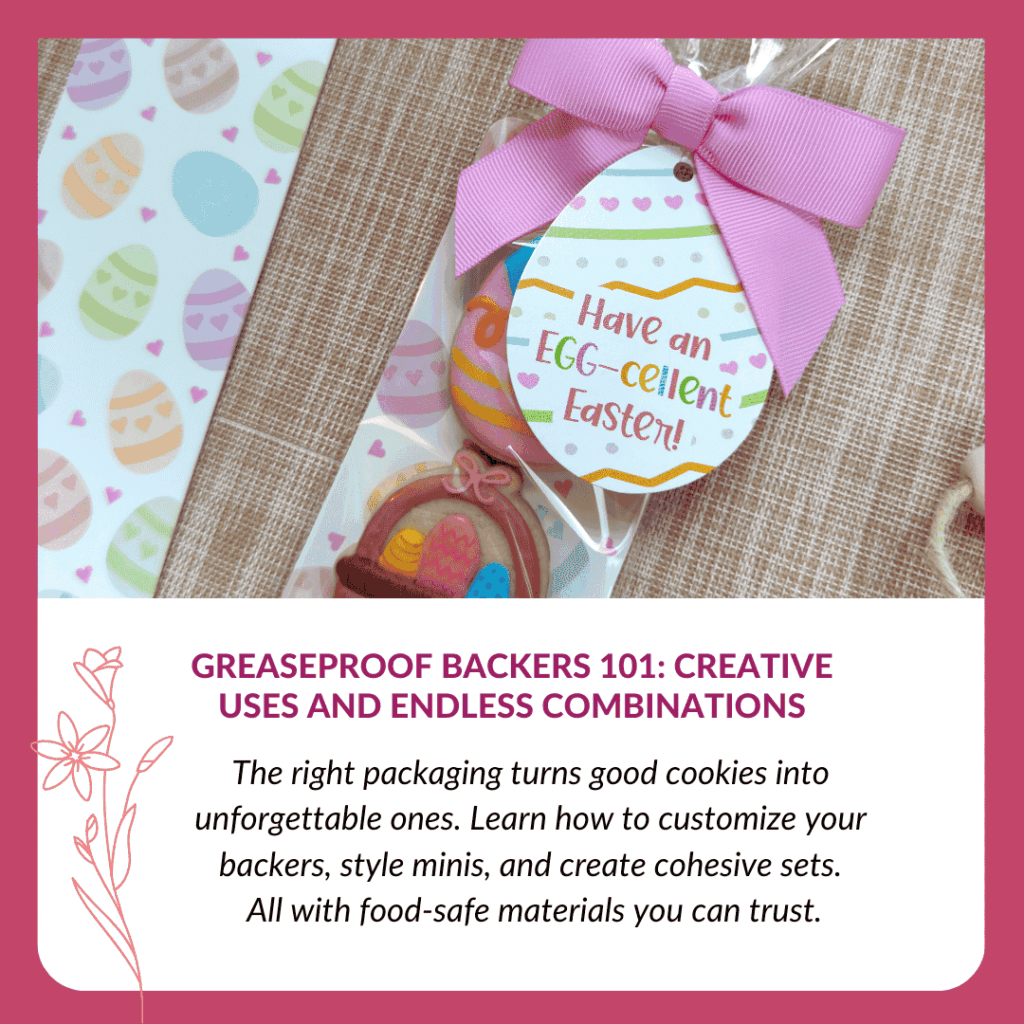
Greaseproof Backers 101: Creative Uses and Endless Combinations
Let’s Talk About Cookie BackersWhen it comes to cookie packaging, it’s often the little details that make the biggest difference. A sim...

The Ultimate Guide to Easter Cookie Packaging
4The newest Easter ideas to keep your lineup freshWith Valentine’s Day behind us, Easter already feels right around the corner. If hopp...
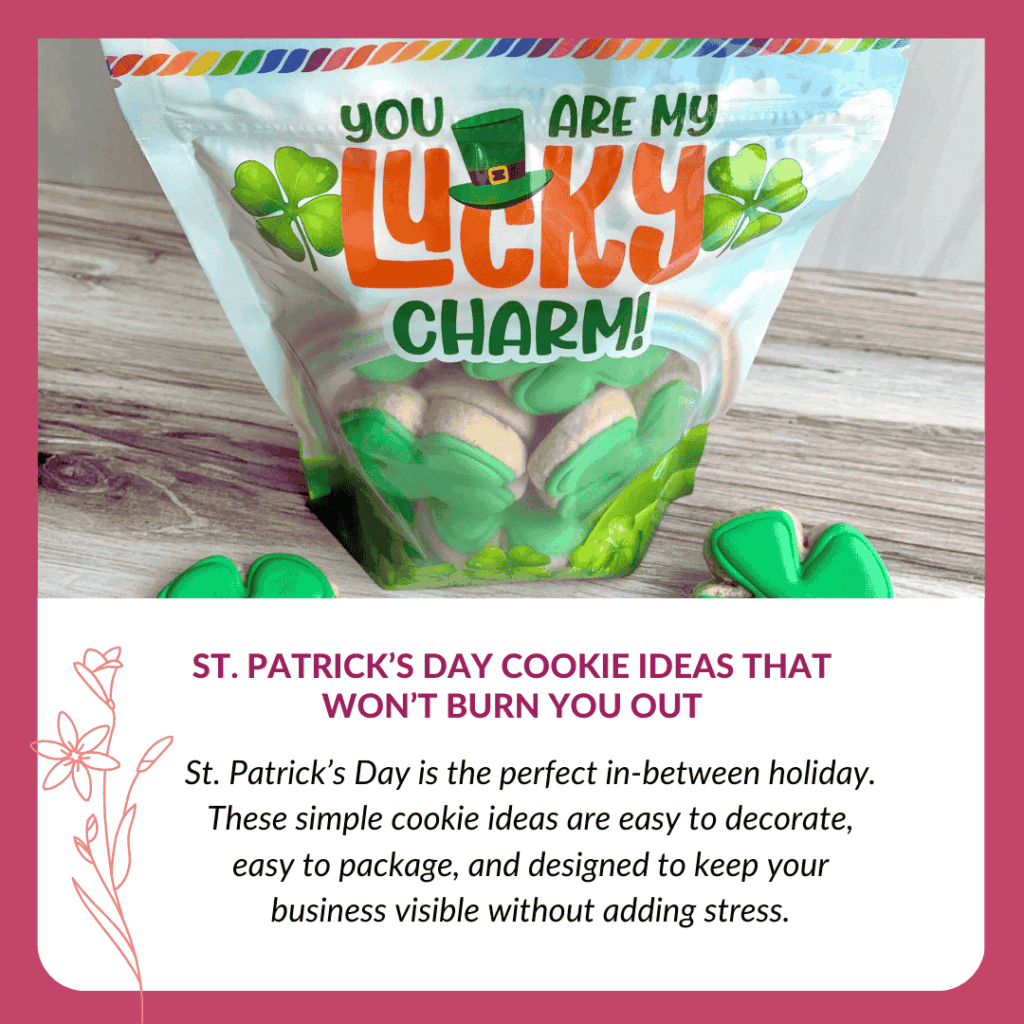
St. Patrick’s Day Cookie Ideas That Won’t Burn You Out
A Small St. Patrick’s Day Lineup Can Go a Long WaySt. Patrick’s Day sits in an awkward spot on the cookie calendar. It comes so close t...

How to Organize Your Small Business
New Year, New Workflow
There’s something about the start of a new year that makes us want to reset everything, our inboxes, ou...
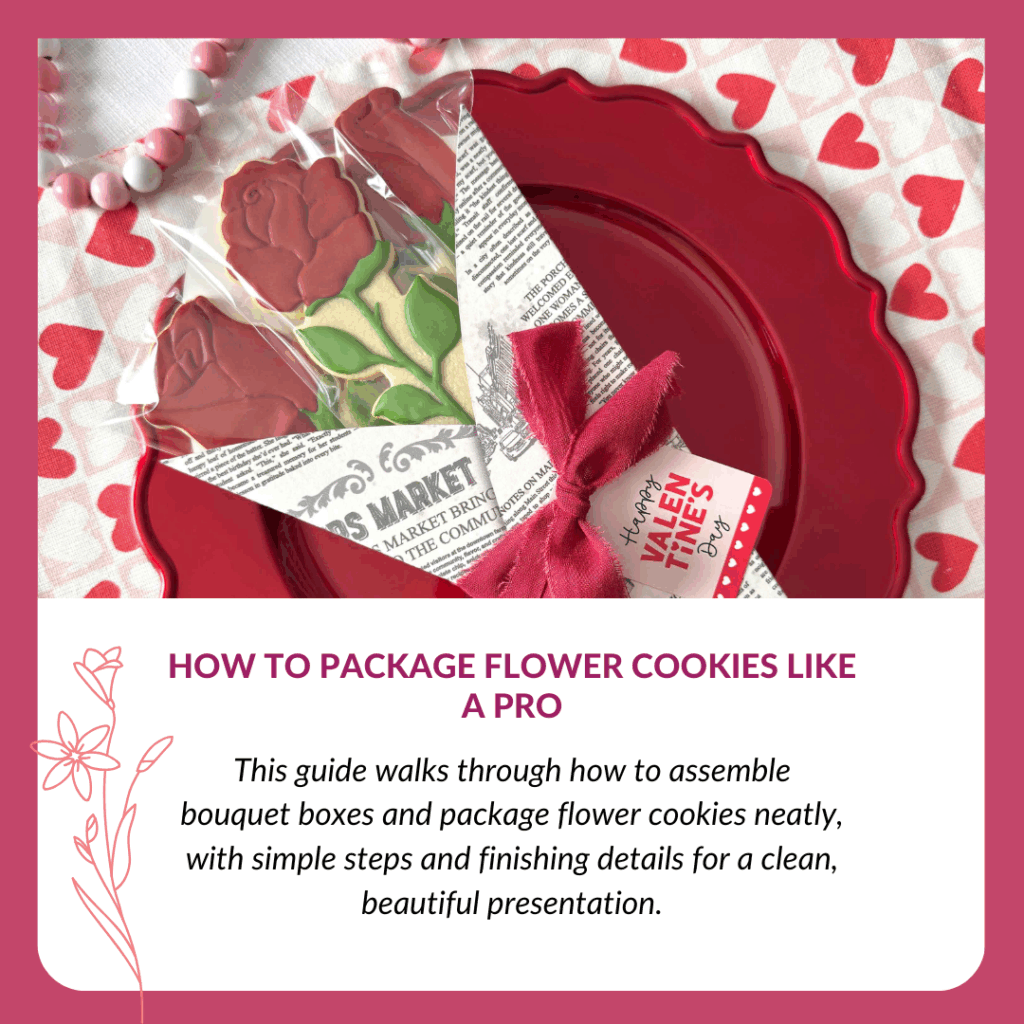
How to Package Flower Cookies Like a Pro
Packaging Flower Cookies Made SimpleFlower cookies are already showstoppers on their own, but the right packaging brings everything tog...
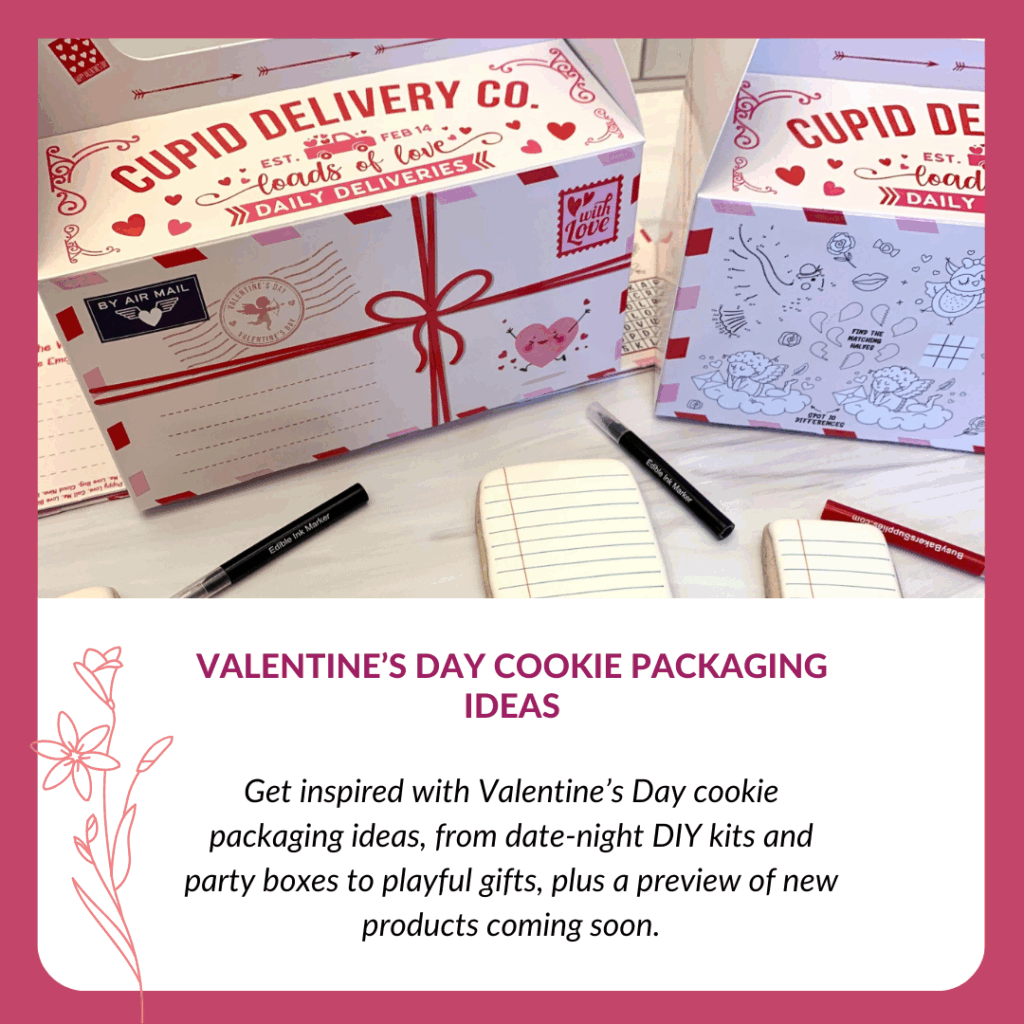
Valentine’s Day Cookie Packaging Ideas
Get Creative With Your Valentine's Day Cookies This Year
Heart-shaped cookies are the staple of Valentine’s Day. They’re a tim...
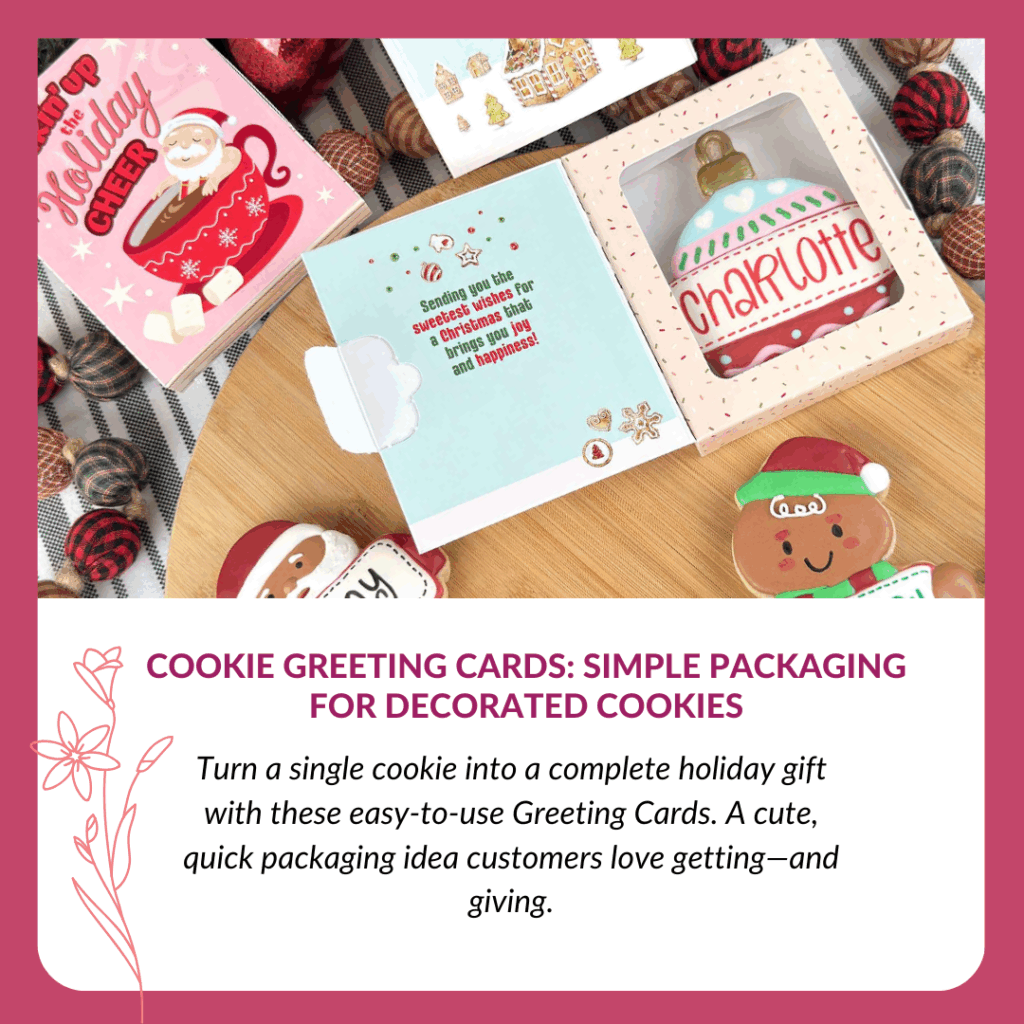
Cookie Greeting Cards: Simple Packaging for Decorated Cookies
Packaging Cookies Just Got Easier with Cookie Greeting Cards
The holiday rush is all about quick, thoughtful gifts, and our Co...

How to Make & Package Decorated Coal Cookies
A Treat for the “Naughty” List
When December rolls in and cookie orders start piling up, it’s a relief to have something you c...
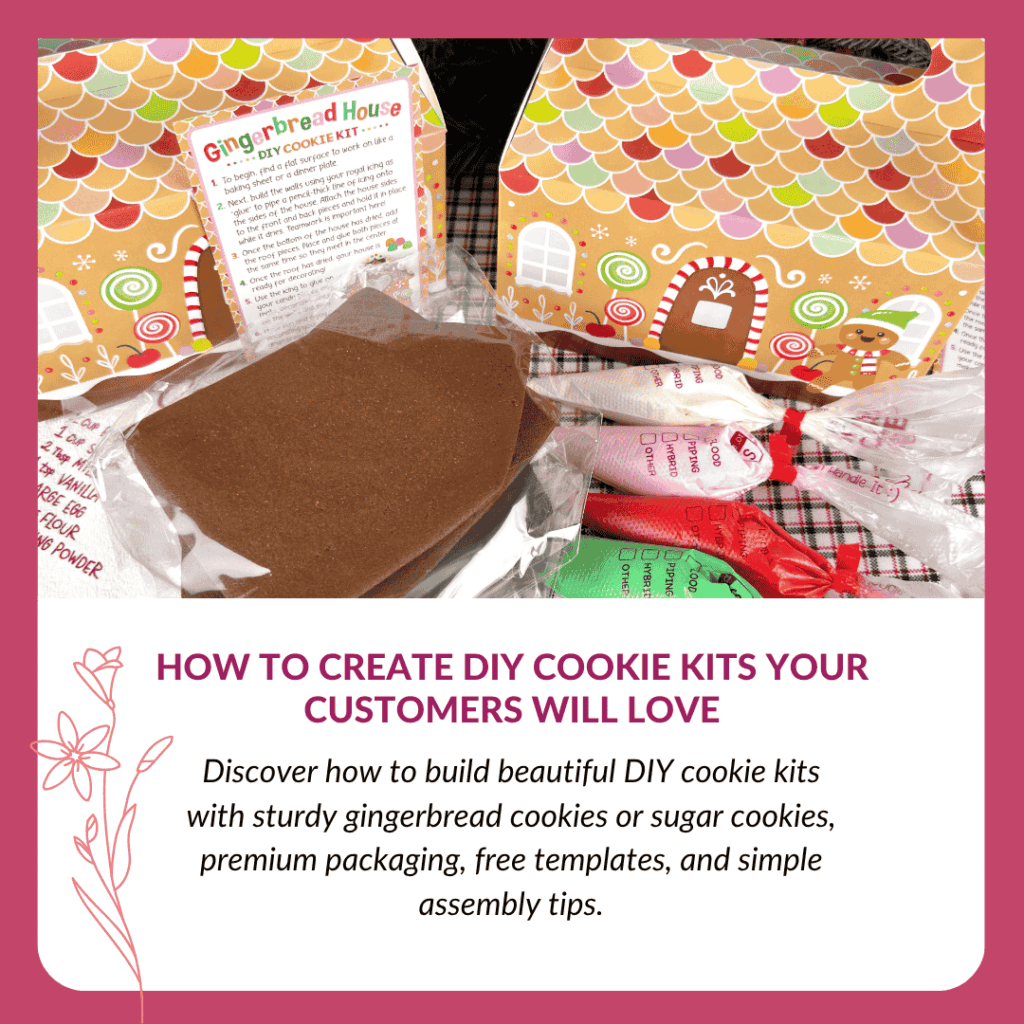
How to Create DIY Cookie Kits Your Customers Will Love
Turn simple undecorated cookies into a giftable, frustration-free experience.Cookie DIY kits have become one of the easiest ways for co...
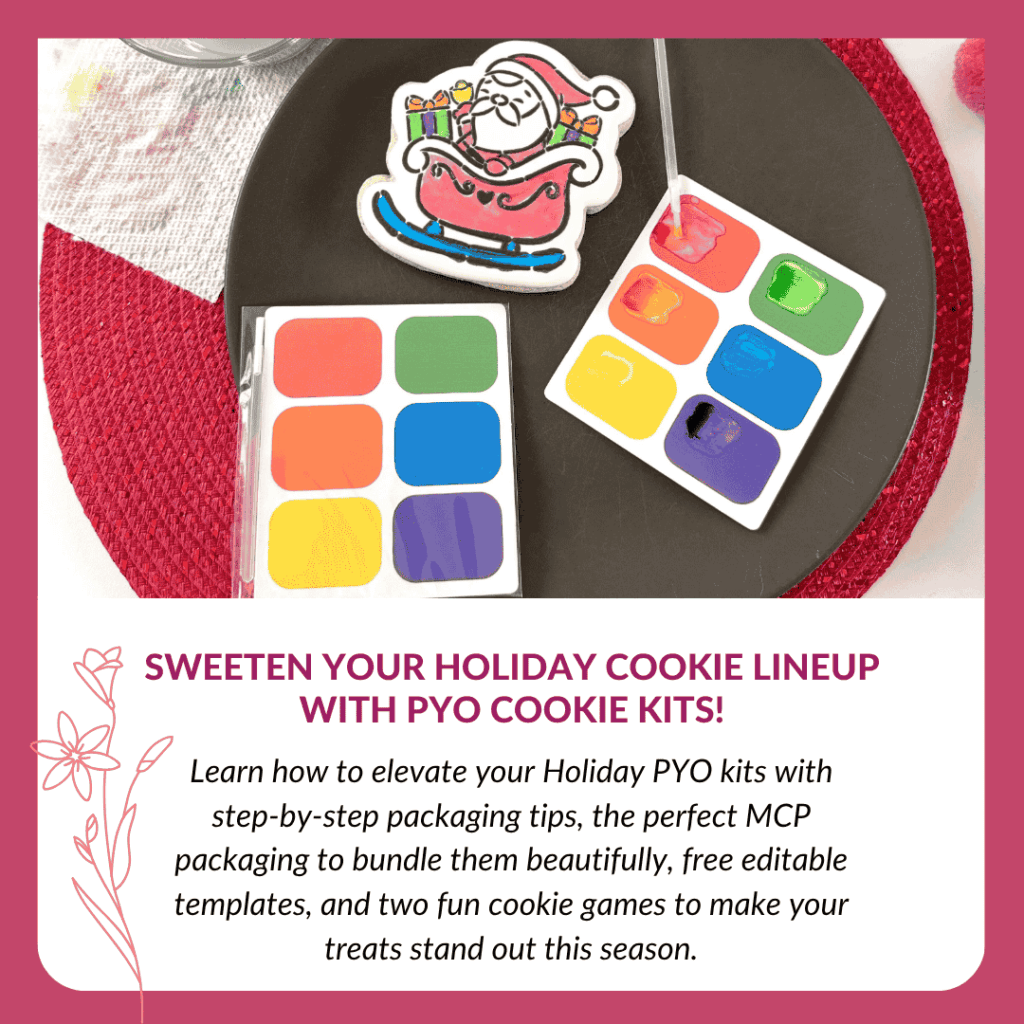
The Holidays Just Got Sweeter With Our Paint Your Own Cookie Packaging
Your Christmas products are about to get a whole lot sweeter thanks to the super simple packaging solution we developed just for you!Pa...