Blog
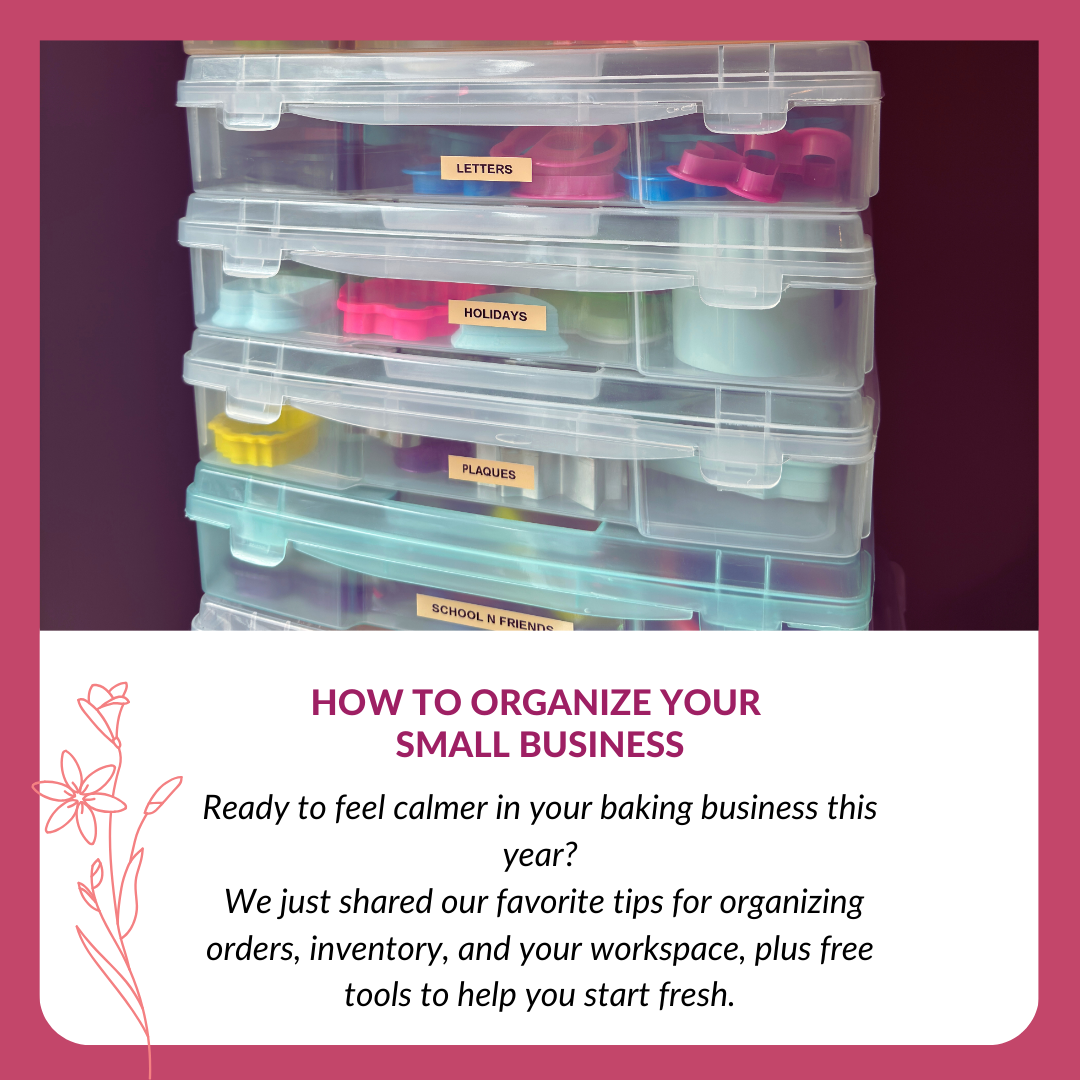
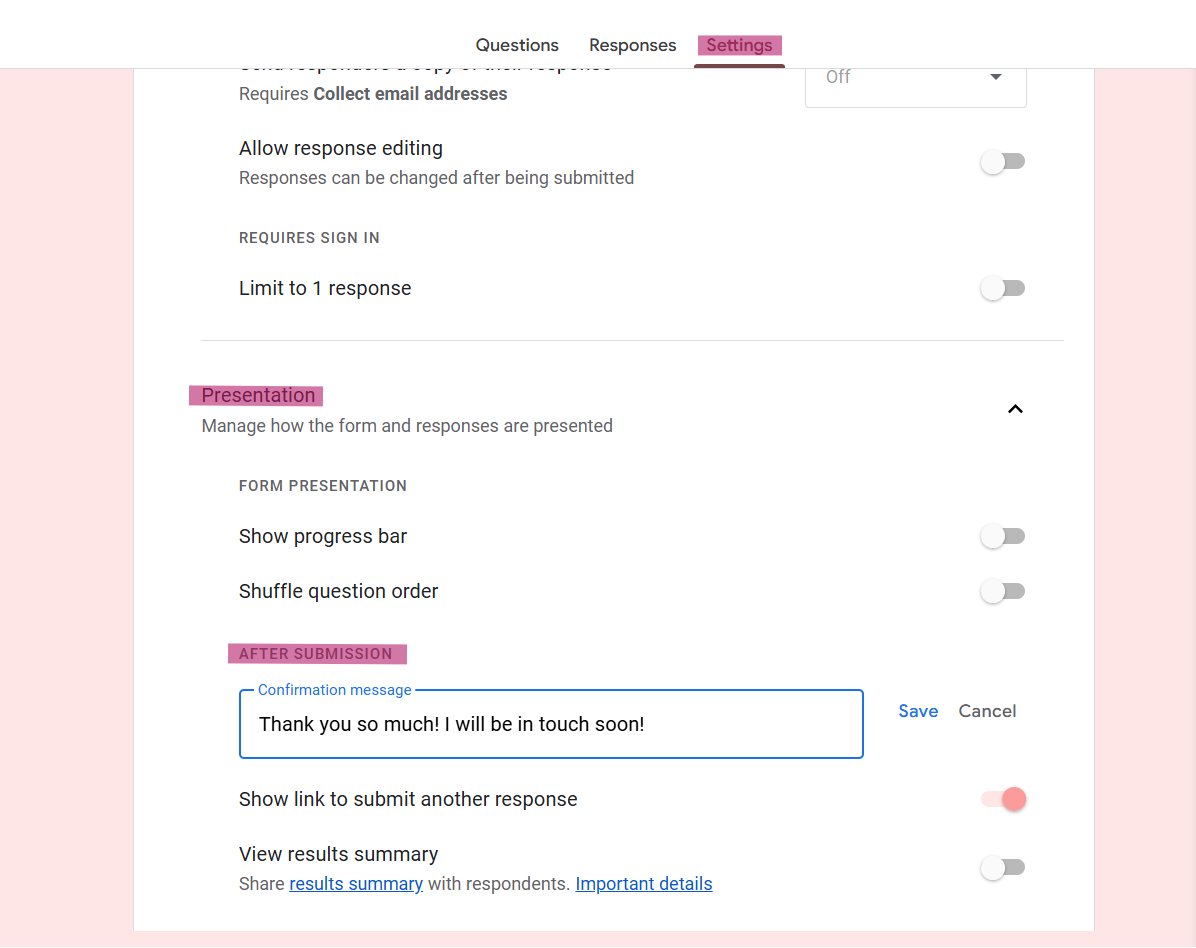
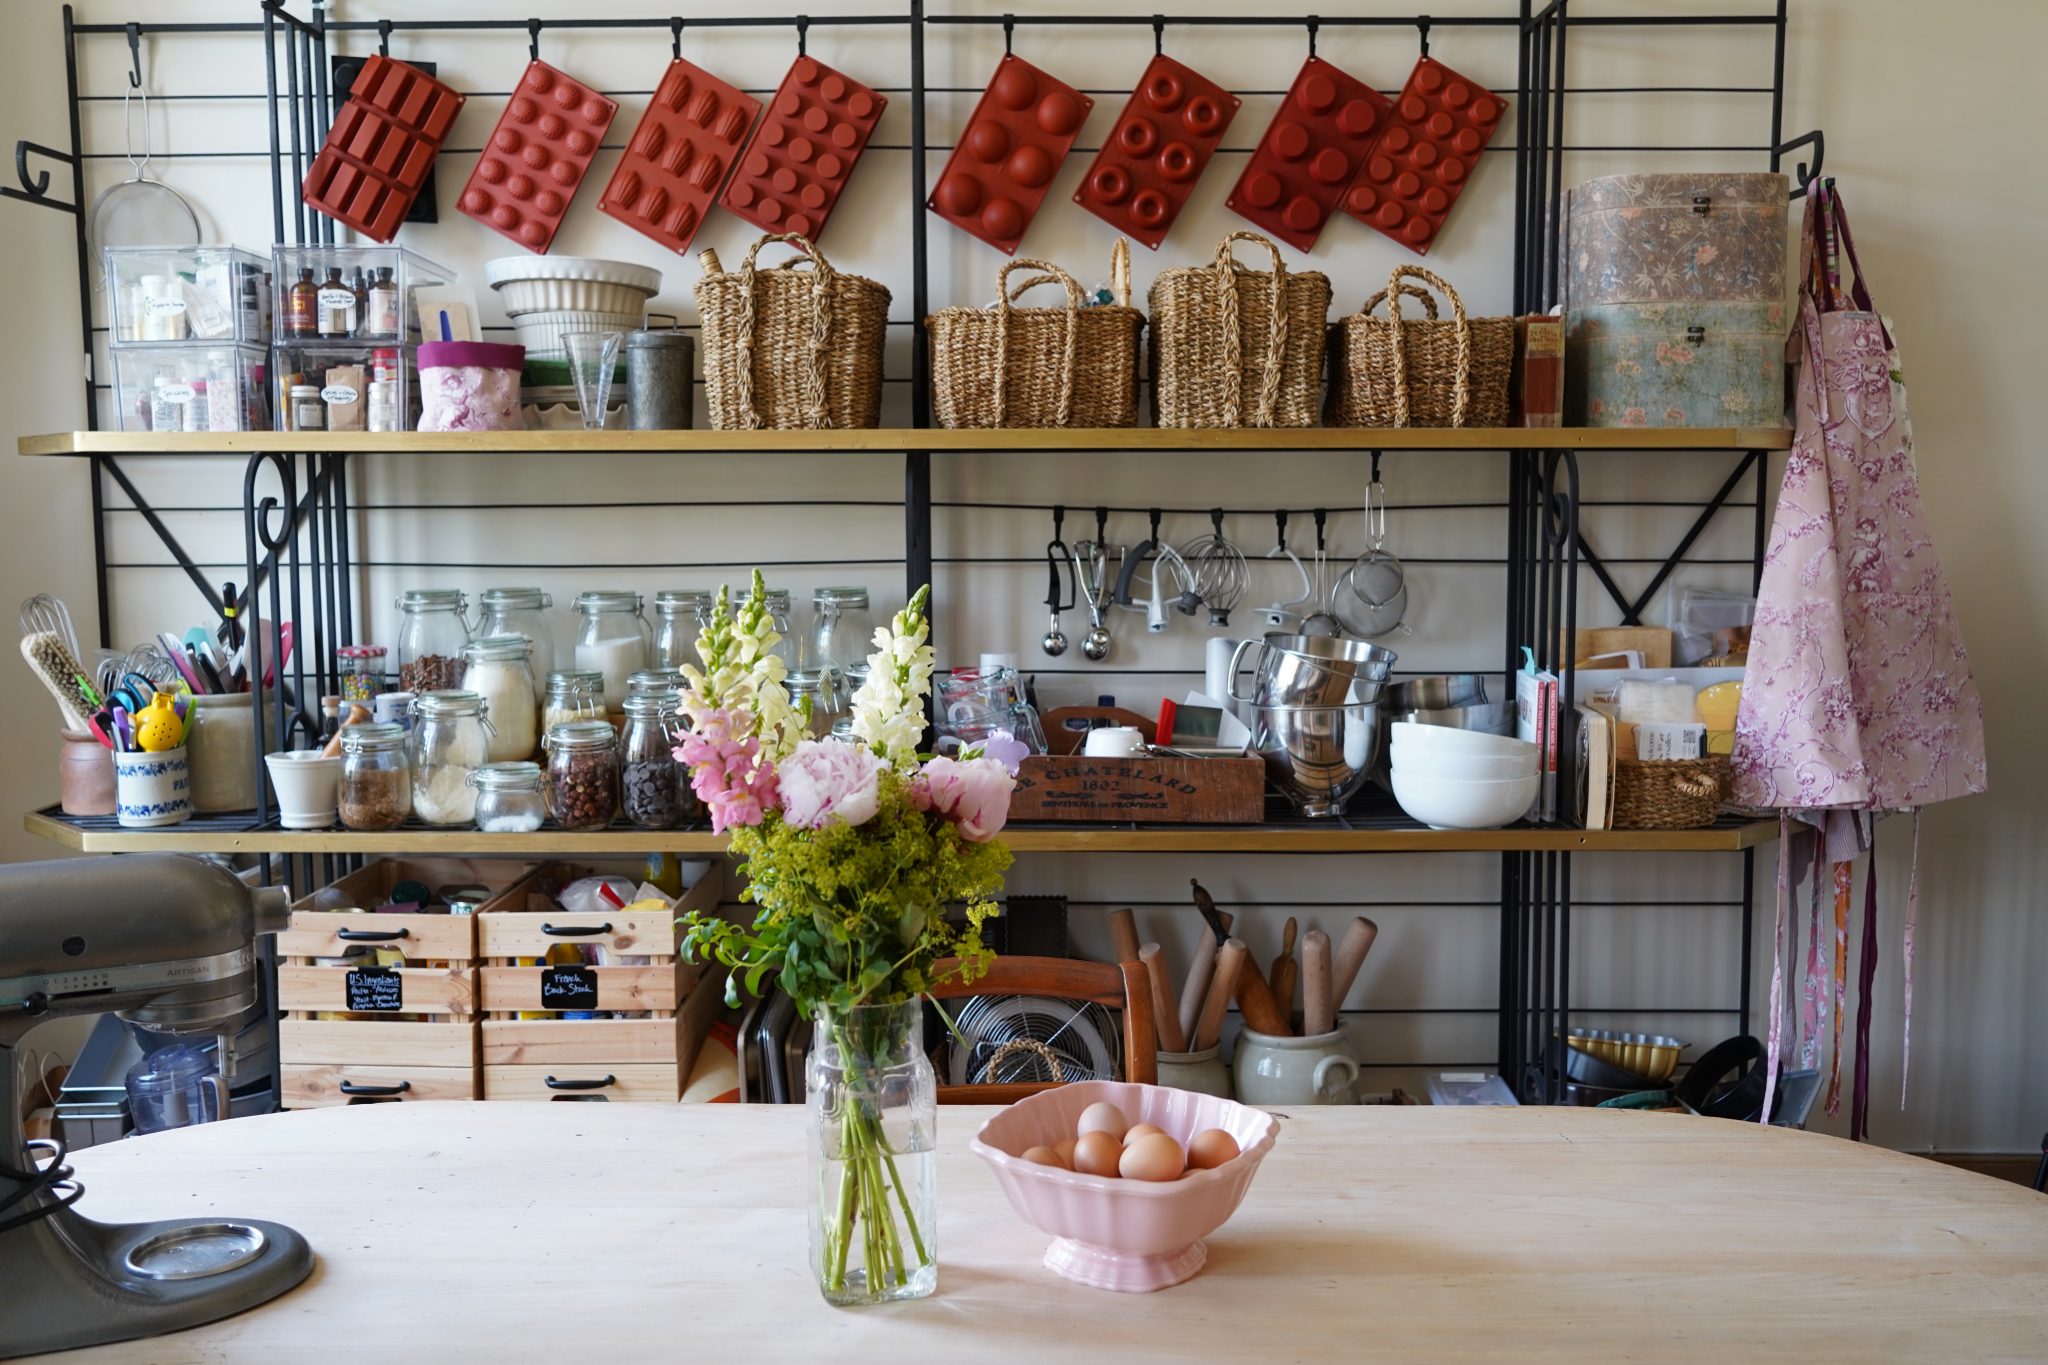
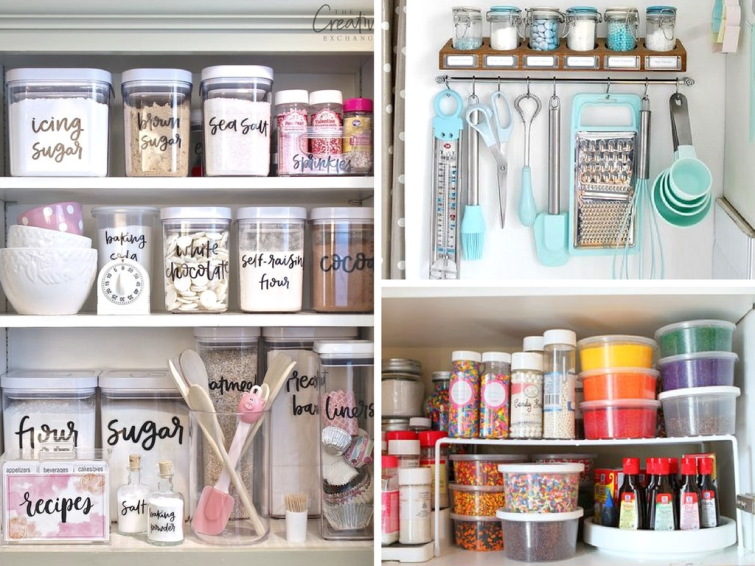
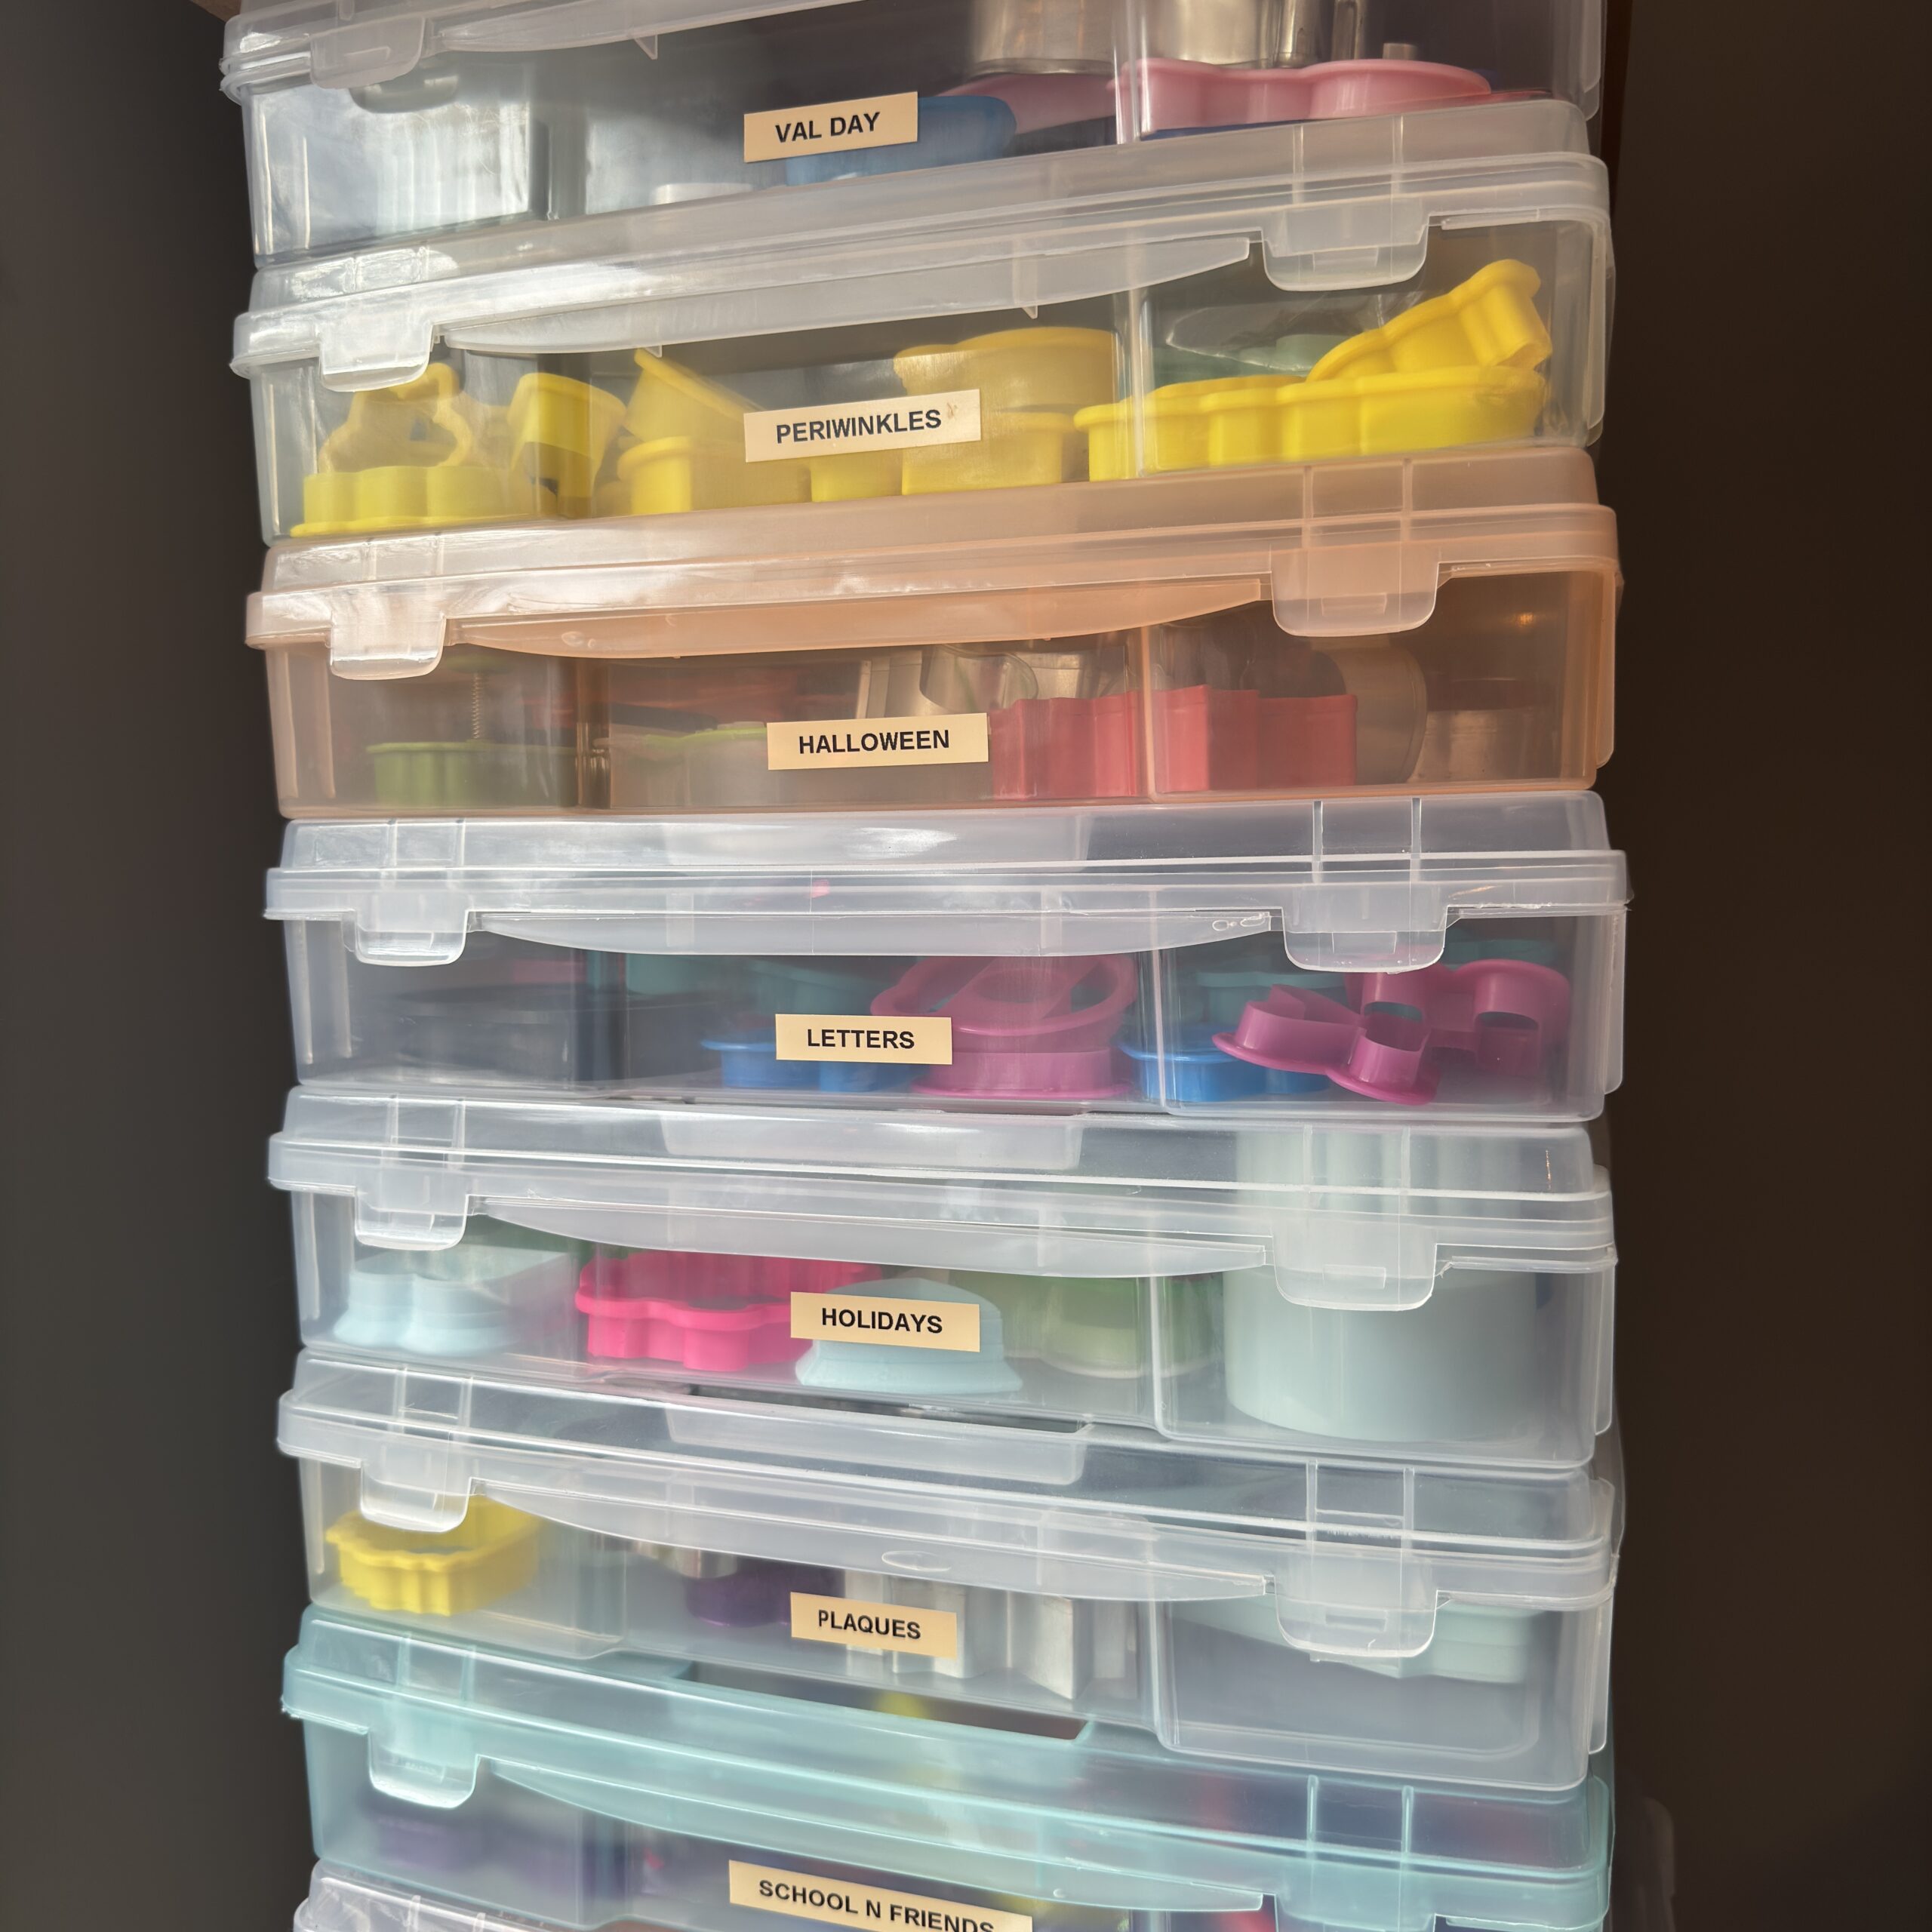
How to Organize Your Small Business


Related Posts
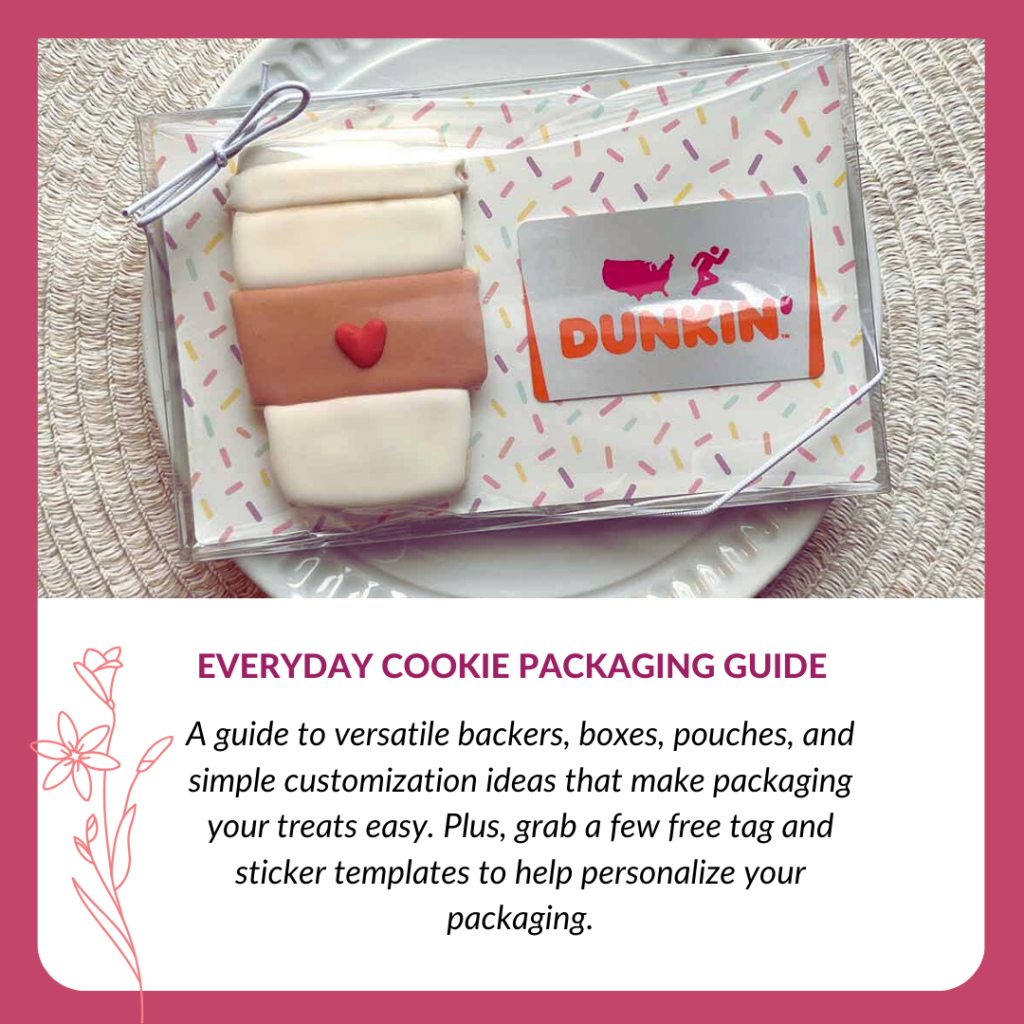
Everyday Cookie Packaging Guide
The Baker’s Secret Weapon: Everyday Cookie PackagingIf you’ve been decorating cookies for a while, you probably know the truth: the pre...
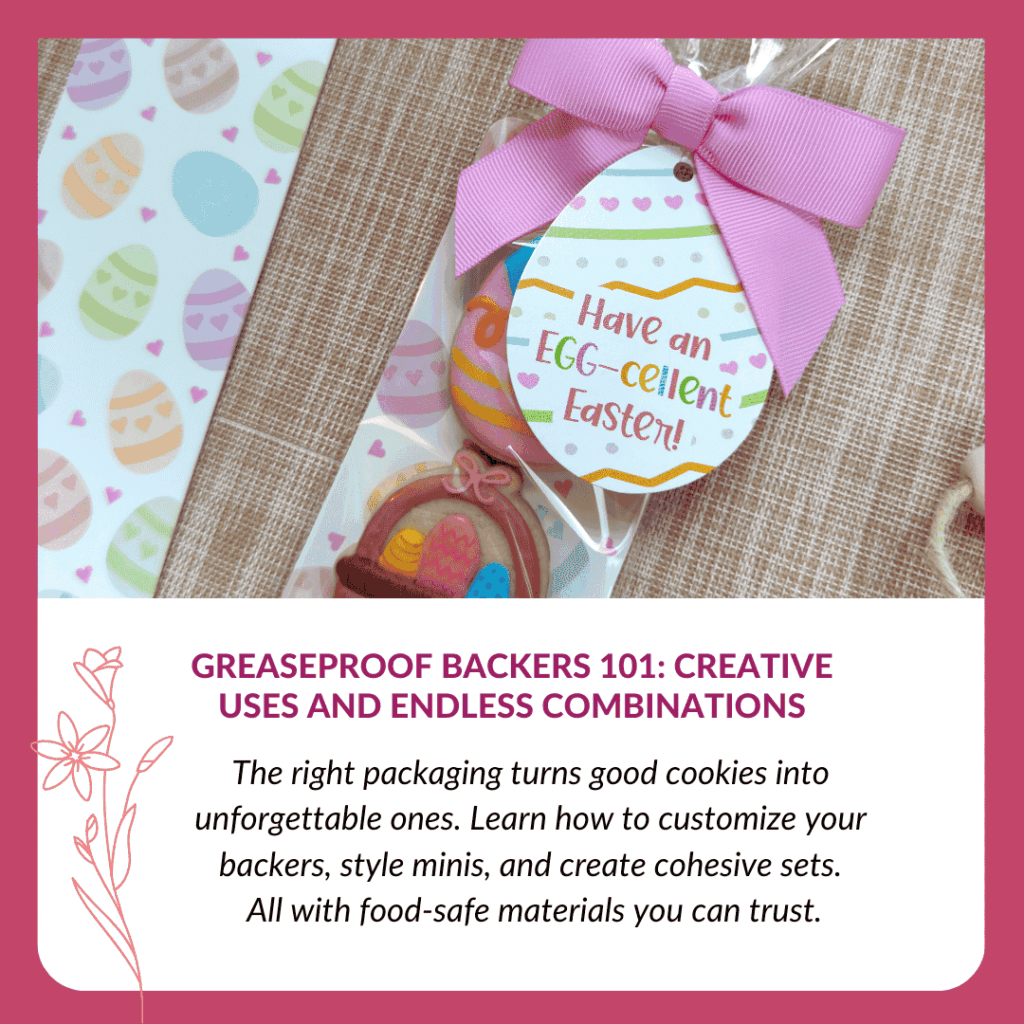
Greaseproof Backers 101: Creative Uses and Endless Combinations
Let’s Talk About Cookie BackersWhen it comes to cookie packaging, it’s often the little details that make the biggest difference. A sim...
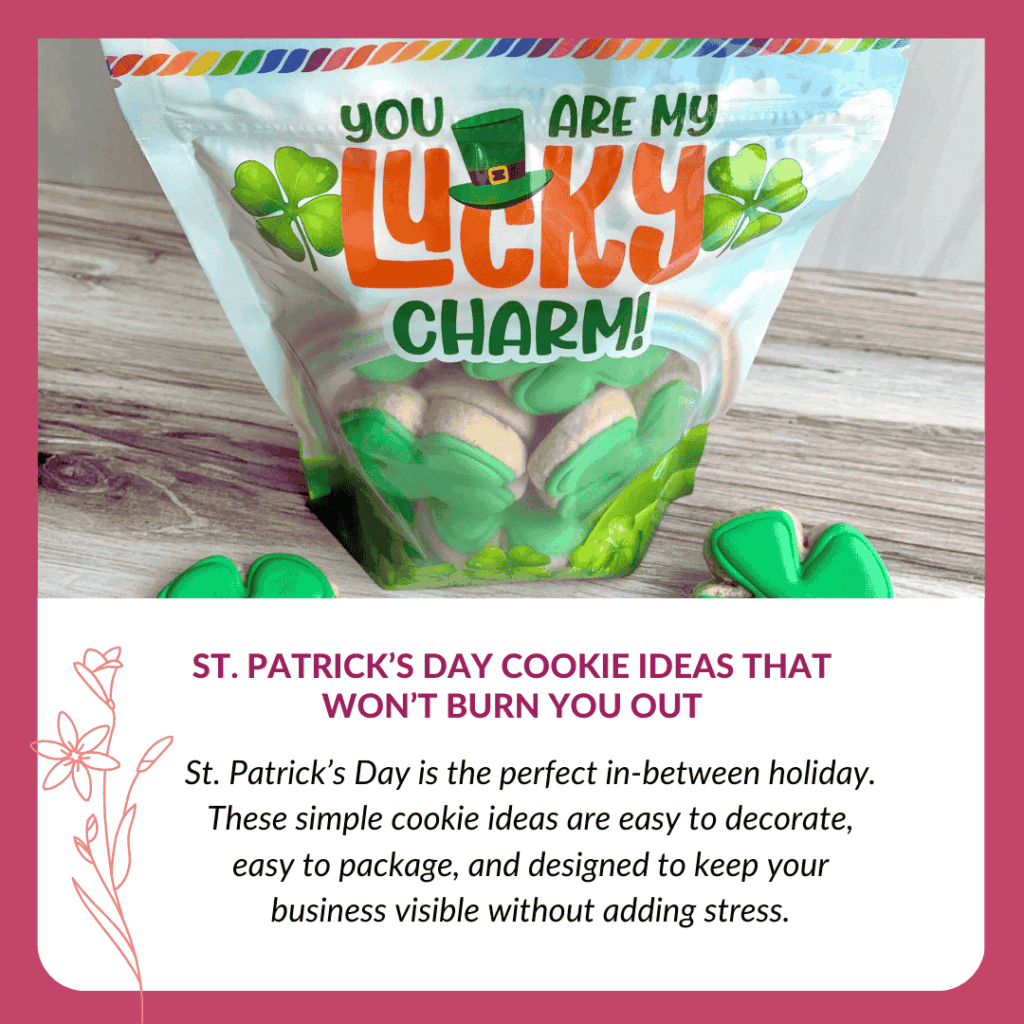
St. Patrick’s Day Cookie Ideas That Won’t Burn You Out
A Small St. Patrick’s Day Lineup Can Go a Long WaySt. Patrick’s Day sits in an awkward spot on the cookie calendar. It comes so close t...
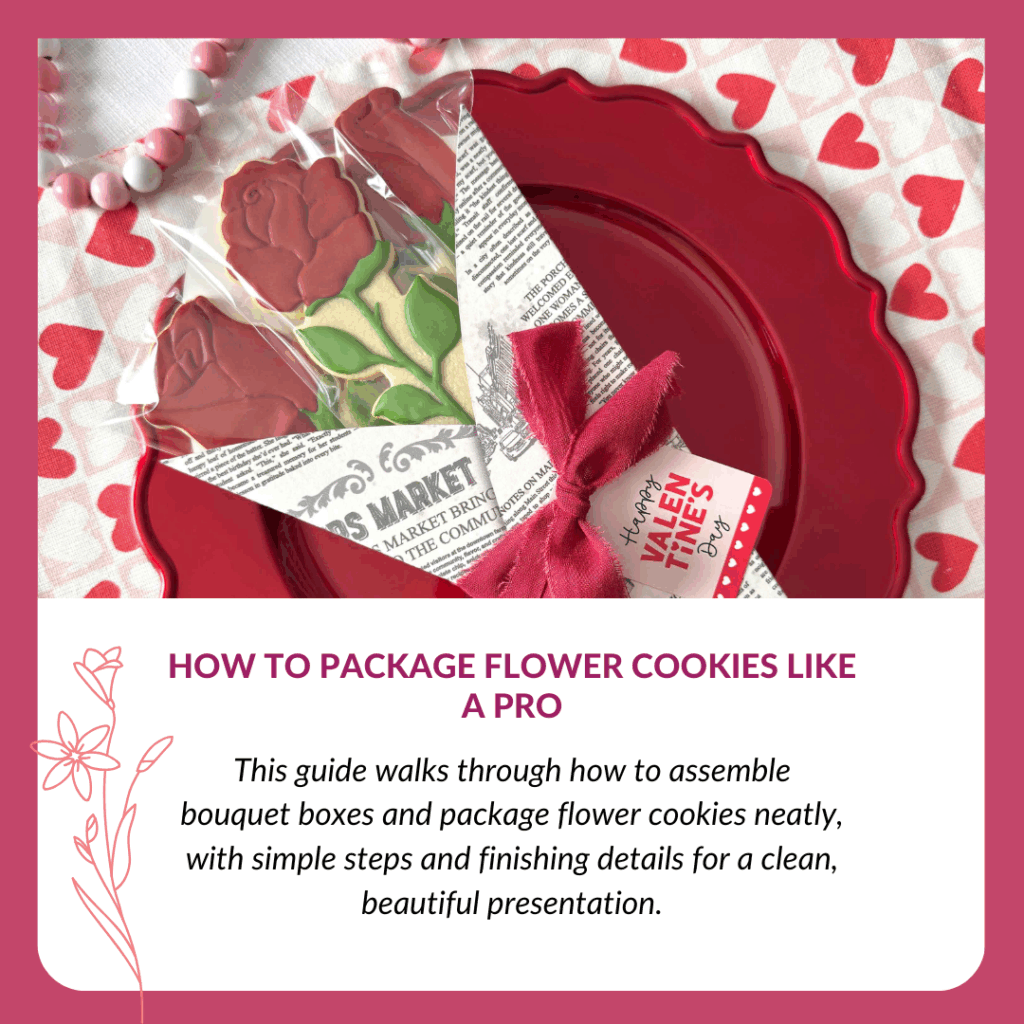
How to Package Flower Cookies Like a Pro
Packaging Flower Cookies Made SimpleFlower cookies are already showstoppers on their own, but the right packaging brings everything tog...
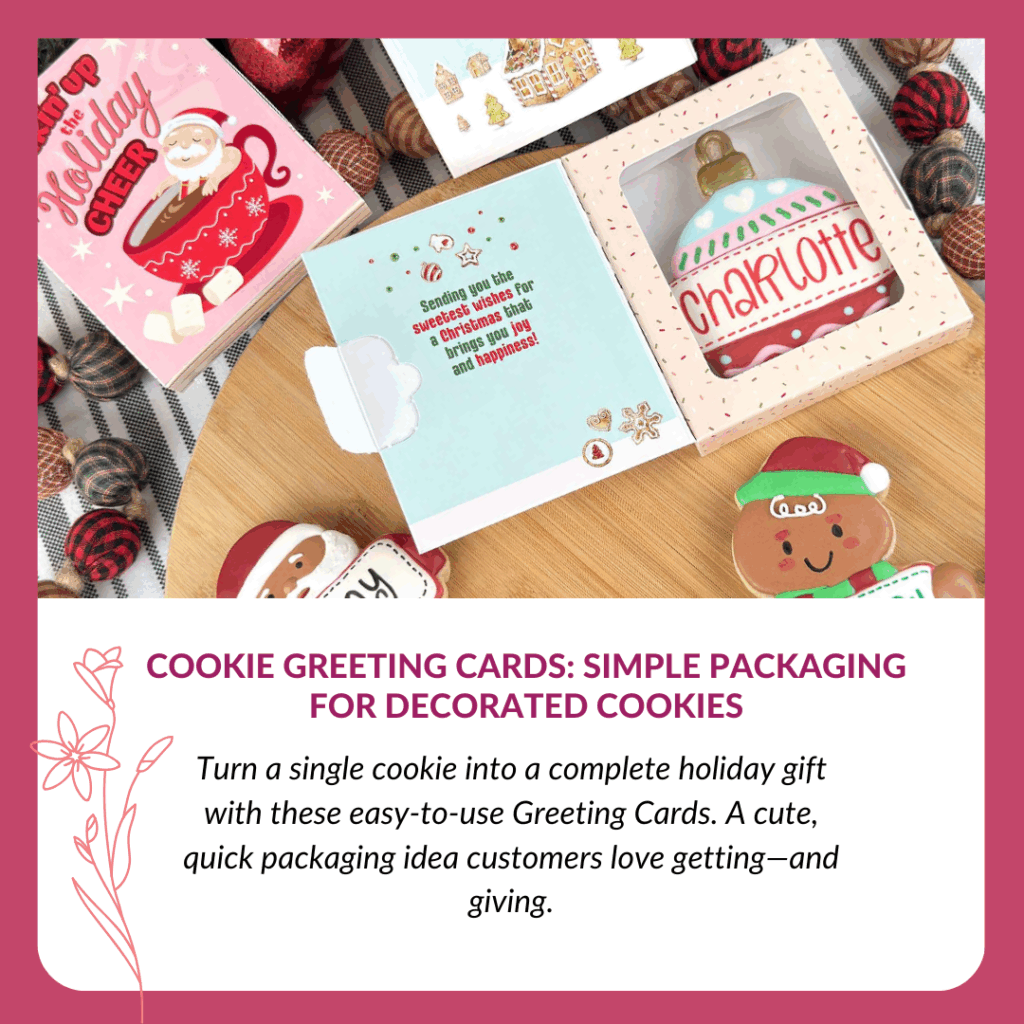
Cookie Greeting Cards: Simple Packaging for Decorated Cookies
Packaging Cookies Just Got Easier with Cookie Greeting Cards
The holiday rush is all about quick, thoughtful gifts, and our Co...

How to Make & Package Decorated Coal Cookies
A Treat for the “Naughty” List
When December rolls in and cookie orders start piling up, it’s a relief to have something you c...
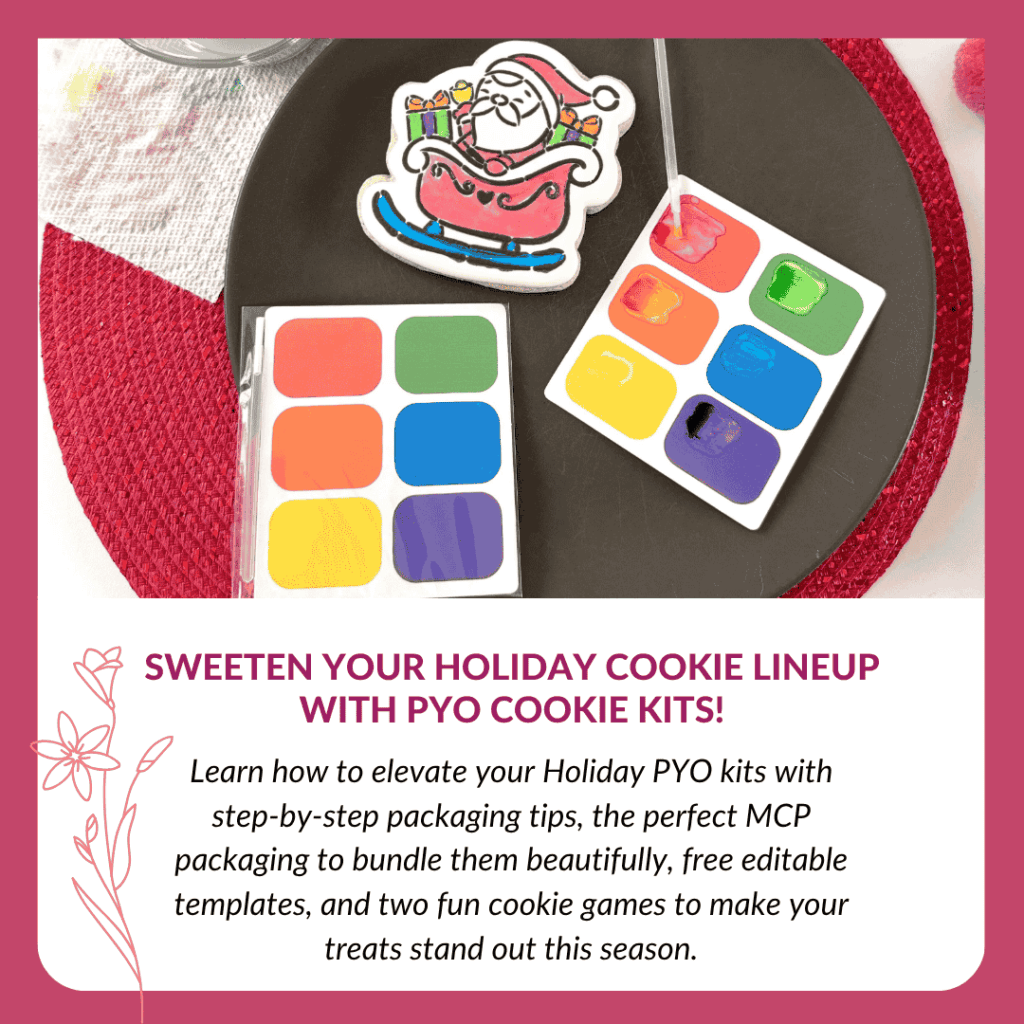
The Holidays Just Got Sweeter With Our Paint Your Own Cookie Packaging
Your Christmas products are about to get a whole lot sweeter thanks to the super simple packaging solution we developed just for you!Pa...

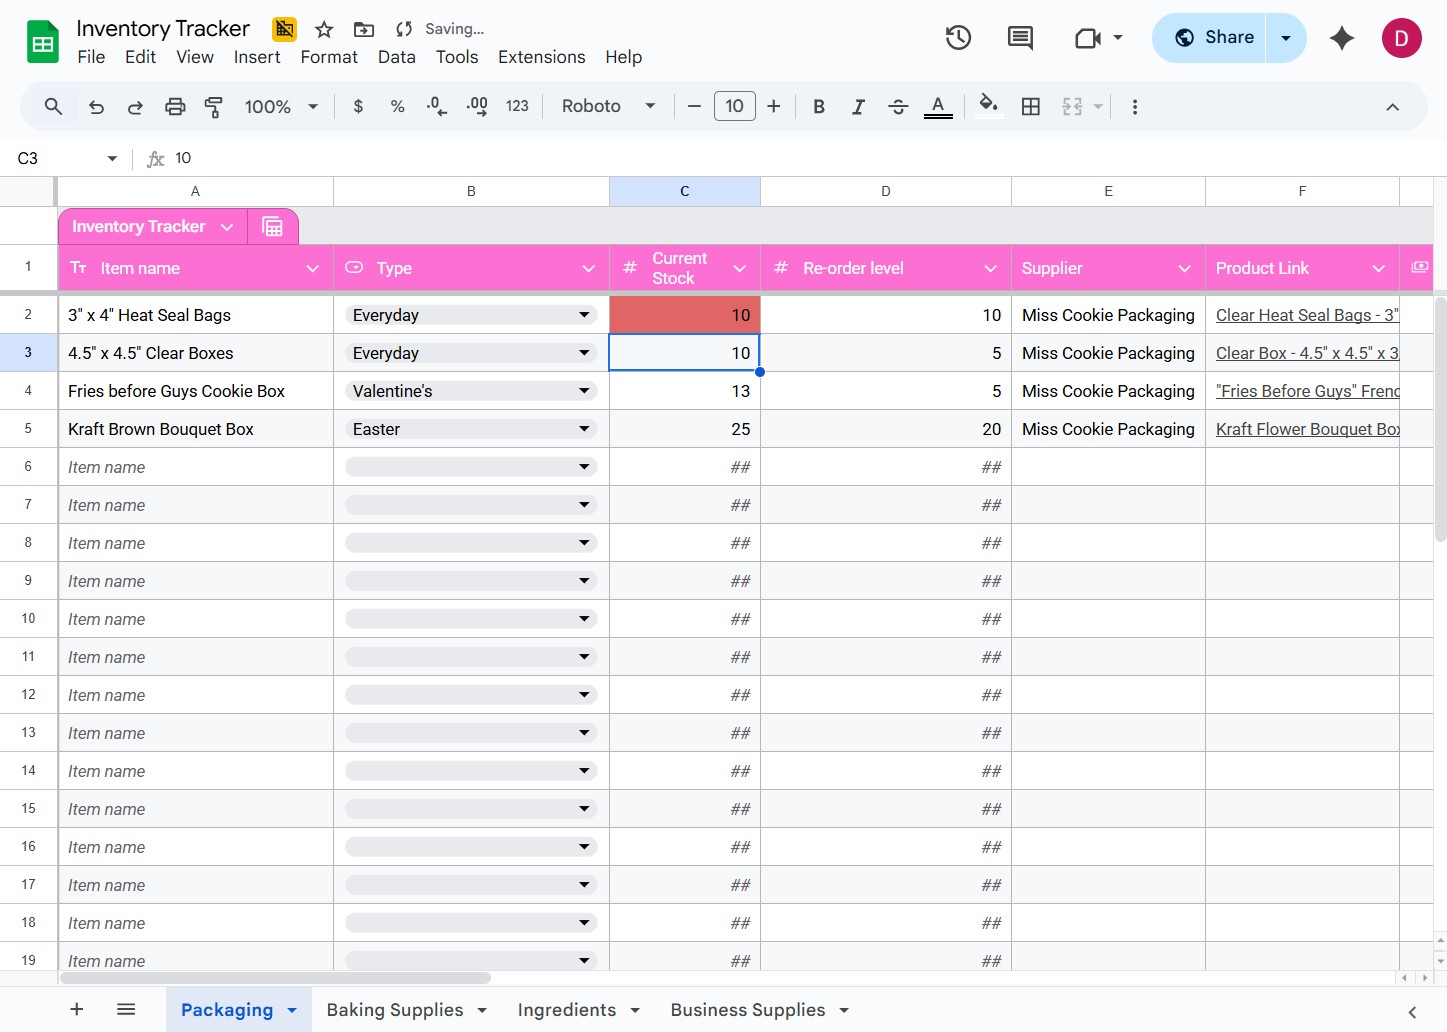
How to Package Cookies: A Guide to Creative Packaging for Bakers
When you are just starting out as a cookier, there's a lot to learn about packaging your decorated cookies for sale.
The impor...
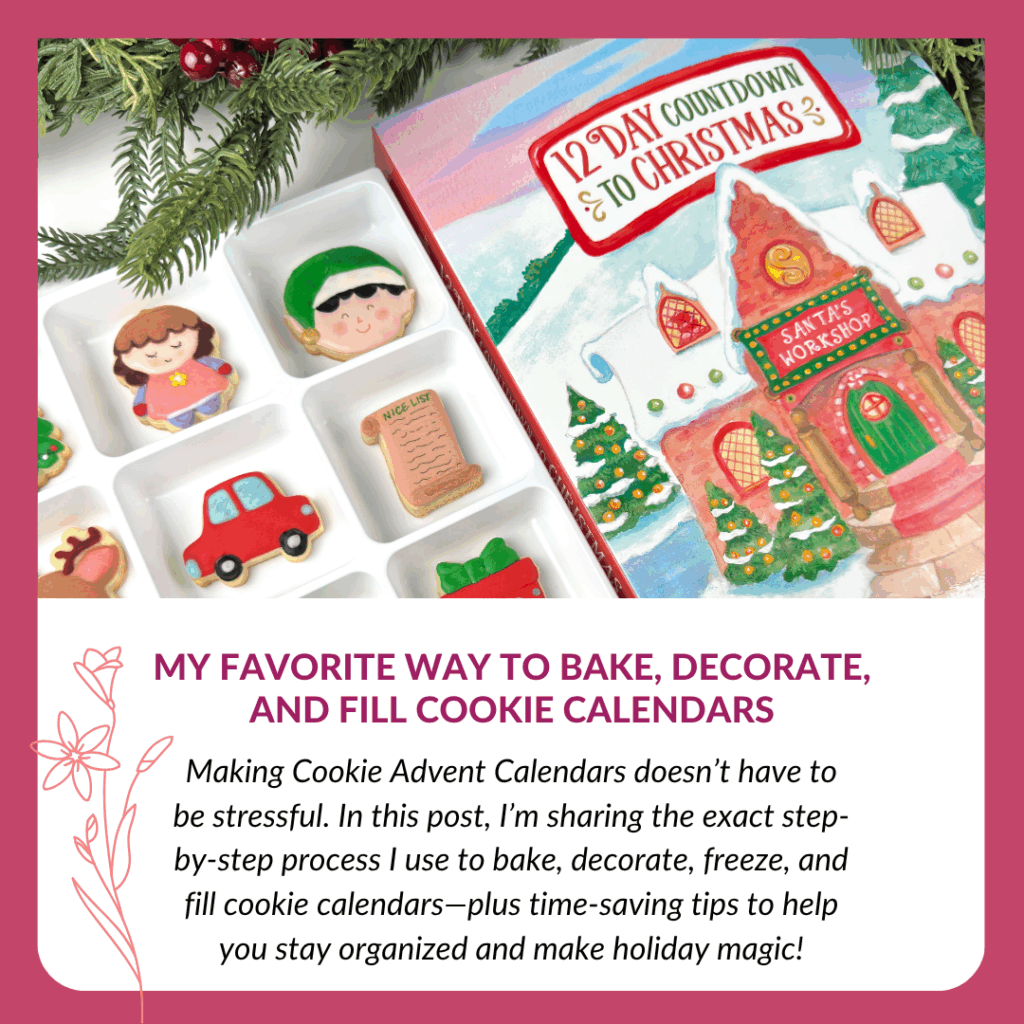
How to Make Cookie Advent Calendars: My Step-by-Step Decorating & Filling Process
Ready to learn my step-by-step process for baking, decorating, and filling 12-Day Cookie Calendars?Earlier this fall, I shared why Cook...
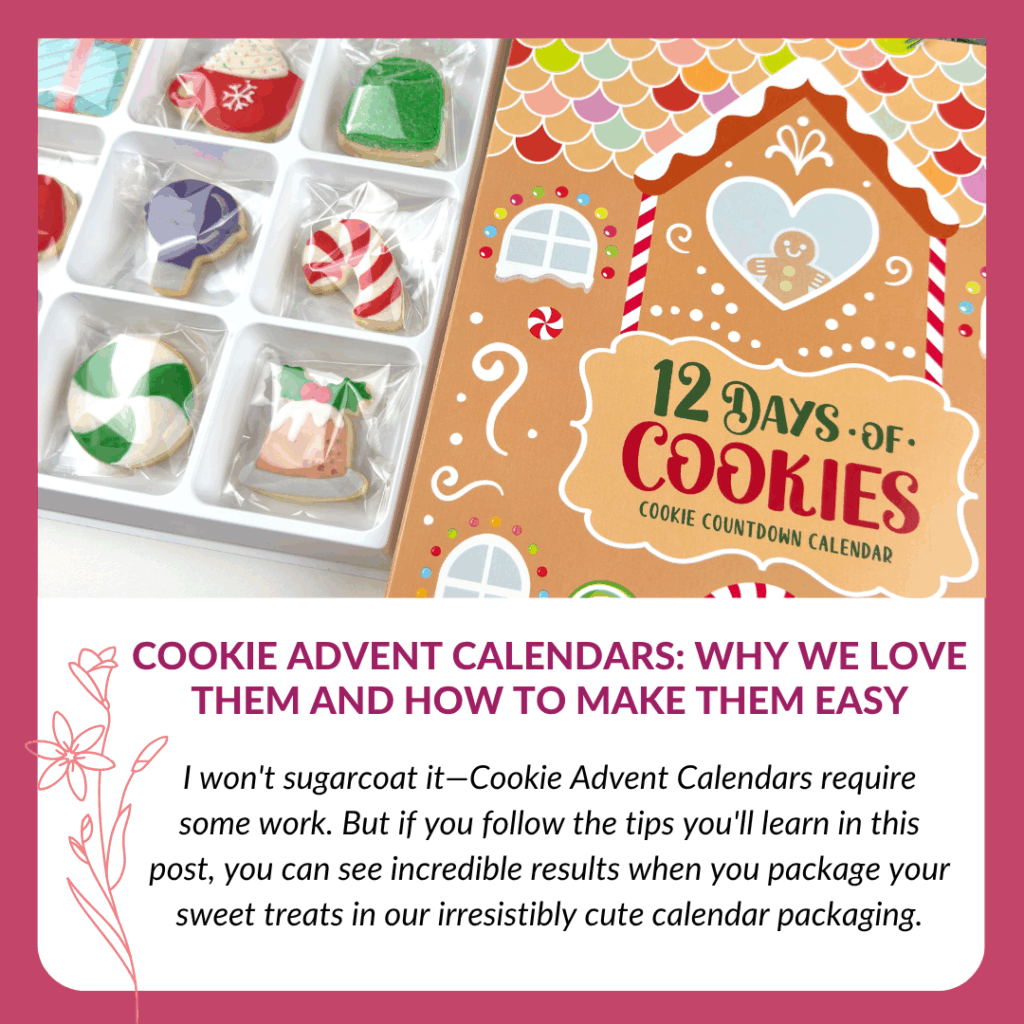
Cookie Advent Calendars: Why We Love Them and How to Make Them Easy
Our Cookie Advent Calendars were the very first product we offered, and they're still one of our most popular and beloved items...
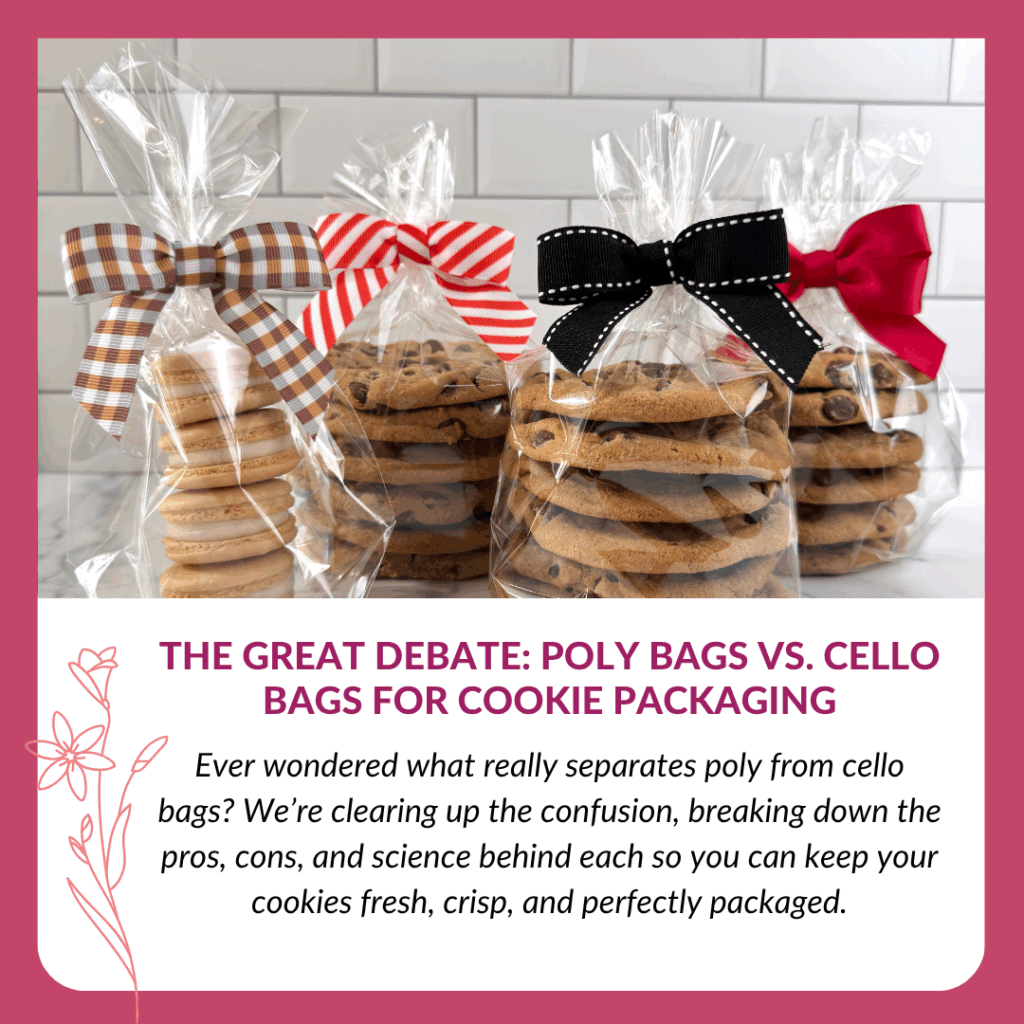
The Great Debate: Poly Bags vs. Cello Bags for Cookie Packaging
Poly vs. Cello Bags: Yes There's a Difference
As you progress in your cookie business, you’re sure to run into a few of the cl...

3 Tricks to Help You Sell More Halloween Treats This Fall
Halloween Cookie Marketing Tips for CookiersOne of the best parts of being in the cookie business is coming up with delicious, adorable...
Hi Dani!
I am so happy to hear these tips were helpful! Thank you for taking the time to comment, it means a lot!
Thank you for sharing with us, I believe this website truly stands out : D.